
Starting from the day I decided to heavily involved in Steemit, I spend most of my spare time reading, commenting and voting here. I try to start at least publishing a post every day too.
There is one tip that I heard somewhere else and I think that is very effective in building the followers base, that you must build your personal brand in the society. Since Steemit is a blogging platform, we can try to create some consistency in our daily post.
Some use an edited thumbnail photo by adding their face or logo on it, some draft the post title in a certain manner, or include a footer or signature logo at the end of the post. I think these are the good idea letting the audience know immediately whose article they are reading without looking at the author’s name.
I always wanted to have a unique footer of my own. Today I will create one using Gimp and make use one of my drawing contest entry as material.
自从中了Steemit的毒之后,每天都花了大量的时间在这里看文章,点赞和留言。每天至少发一篇文章是我给自己的规定。
对于建立自己的关注群,之前听到一个觉得蛮有用的技巧。那就是必须建立个人品牌,让人家不用看作者名字就知道是你的作品。有些人在第一张图片上喜欢贴上自己的照片,有些人喜欢用特定风格的标题,有的则喜欢在文章尾部加上个性签名或是页脚。我想要创作属于自己的页脚很久了,今天就付诸行动吧。
使用的软件是 Gimp ,材料则是之前的参赛作品。以下的创作过程就不翻译了,太多专属名词,语法也很简单易懂。
Breakdown of footer creation
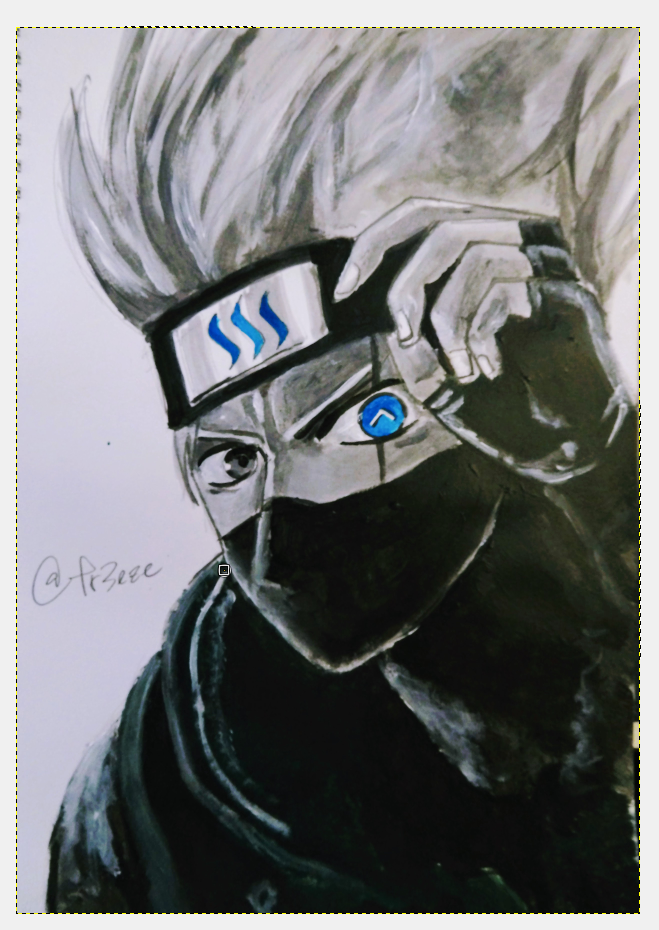
First, open the image in Gimp. Change the image size to your liking. And right click on the current layer and select Add Alpha Channel.
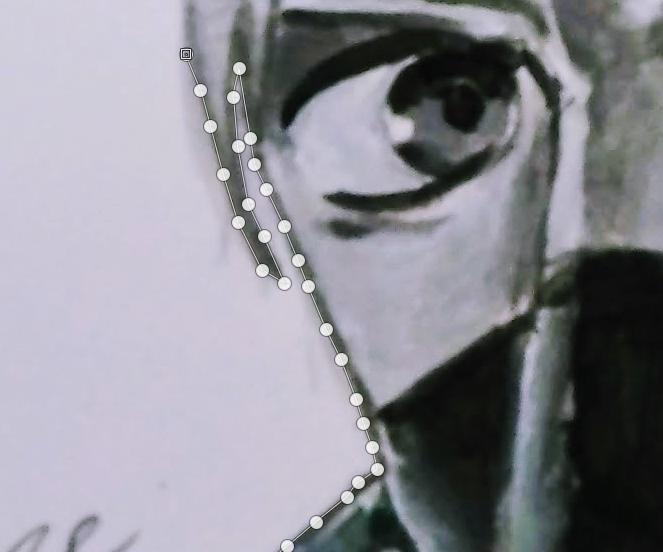
Use the Paths tool to outline the part of the image you want to crop out.
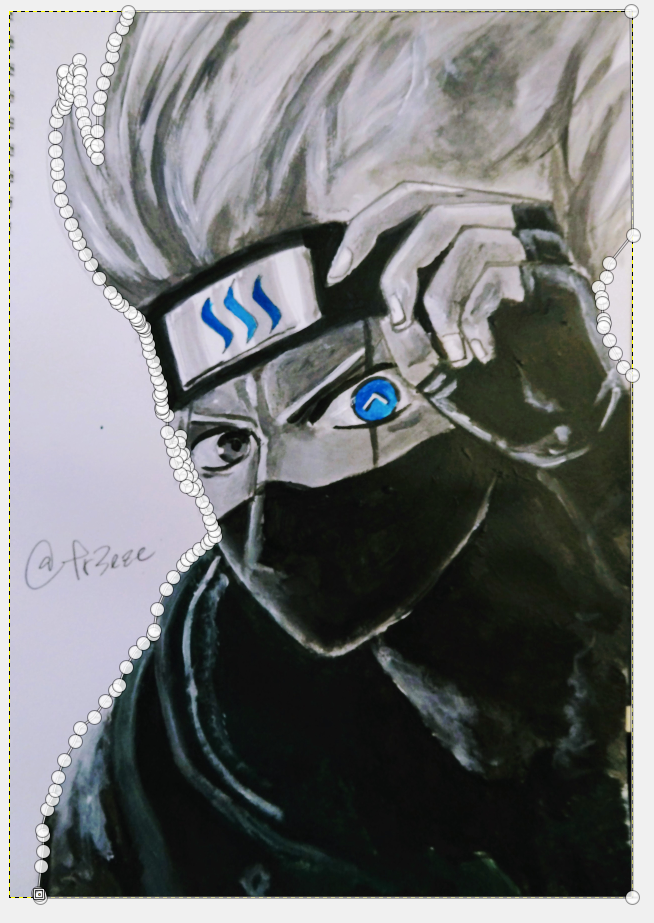
After you have selected the part, from the menu bar, Select -> Invert. This will make the invert the selection and select the unwanted background instead.
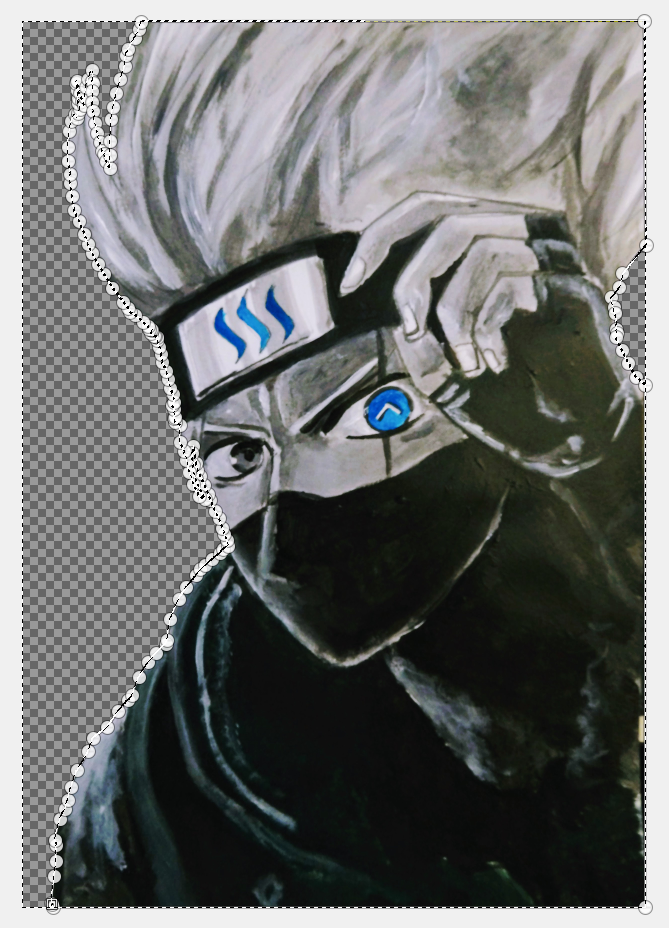
Press [Backspace] key, the background is now removed.
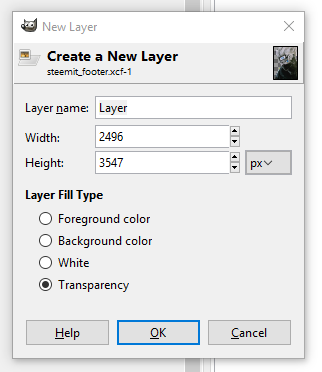
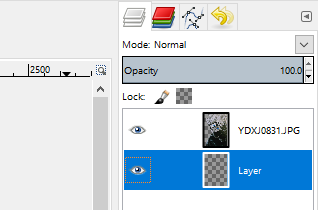
Add a new layer in order to enlarge the canvas size.
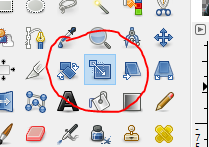
Use the Scale Tool from the toolbox.
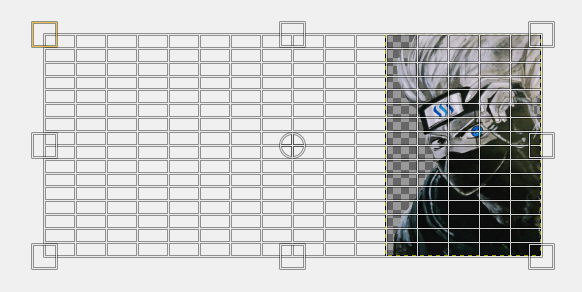
Make sure current layer selection is the newly created layer. Then drag from right to left to the desired size.
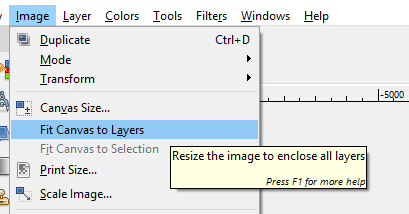
To fit the cropped image into the larger canvas size. Image -> Fit Canvas to Layers.
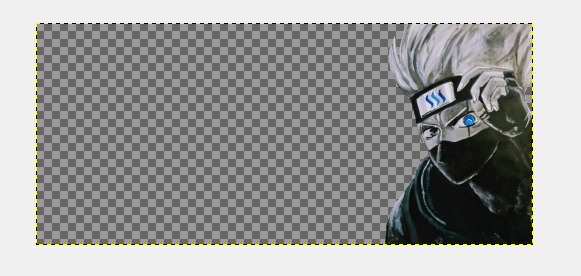
The combined image will now look like this.
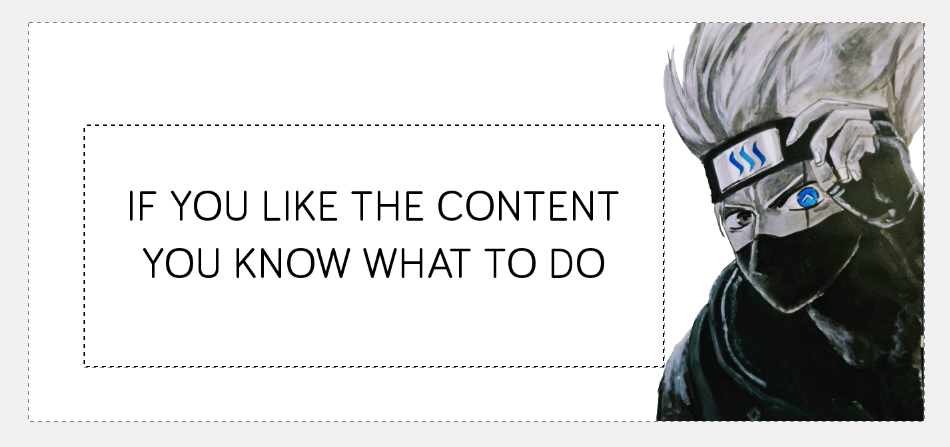
Add another white background and add text using Text Tool from the toolbox.
We’re done here. Export the project into PNG format. File -> Export As.
This is a really simple footer creation guide using existing image. Maybe I should study how to create an animated image (gif) in the future. But for the moment, I’m satisfied with the footer result!
对于常使用此类修图软件的人来说,这可是小菜一碟,我就花了好几个小时来研究各种操作。总的来说,这是个非常简洁的页脚,效果也还可以,将就先用着吧,看以后有时间再学学动图创作。
This page is synchronized from the post: ‘Create footer for your post 为文章创造页脚’