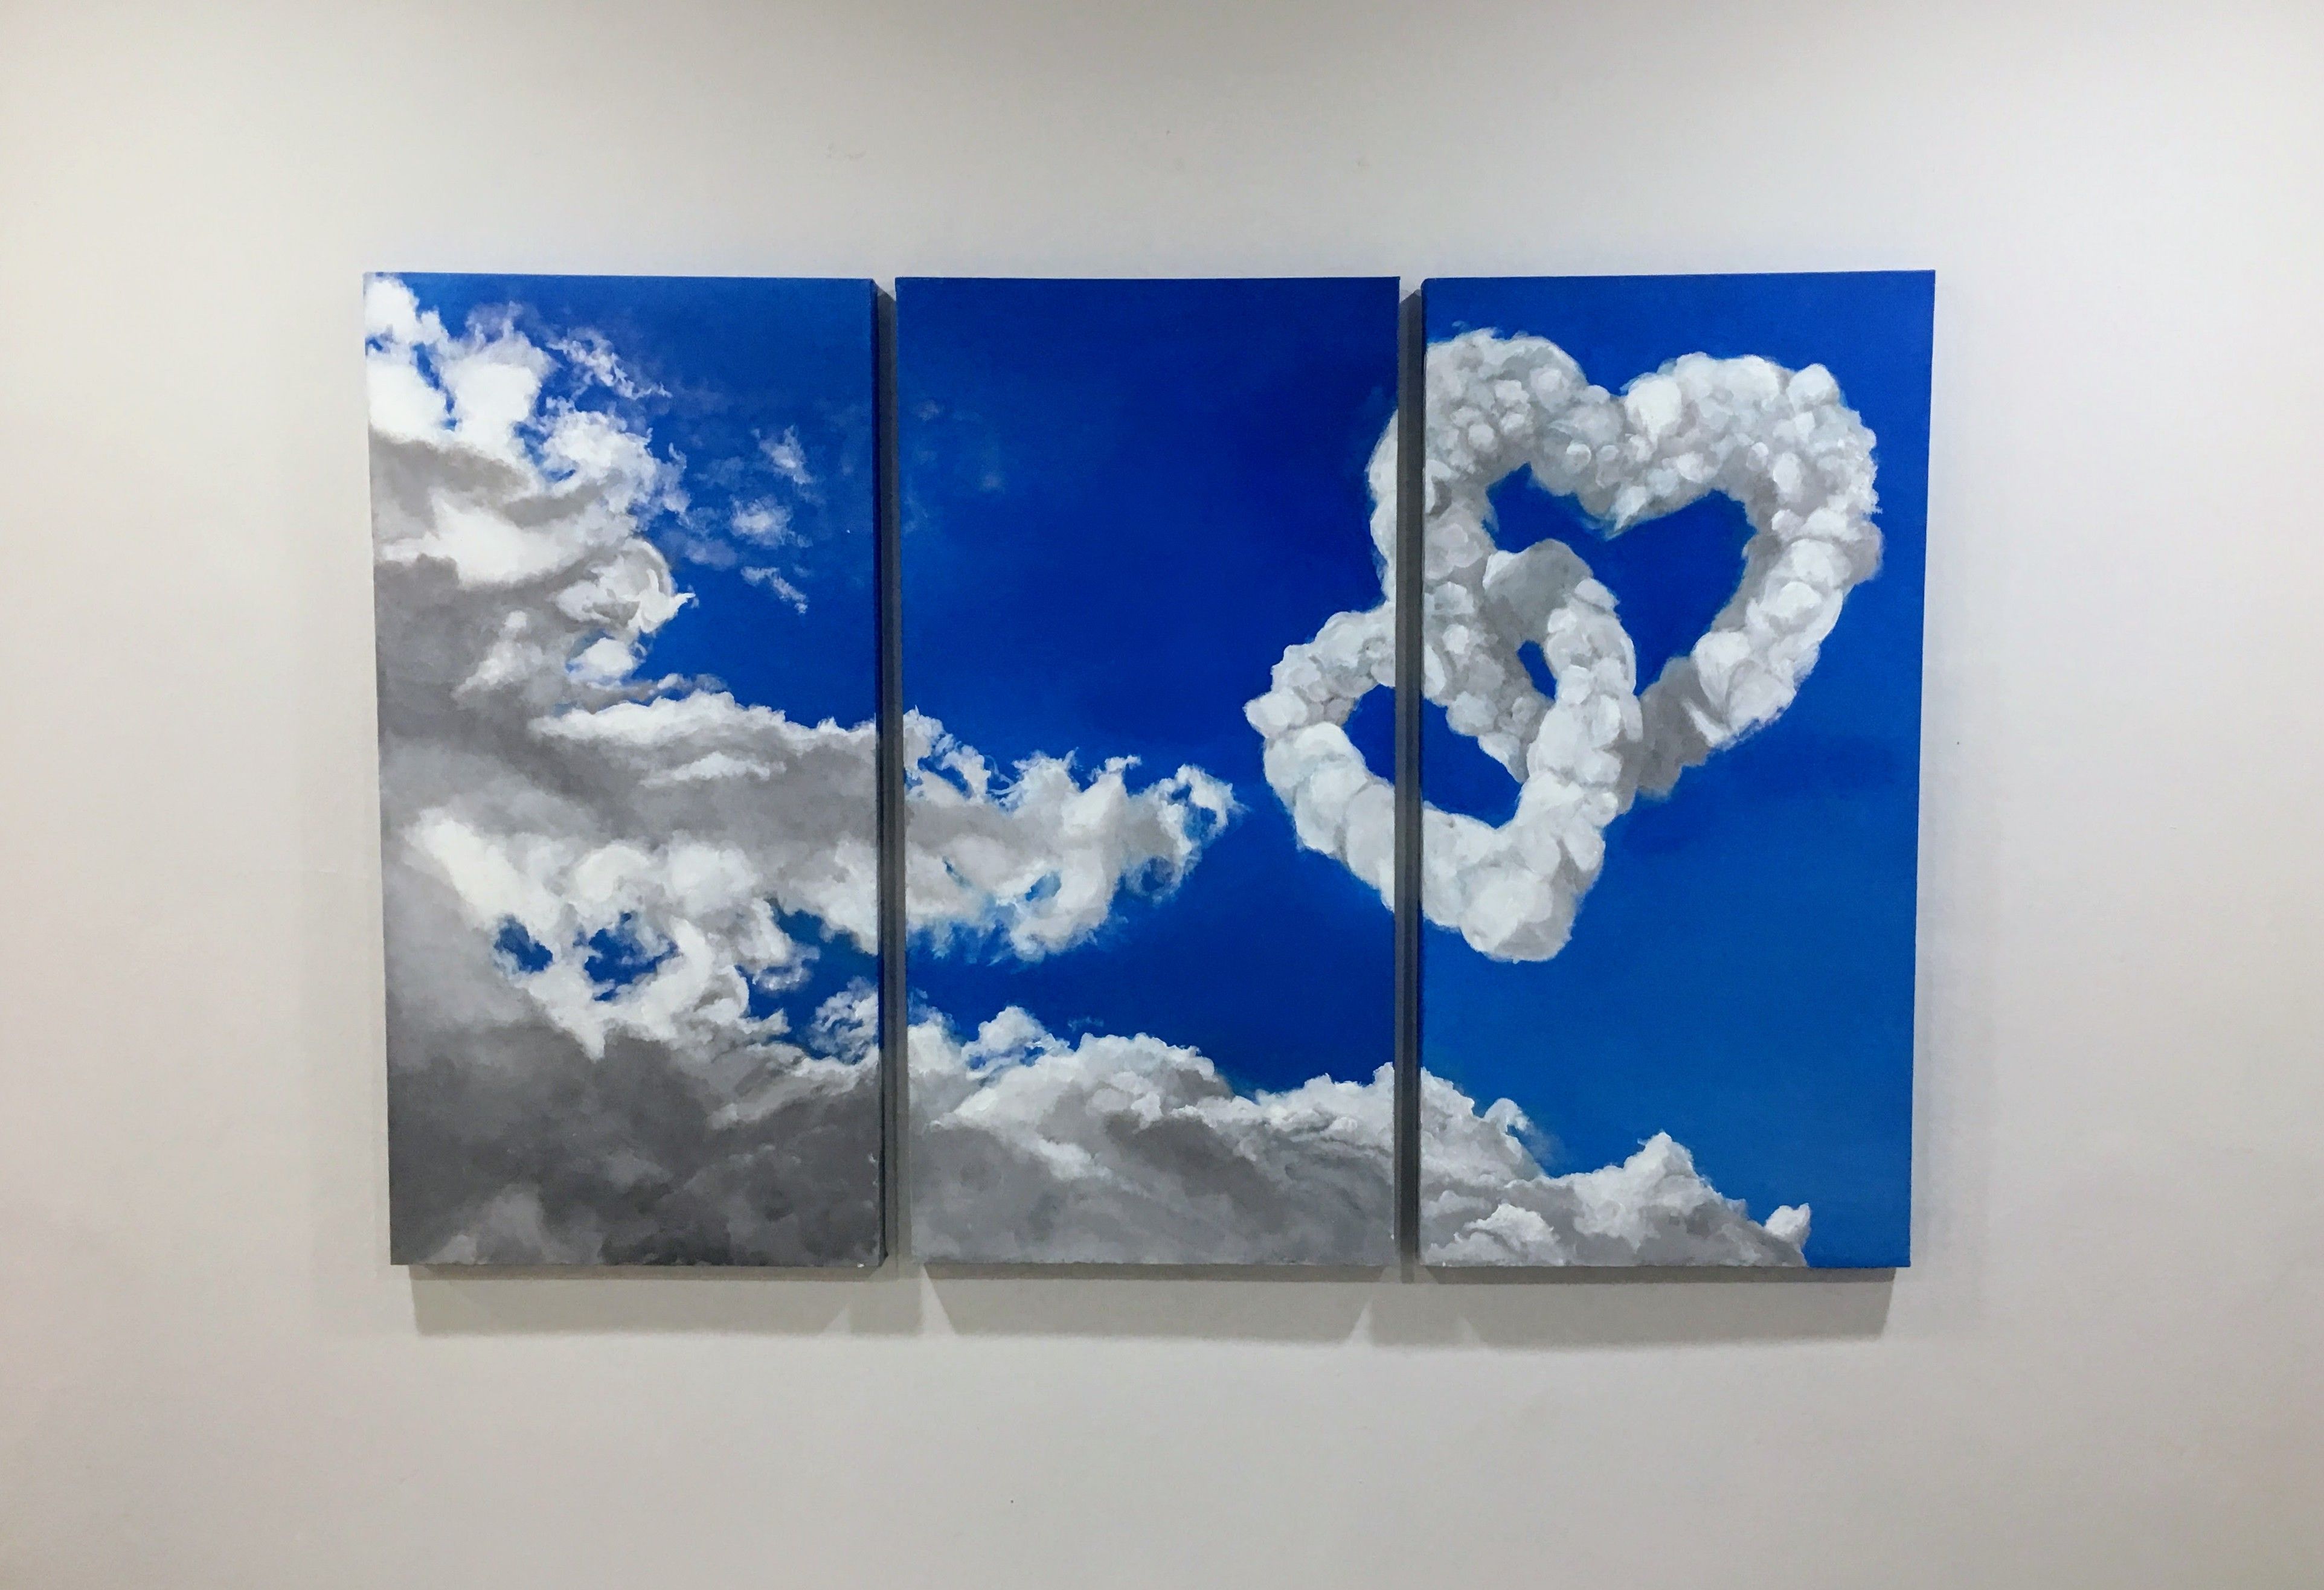
I’ve spent 3 days on this. Acrylics color on three 36 x 24 inch canvas, makes it the biggest art I ever make.
This is an entry for a drawing contest by @helene with the theme Cloud. Cloud is erratic, dynamic, unpredictable and always changing. One can easily draw cloud in any shape and still valid because there is no shape to define how a could should look like.
I have done this entry months ago as the wedding gift for my elder brother. I’m not into the traditional way of giving some cash as the token of blessing. I wished to draw something for the newly-married, but a drawing deeply themed with the wedding will only be a useful decoration during the wedding week. I want to create an art which they can display on the wall all the time. Hence the cloud in the shape of love will be the best idea.
Unfortunately, I have not yet developed the habit of recording during art creation. For the purpose of taking part in this contest, I created a short tutorial for the techniques of creating the art entry. All the tools and techniques shown in the tutorial process is totally same as the original work, the only difference is the tutorial was created on A4 size paper.
此作品花了三天才完成。用的是丙烯颜料在三幅各为36x24寸的画布上,也是我所创作过最大的画。
我将会用这幅作品参加由@helene举办的,以云为主题的绘画比赛。云无常,时刻都在变幻,不可预测,不能定型。任何人都可以随便创作云的形状,因为云本来就是没有既定的形态。
这幅作品其实早在几个月前就已经完成,当时是作为贺礼送个我新婚的大哥。我不想传统的包个红包以示祝福就了事。想要画幅画送给大哥大嫂,又不想把新婚的主题太过突出,以免沦为只适合摆放一时的装饰品。这个以天空和云为骨架的双心交缠就很不错。就算是新婚之后,平常摆在墙上也不会奇怪。
可惜的是,创作的当下还没加入Steemit,也不知道记录创作过程的重要性。由于比赛都需要有详细的过程描述,我特意用同样的技术和工具创造了一个教程,详细的解释创作的过程。唯一所不同者只是参赛作品是在画布上,教程则是在A4纸上。
Tutorial of Cloud painting on paper 云的绘画教程
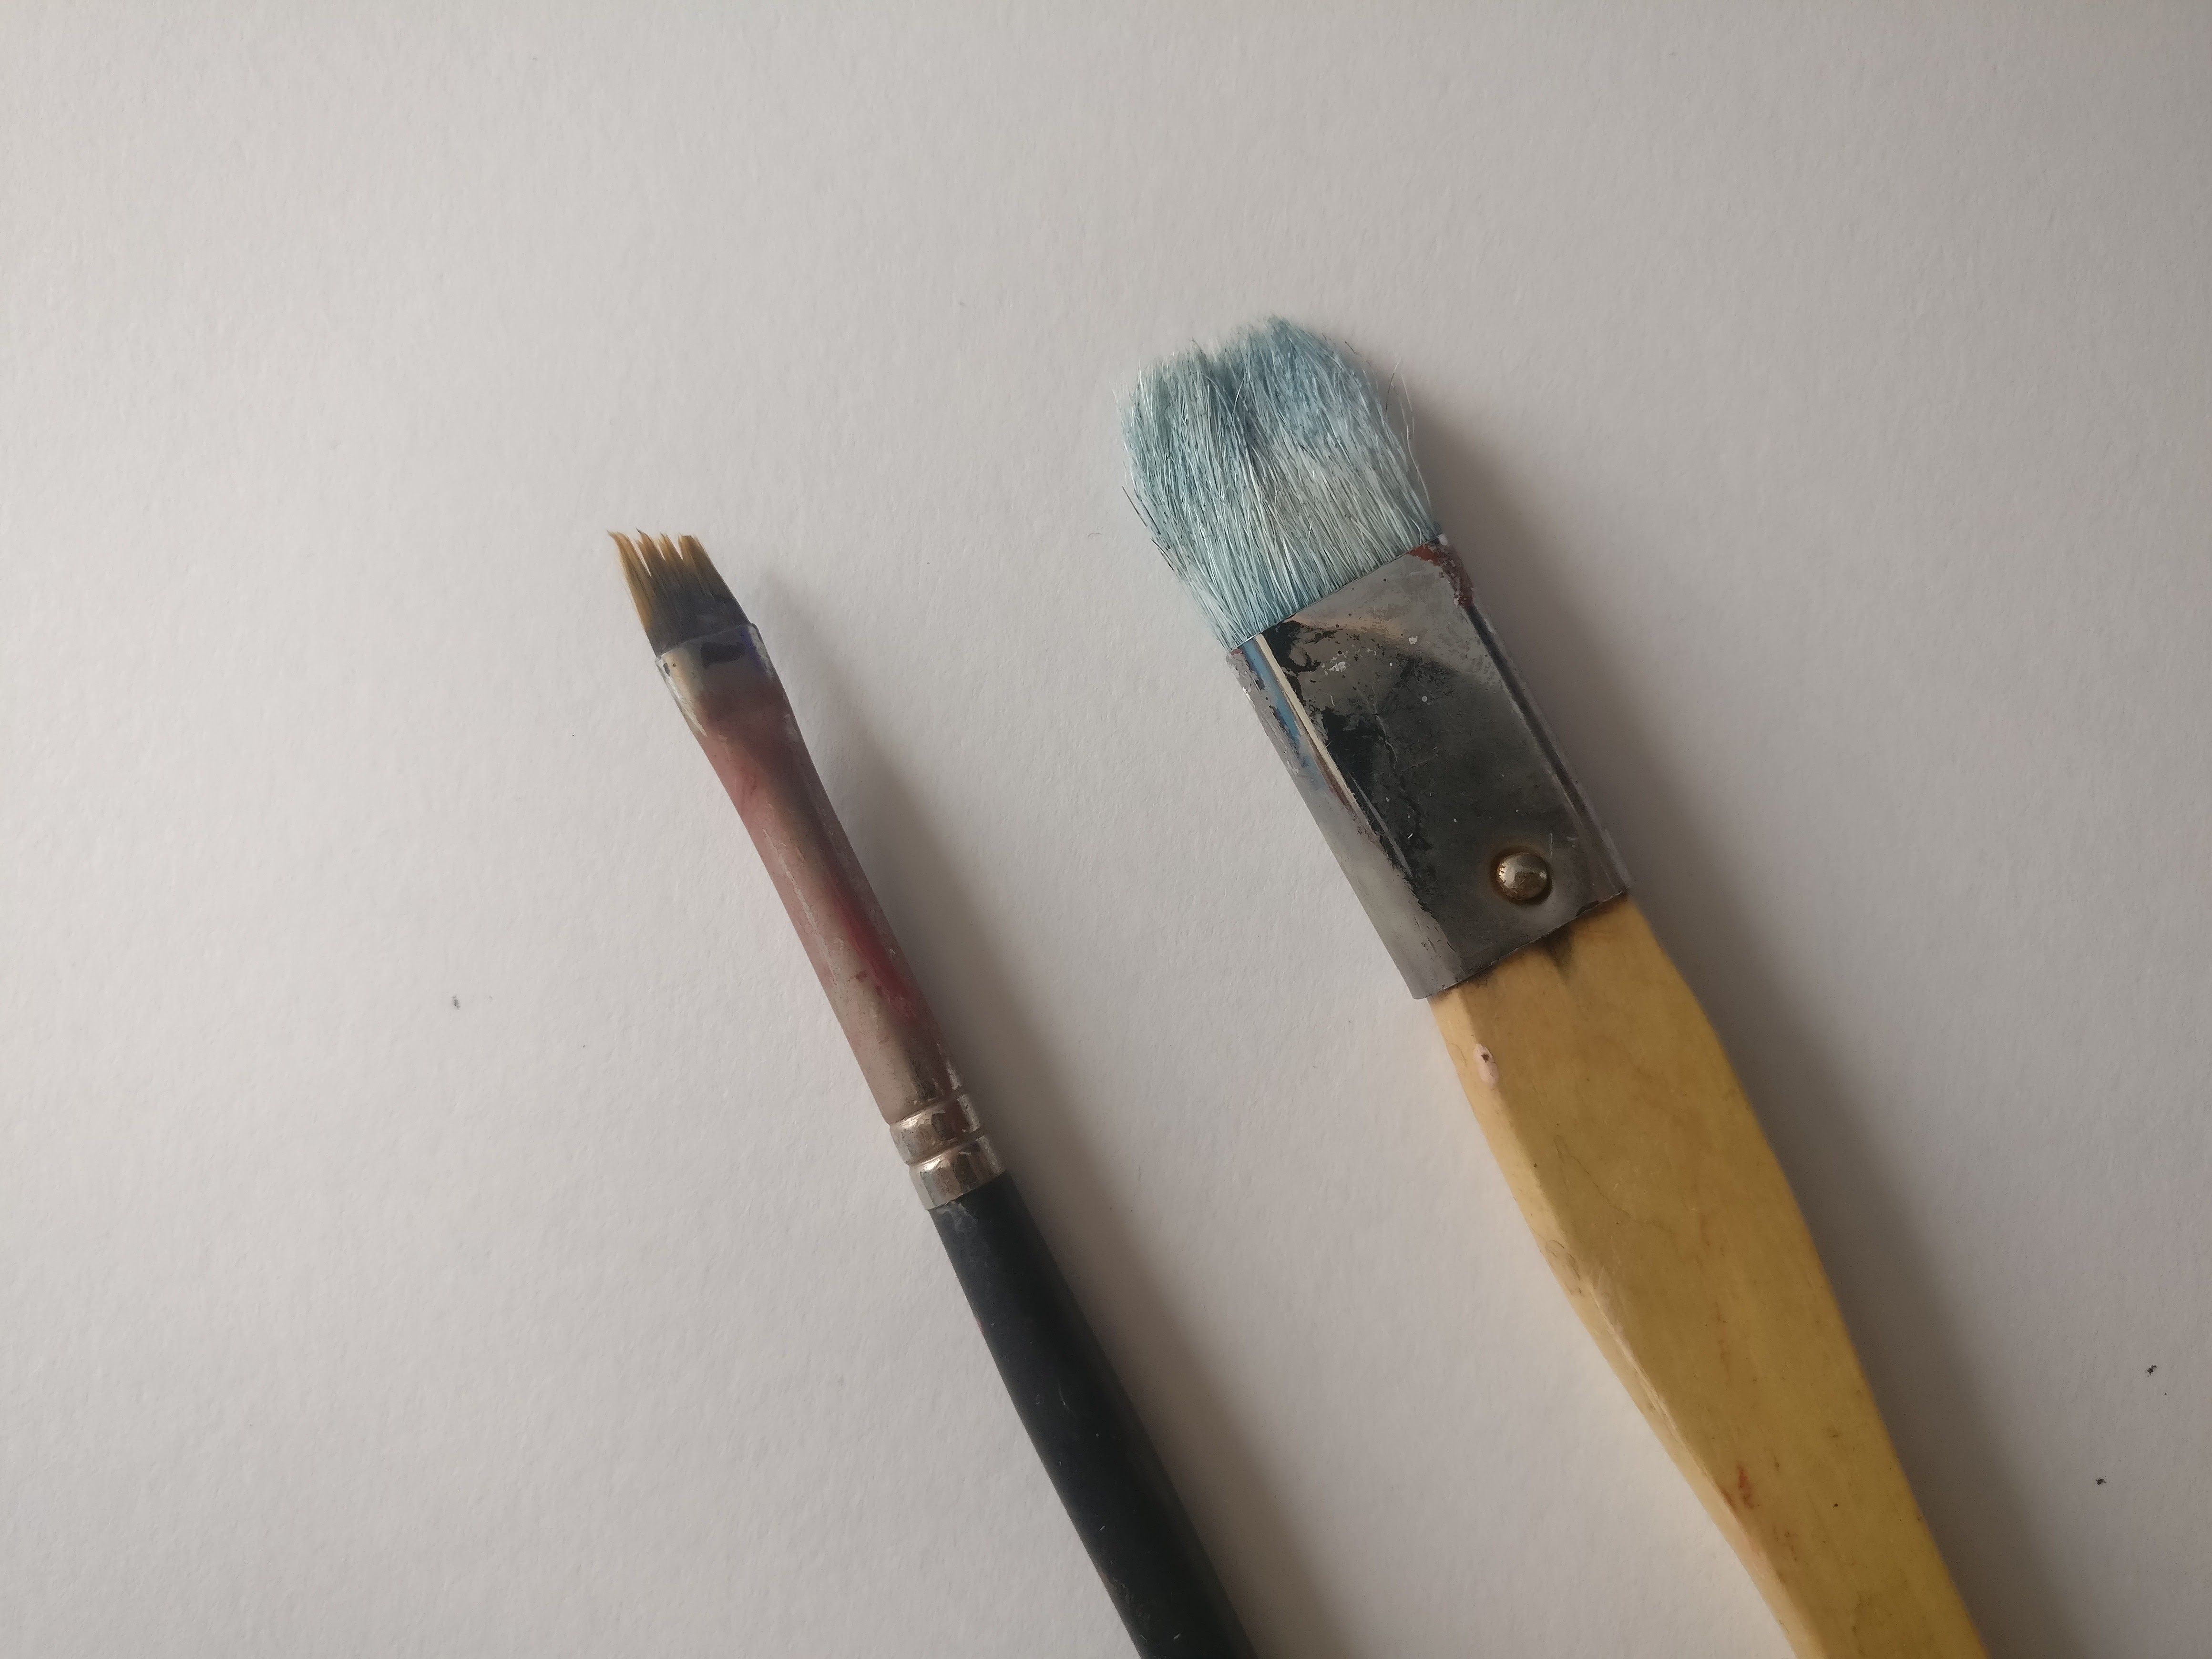
Bigger brush for background painting, the smaller one is for the cloud.
较大的画笔负责背景,较小的则是画云。
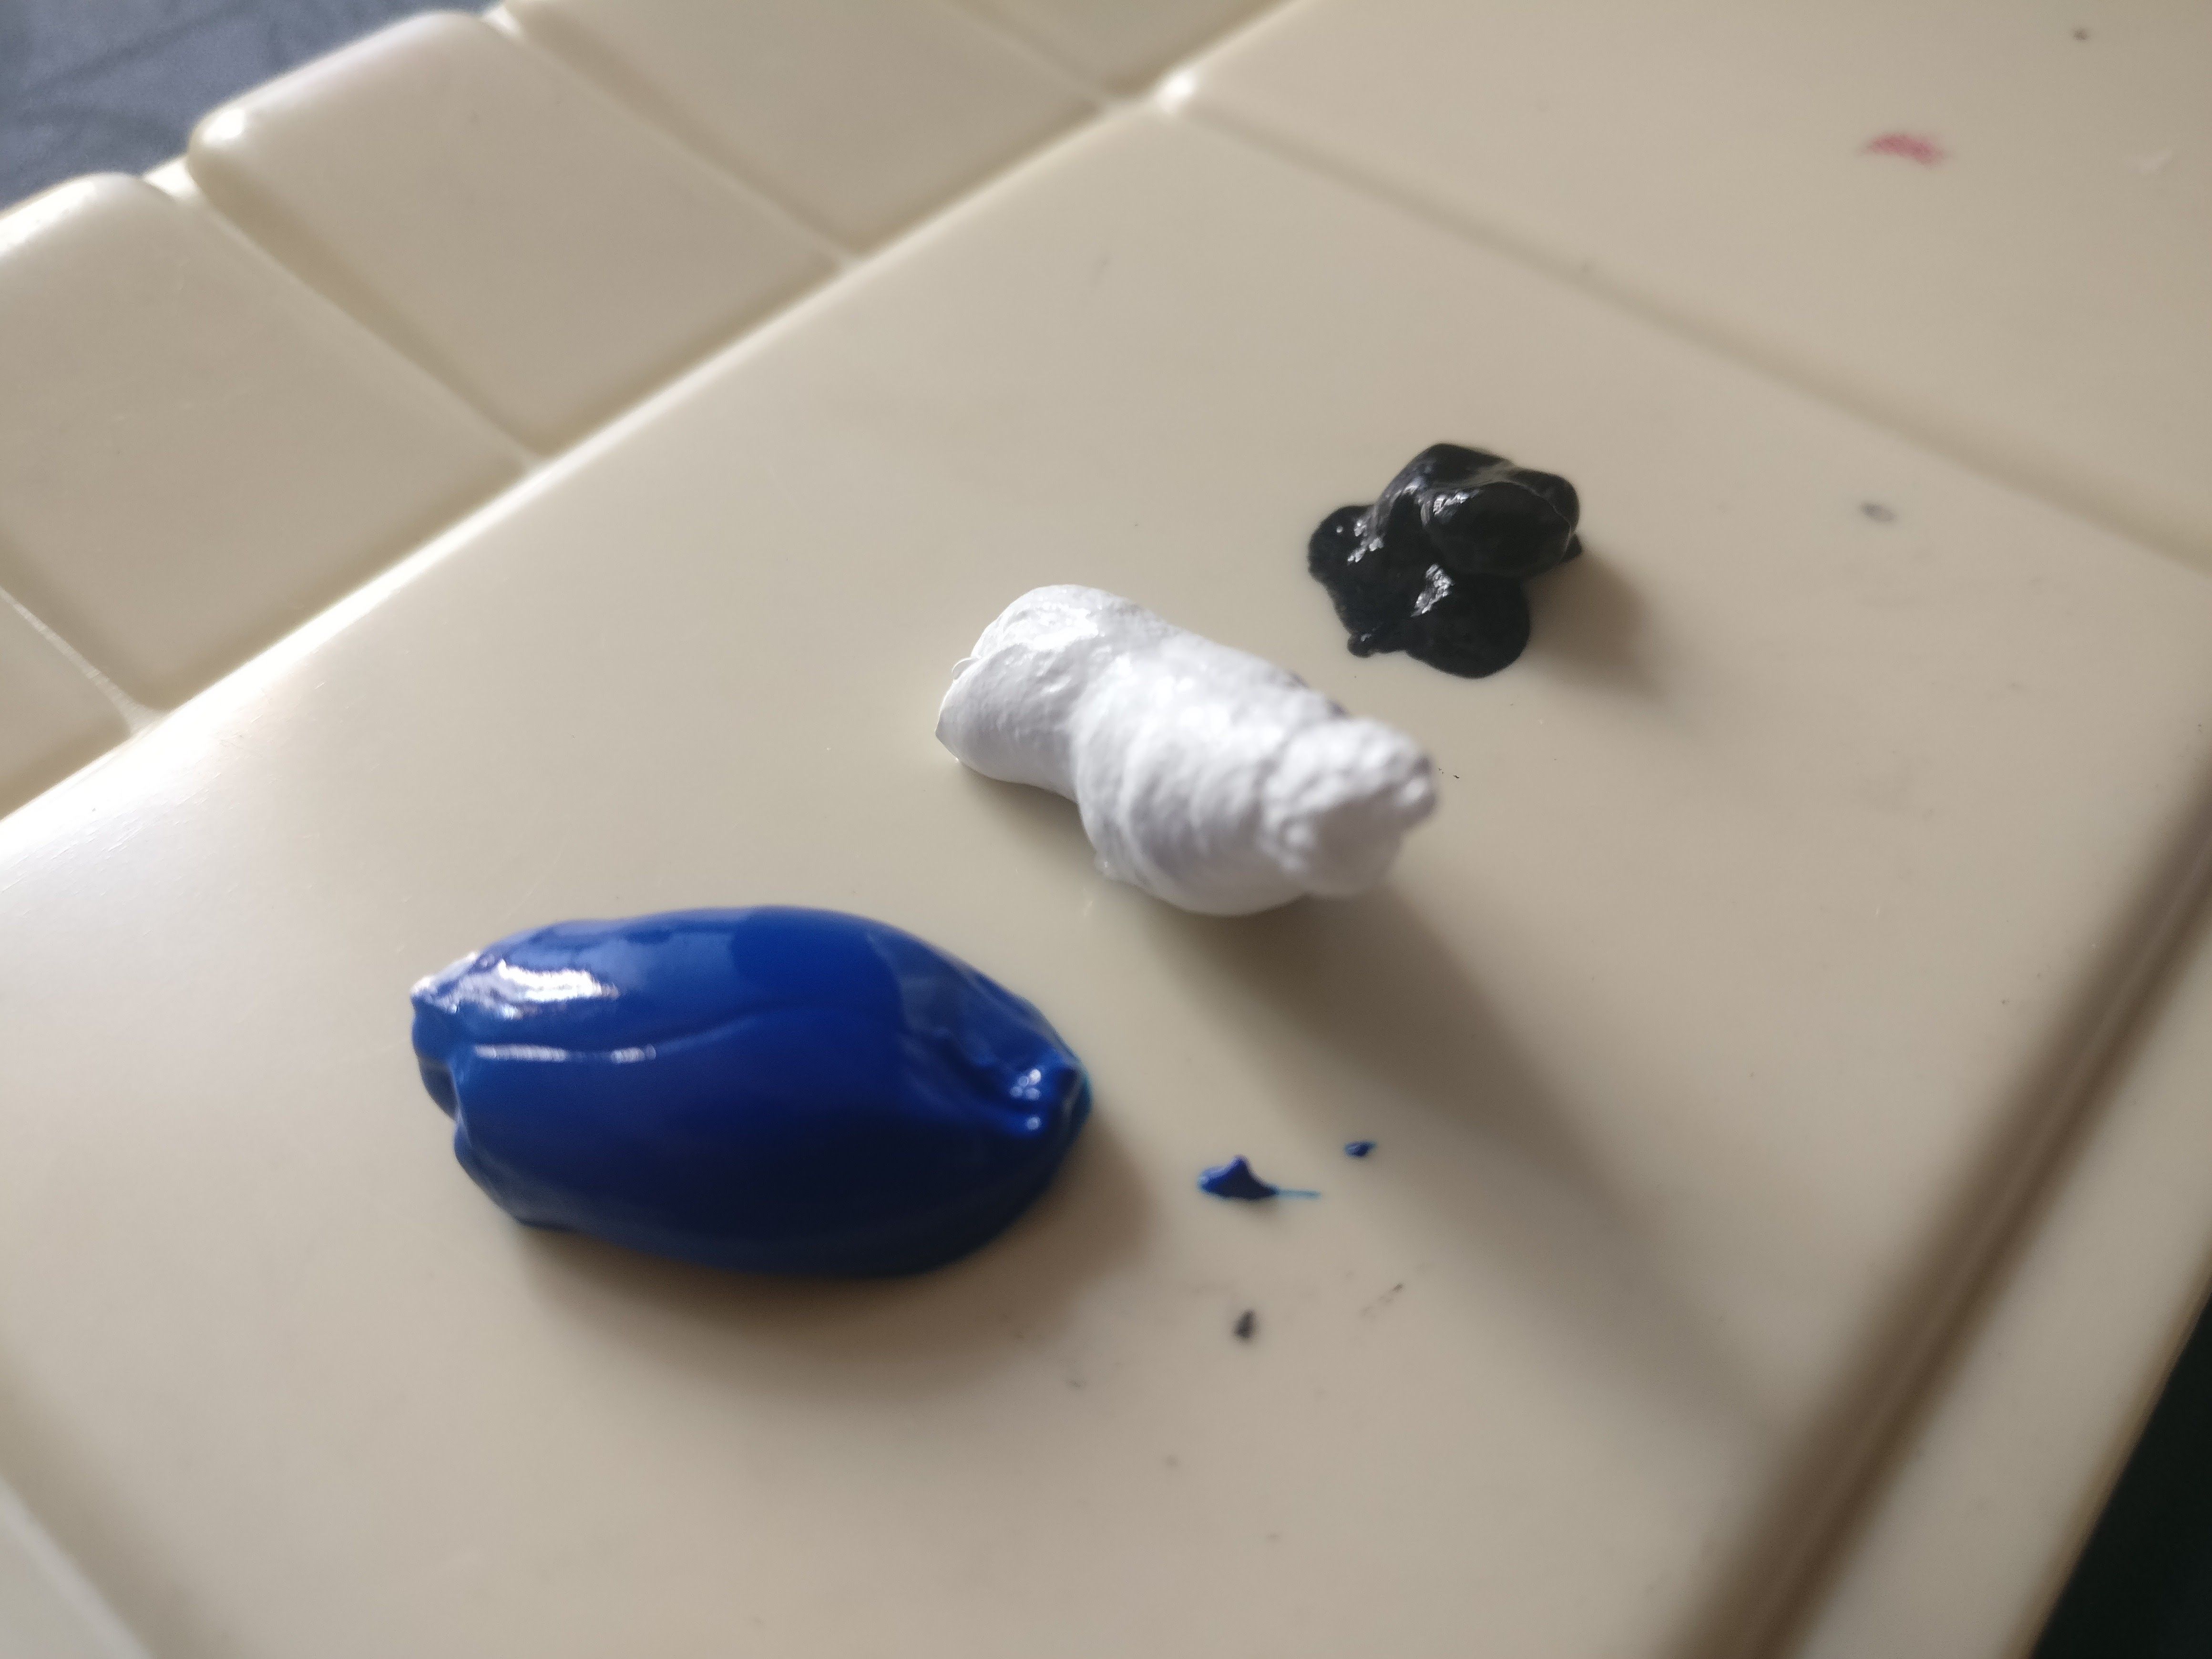
Only 3 acrylics colors will be used, the blue for sky, white for cloud and black for cloud toning.
丙烯颜料,只有蓝白黑三色会被用到。分别为蓝天,白云,还有云的黑影。

Start off with the blue sky background. You can dilute the acrylics if you are working on thinner material like paper instead of canvas.
先从背景开始,也就是天空。在纸上作画时你可能要加点水把颜料调稀,在较为强韧的画布上则不用。
.gif)
Some dilution help smoothens the color spreading.
加水后让大面积的彩绘更顺畅。
.gif)
Spread evenly the colors. You want to be consistent on any background painting.
平均的为背景上色,平均的色调是关键。
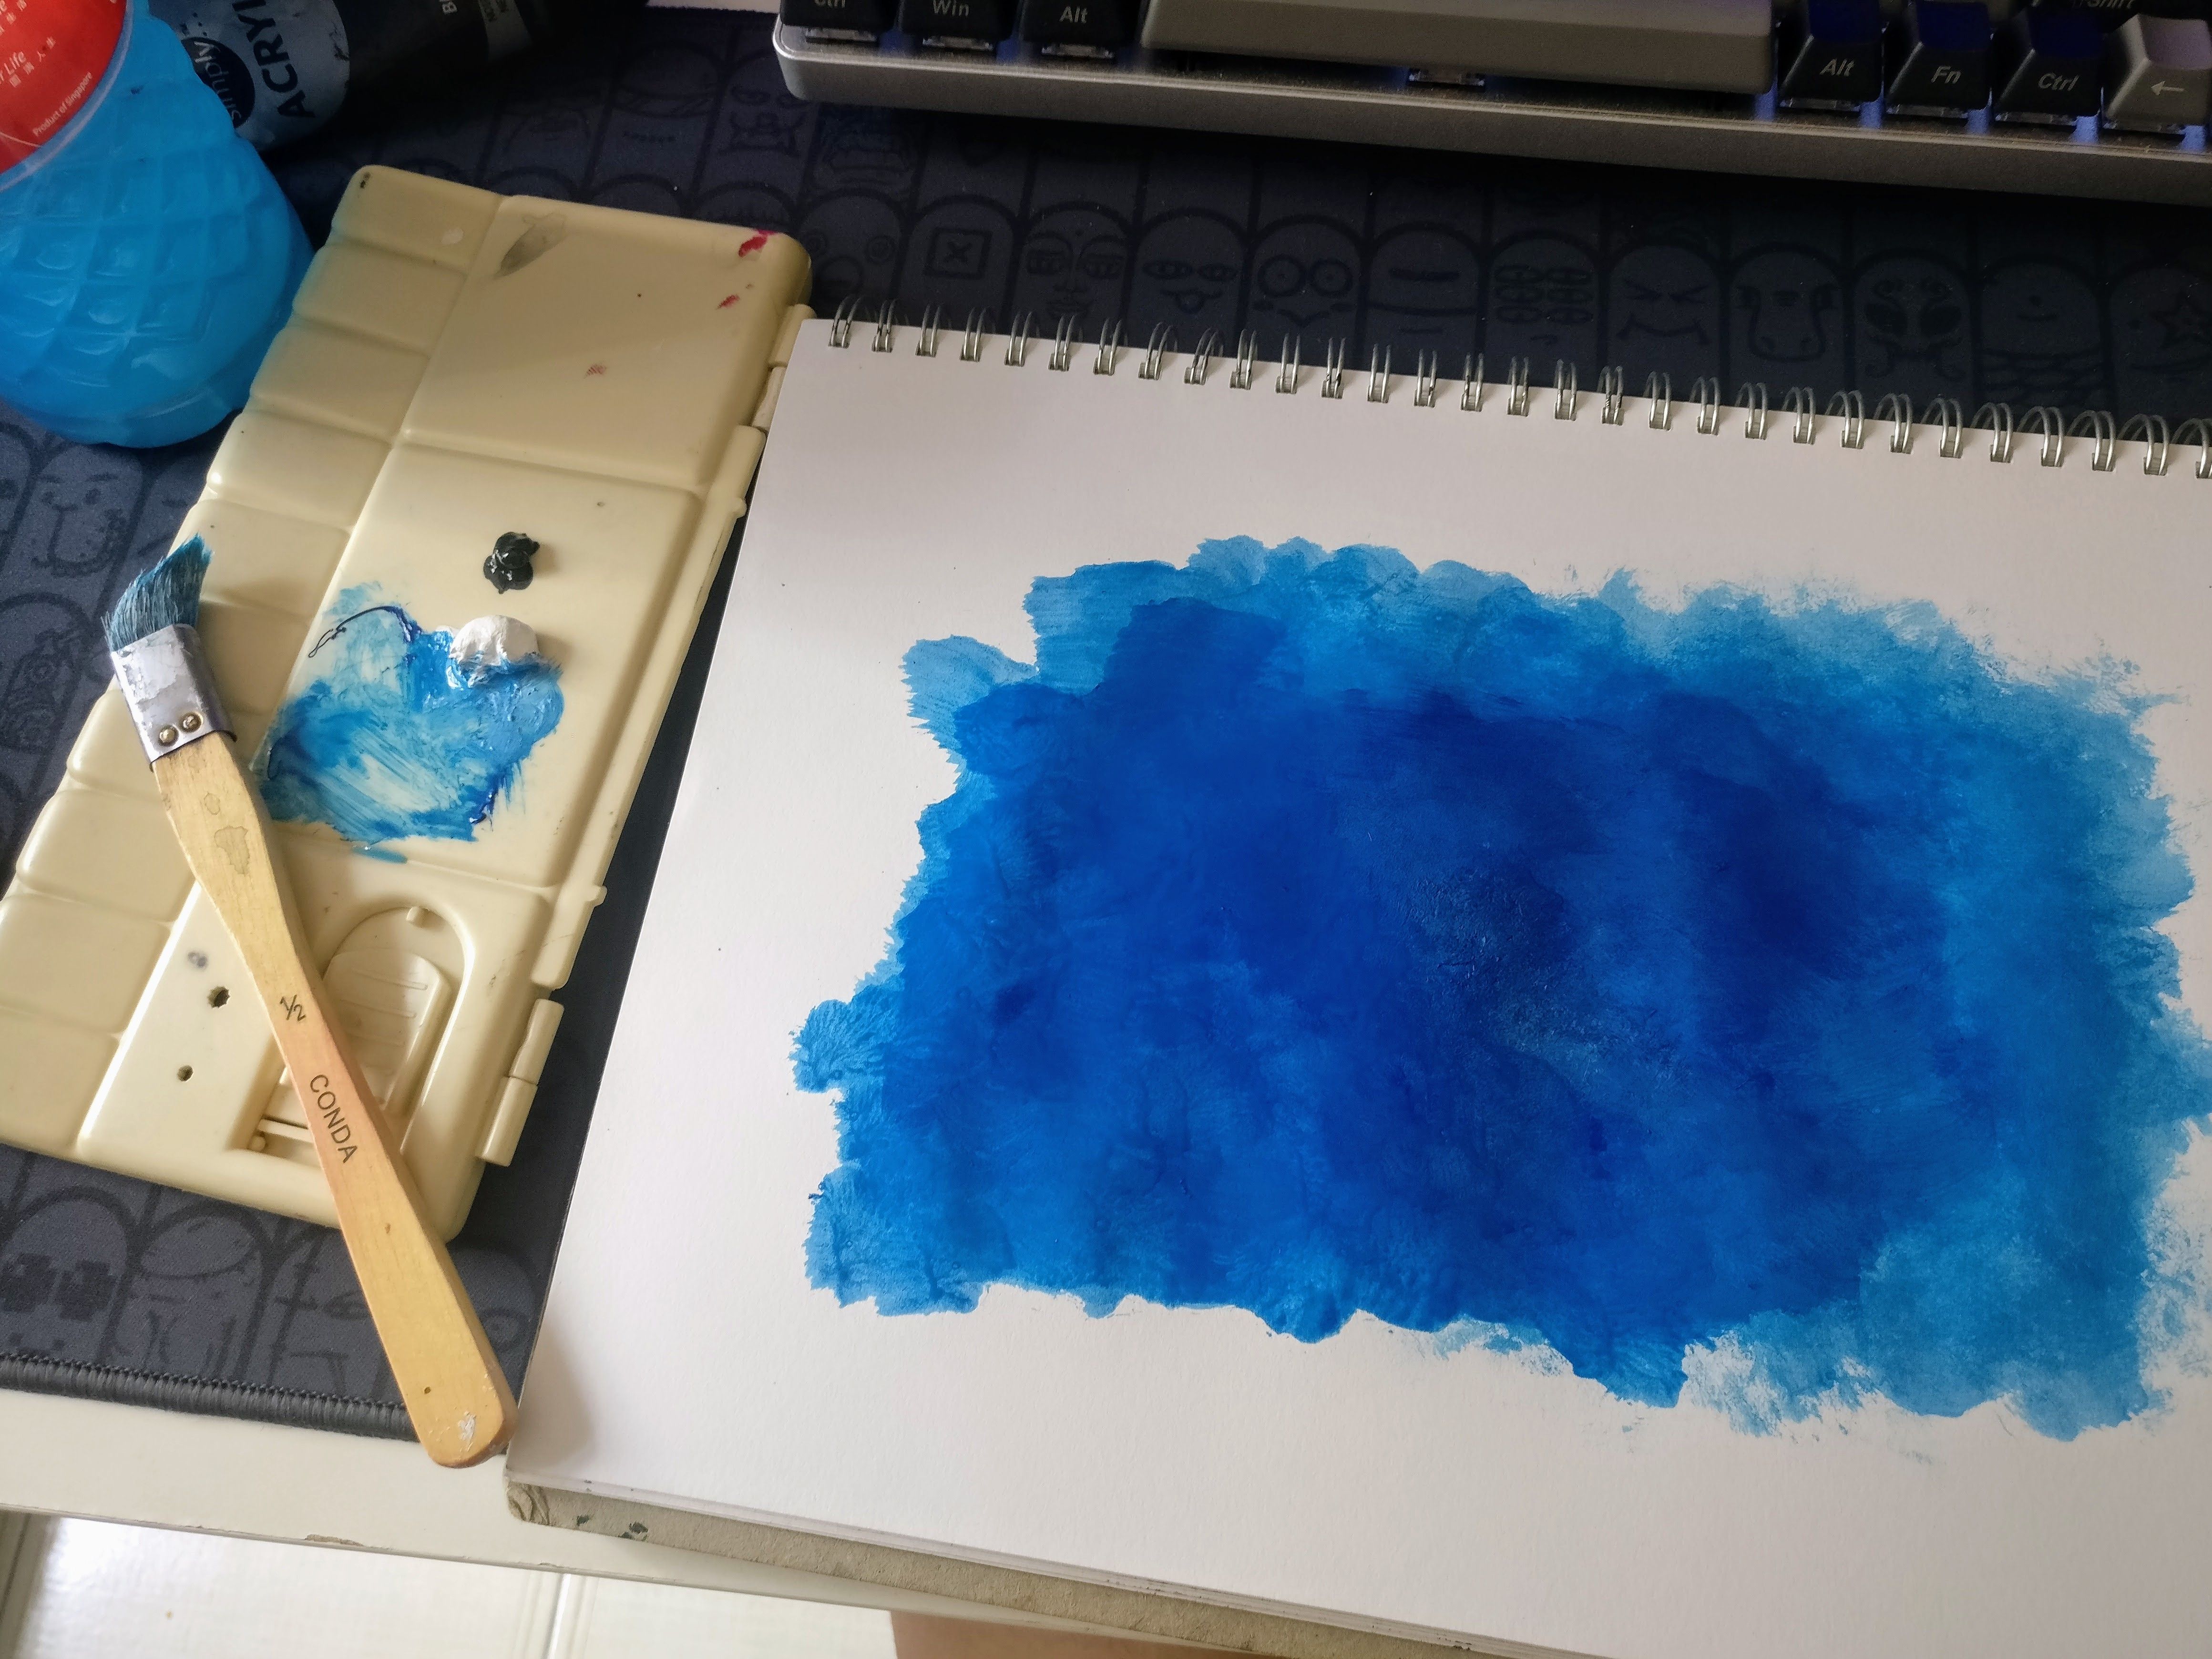
Ready for the cloud painting. The blue color pigment was nicely finished. Wait for this layer to completely dried, you can use a hair dryer to speed up the drying.
等背景都干透了才准备进行云的部分。可以用吹风筒加速吹干。
.gif)
We need the white pigment as thick as possible, so no dilution needed here.
白色颜料就不需要调稀了,越厚越好。
.gif)
Start drawing a base sketch on the dry background.
为云的面积打下基础。
.gif)
Things won’t be looking good as the first white layer is not thick enough to completely cover the blue background. Keep on painting base layer for the cloud.
现阶段不会太好看,因为白色的厚度不足以掩盖深蓝色的背景。现在只需要把云的骨架大概的绘出来。
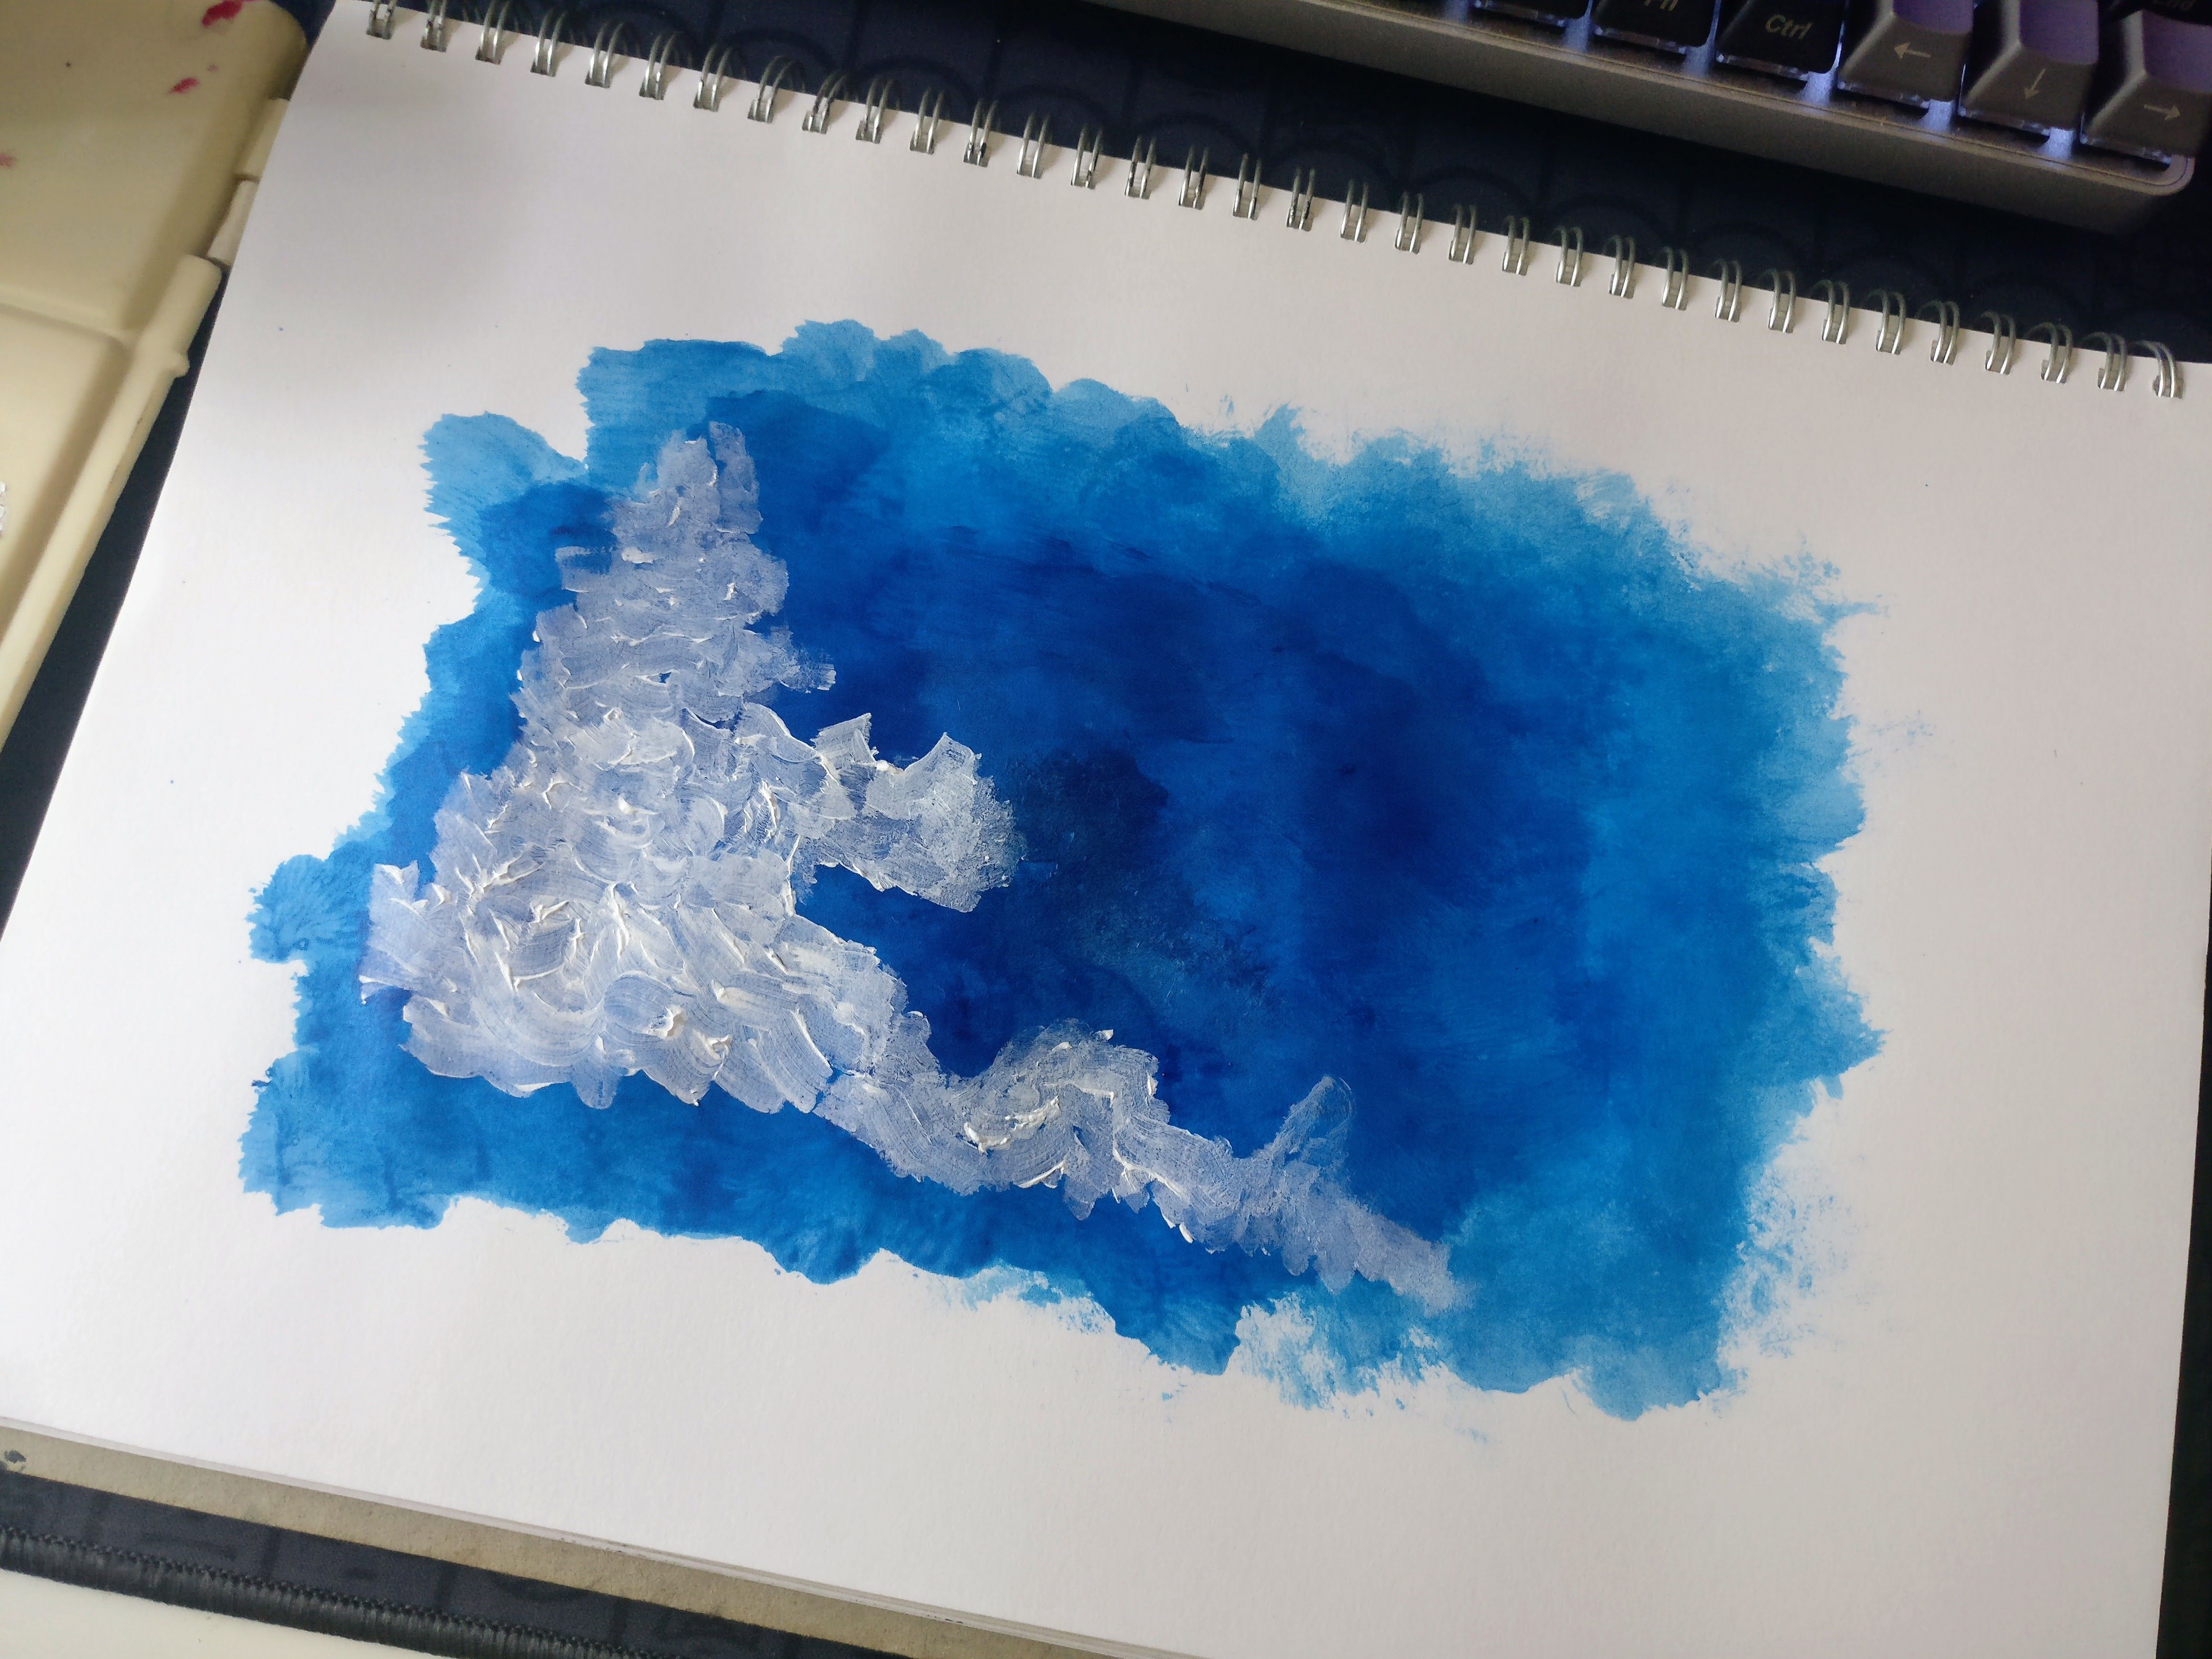
The base layer of cloud is now done.
云的基础面已经完成。
.gif)
Start toning the shadow part of the cloud, no dilution is needed too.
开始为云的暗影下笔,这里也不需要调稀。
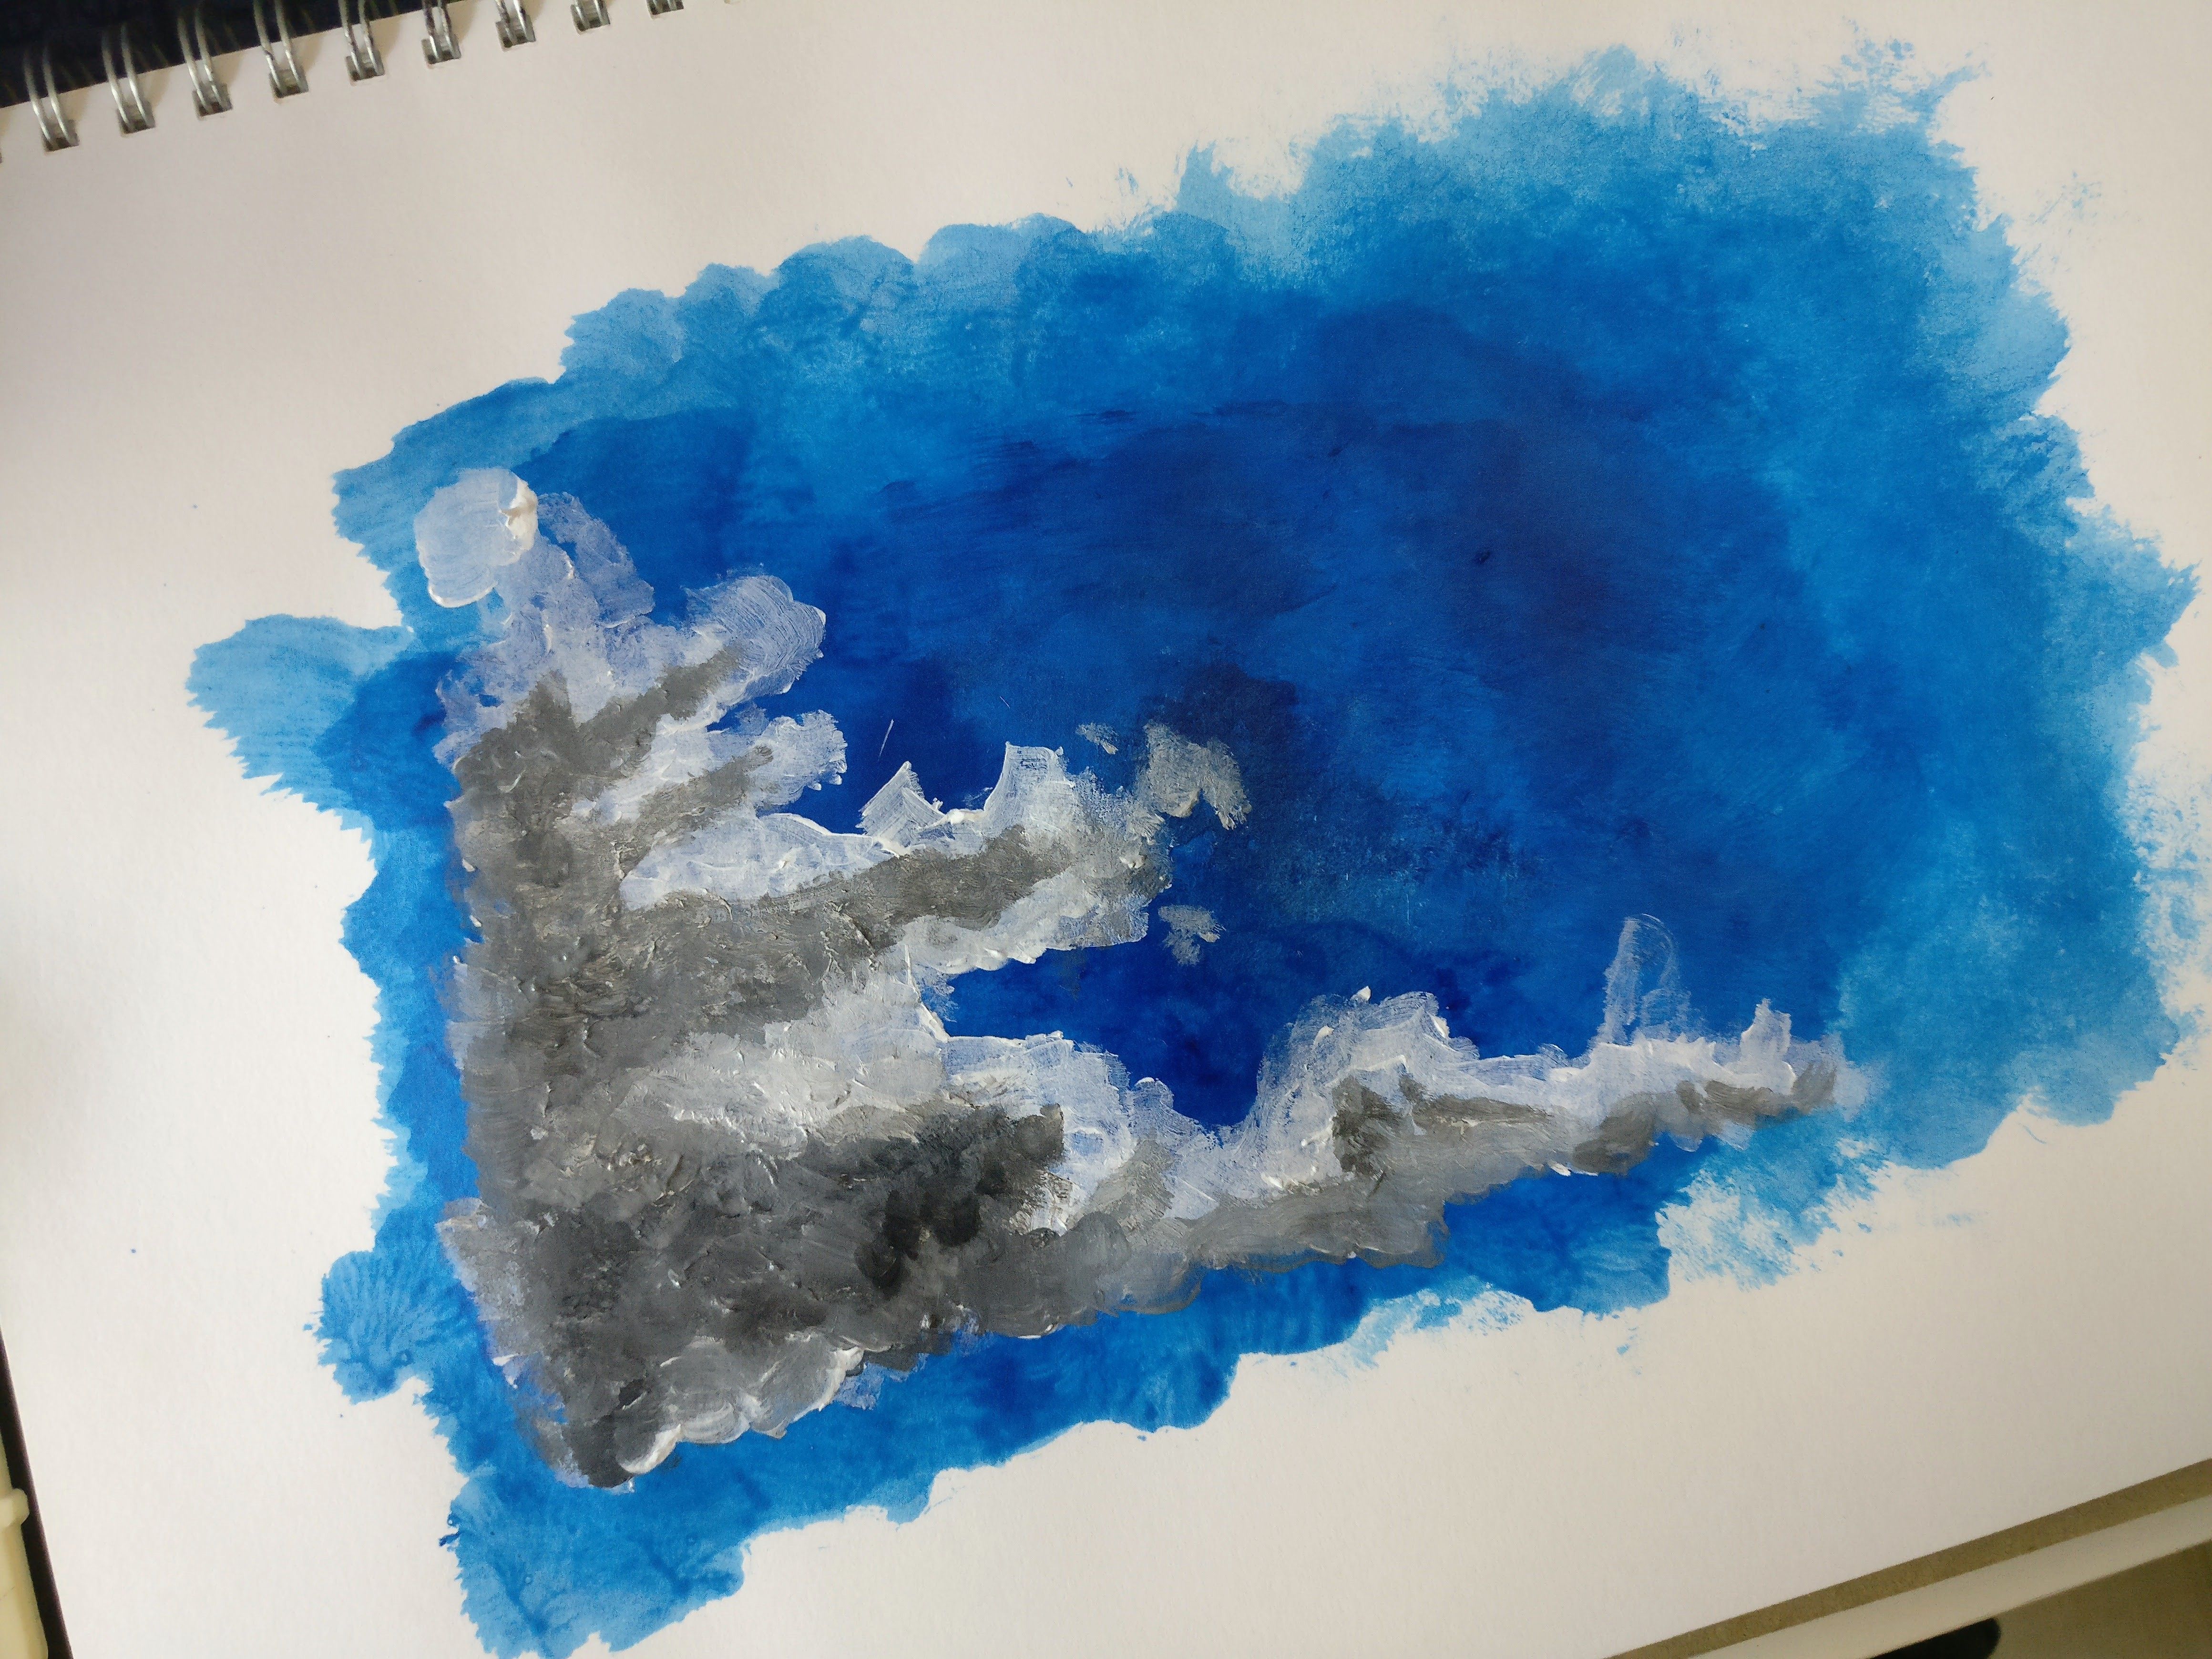
Now the cloud is more lively and 3D with the compliment of different tones of shadow.
有了不同程度的暗影,云看起来更立体了一些。
.gif)
Adding some cloud fragments to make it looks more natural. This can outline the dynamic character of cloud too.
加些小碎云会让整体看起来更真实,也会让人由云在移动中的感觉。
.gif)
No cloud should have sharp edges, blur up the edge to make it more realistic. You can use a finer brush for this part.
云的边缘永远不会是尖锐分明的,将之模糊化会看起来更真实。这里可以使用更加细小的画笔。
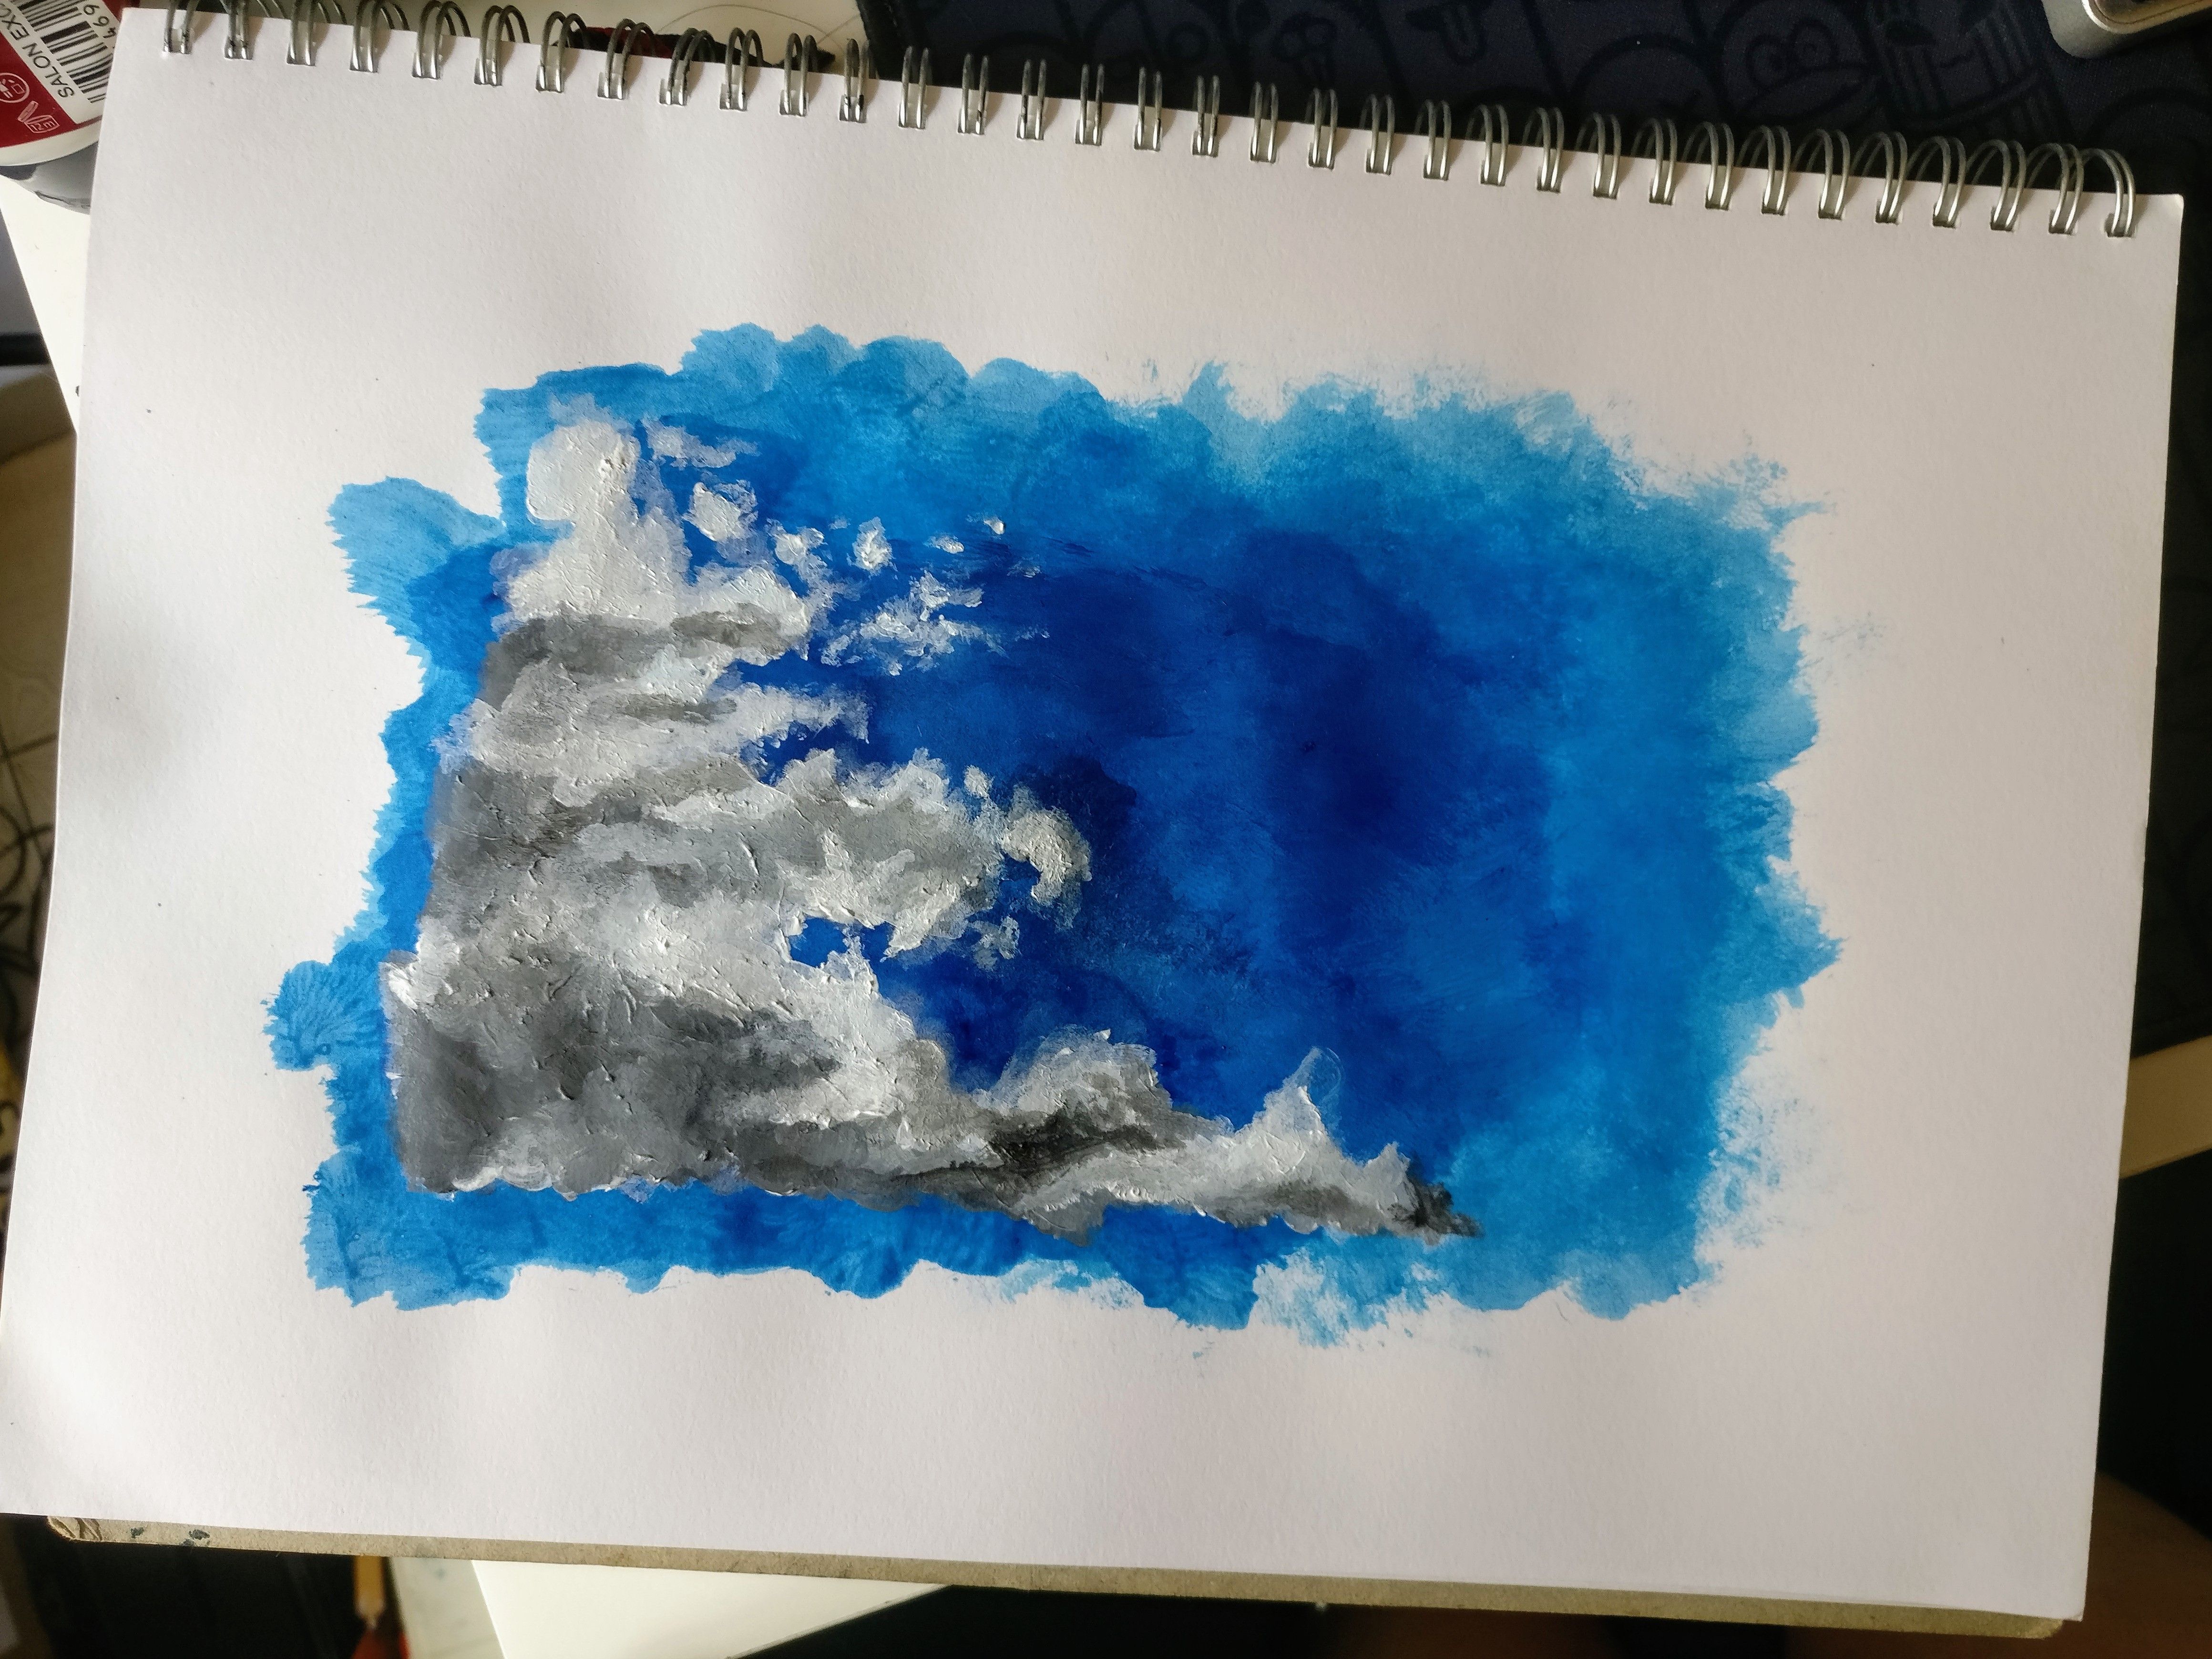
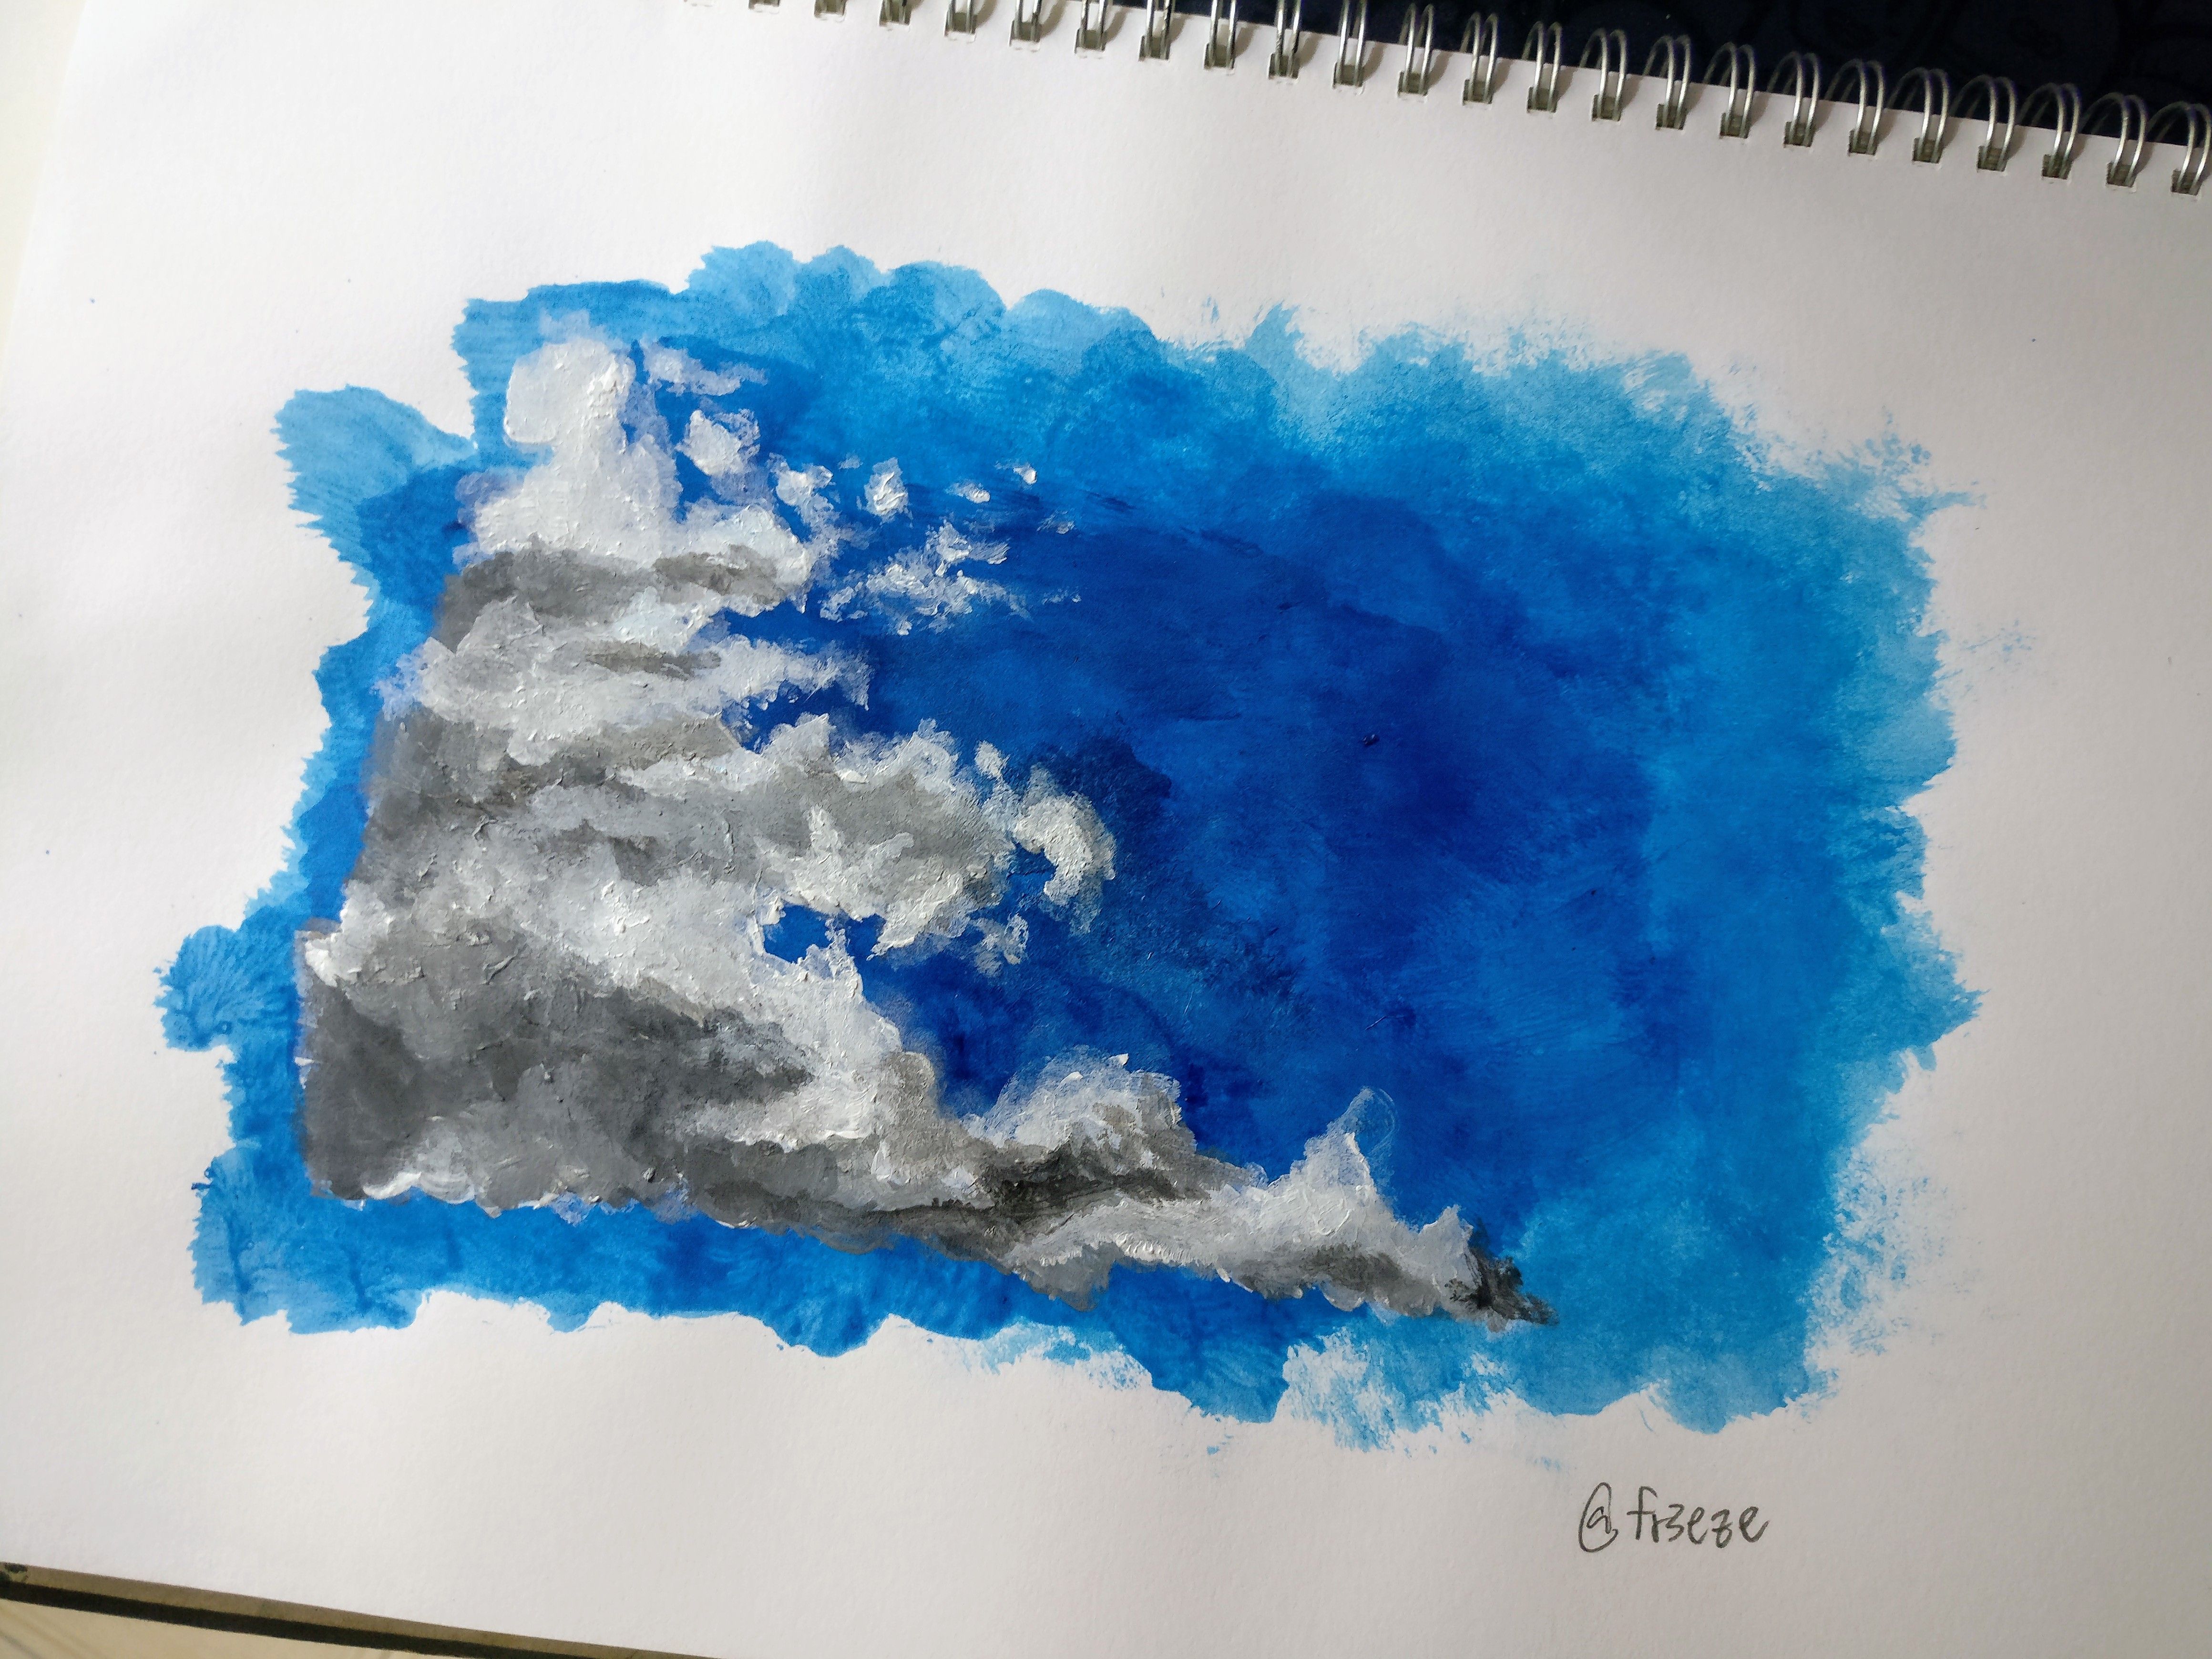
Done for the tutorial, this cost me about 30 mins.
30分钟后,教程完成了。
The actual entry 参赛作品
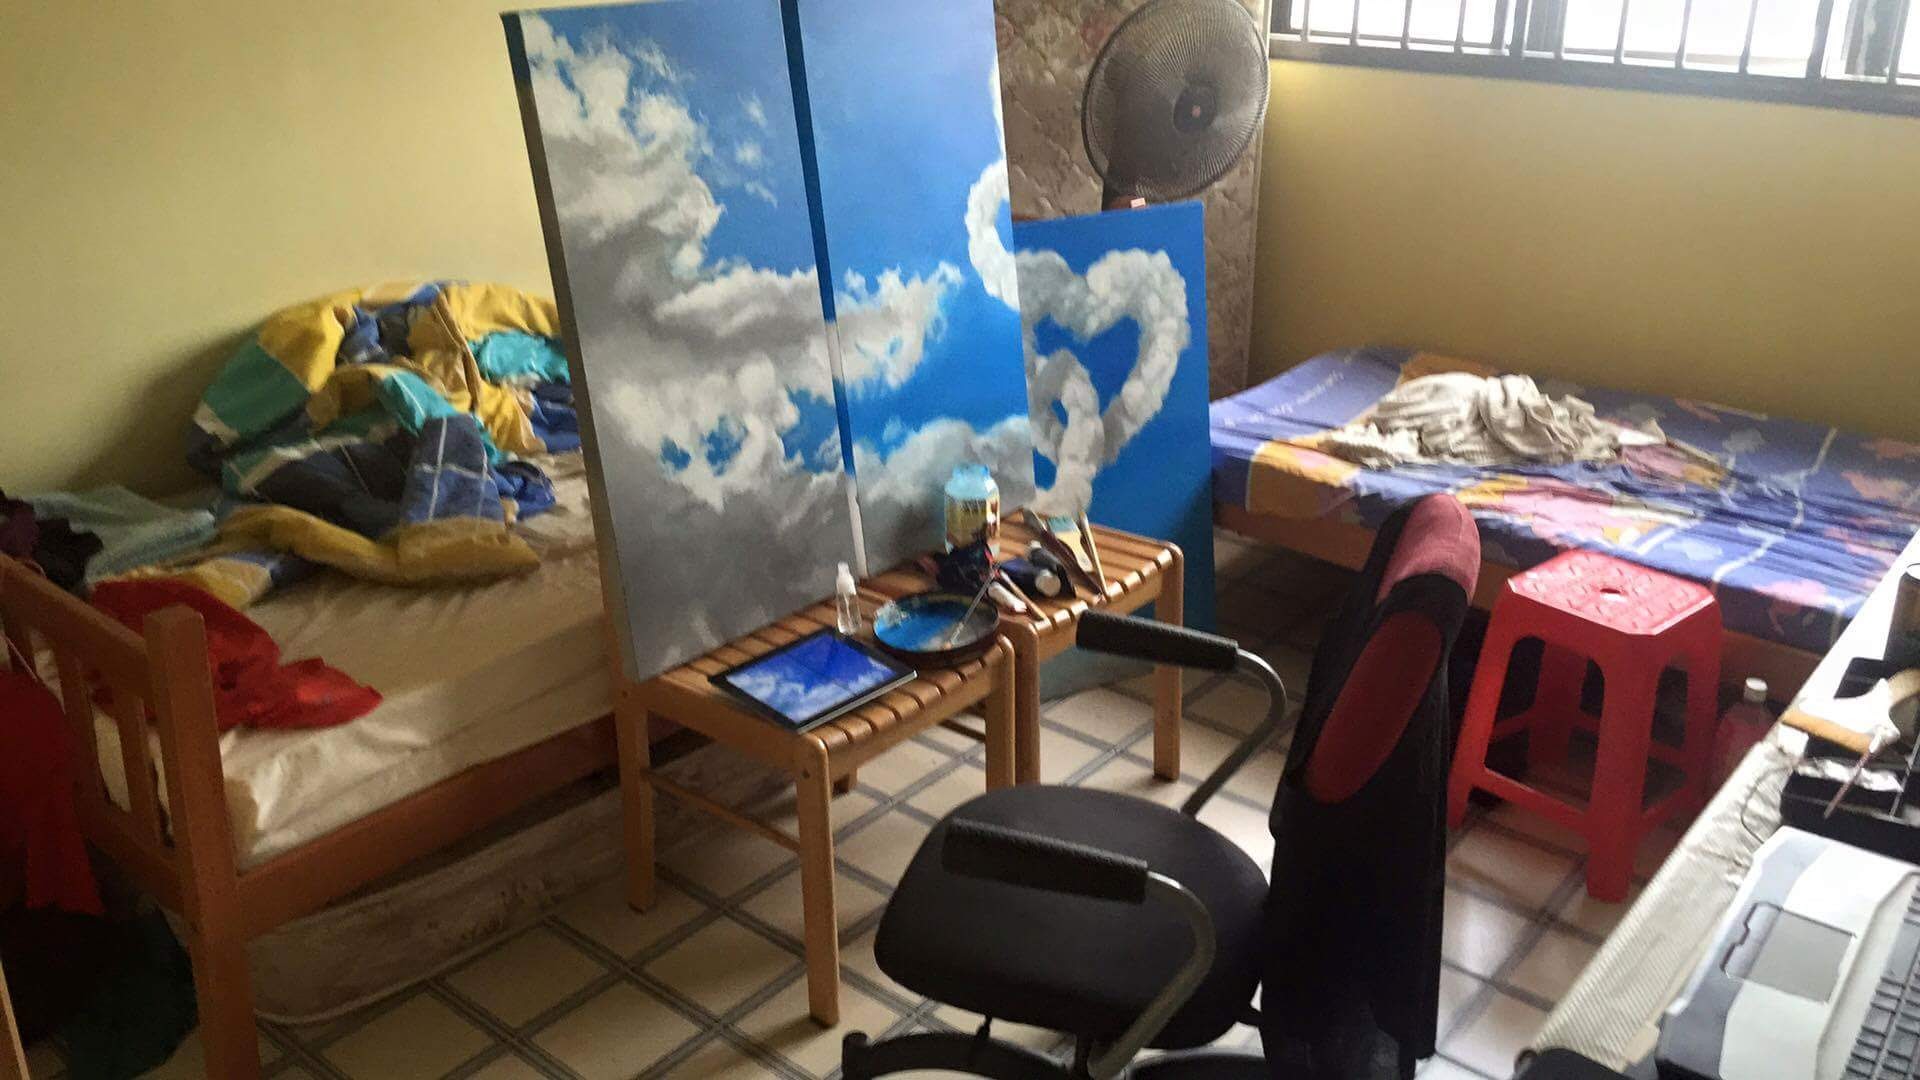
The only in-the-progress photo in the small rented room. Sorry for the messy bedsheet.
这是唯一的在作画时所拍摄的照片,请忽略凌乱的床单。
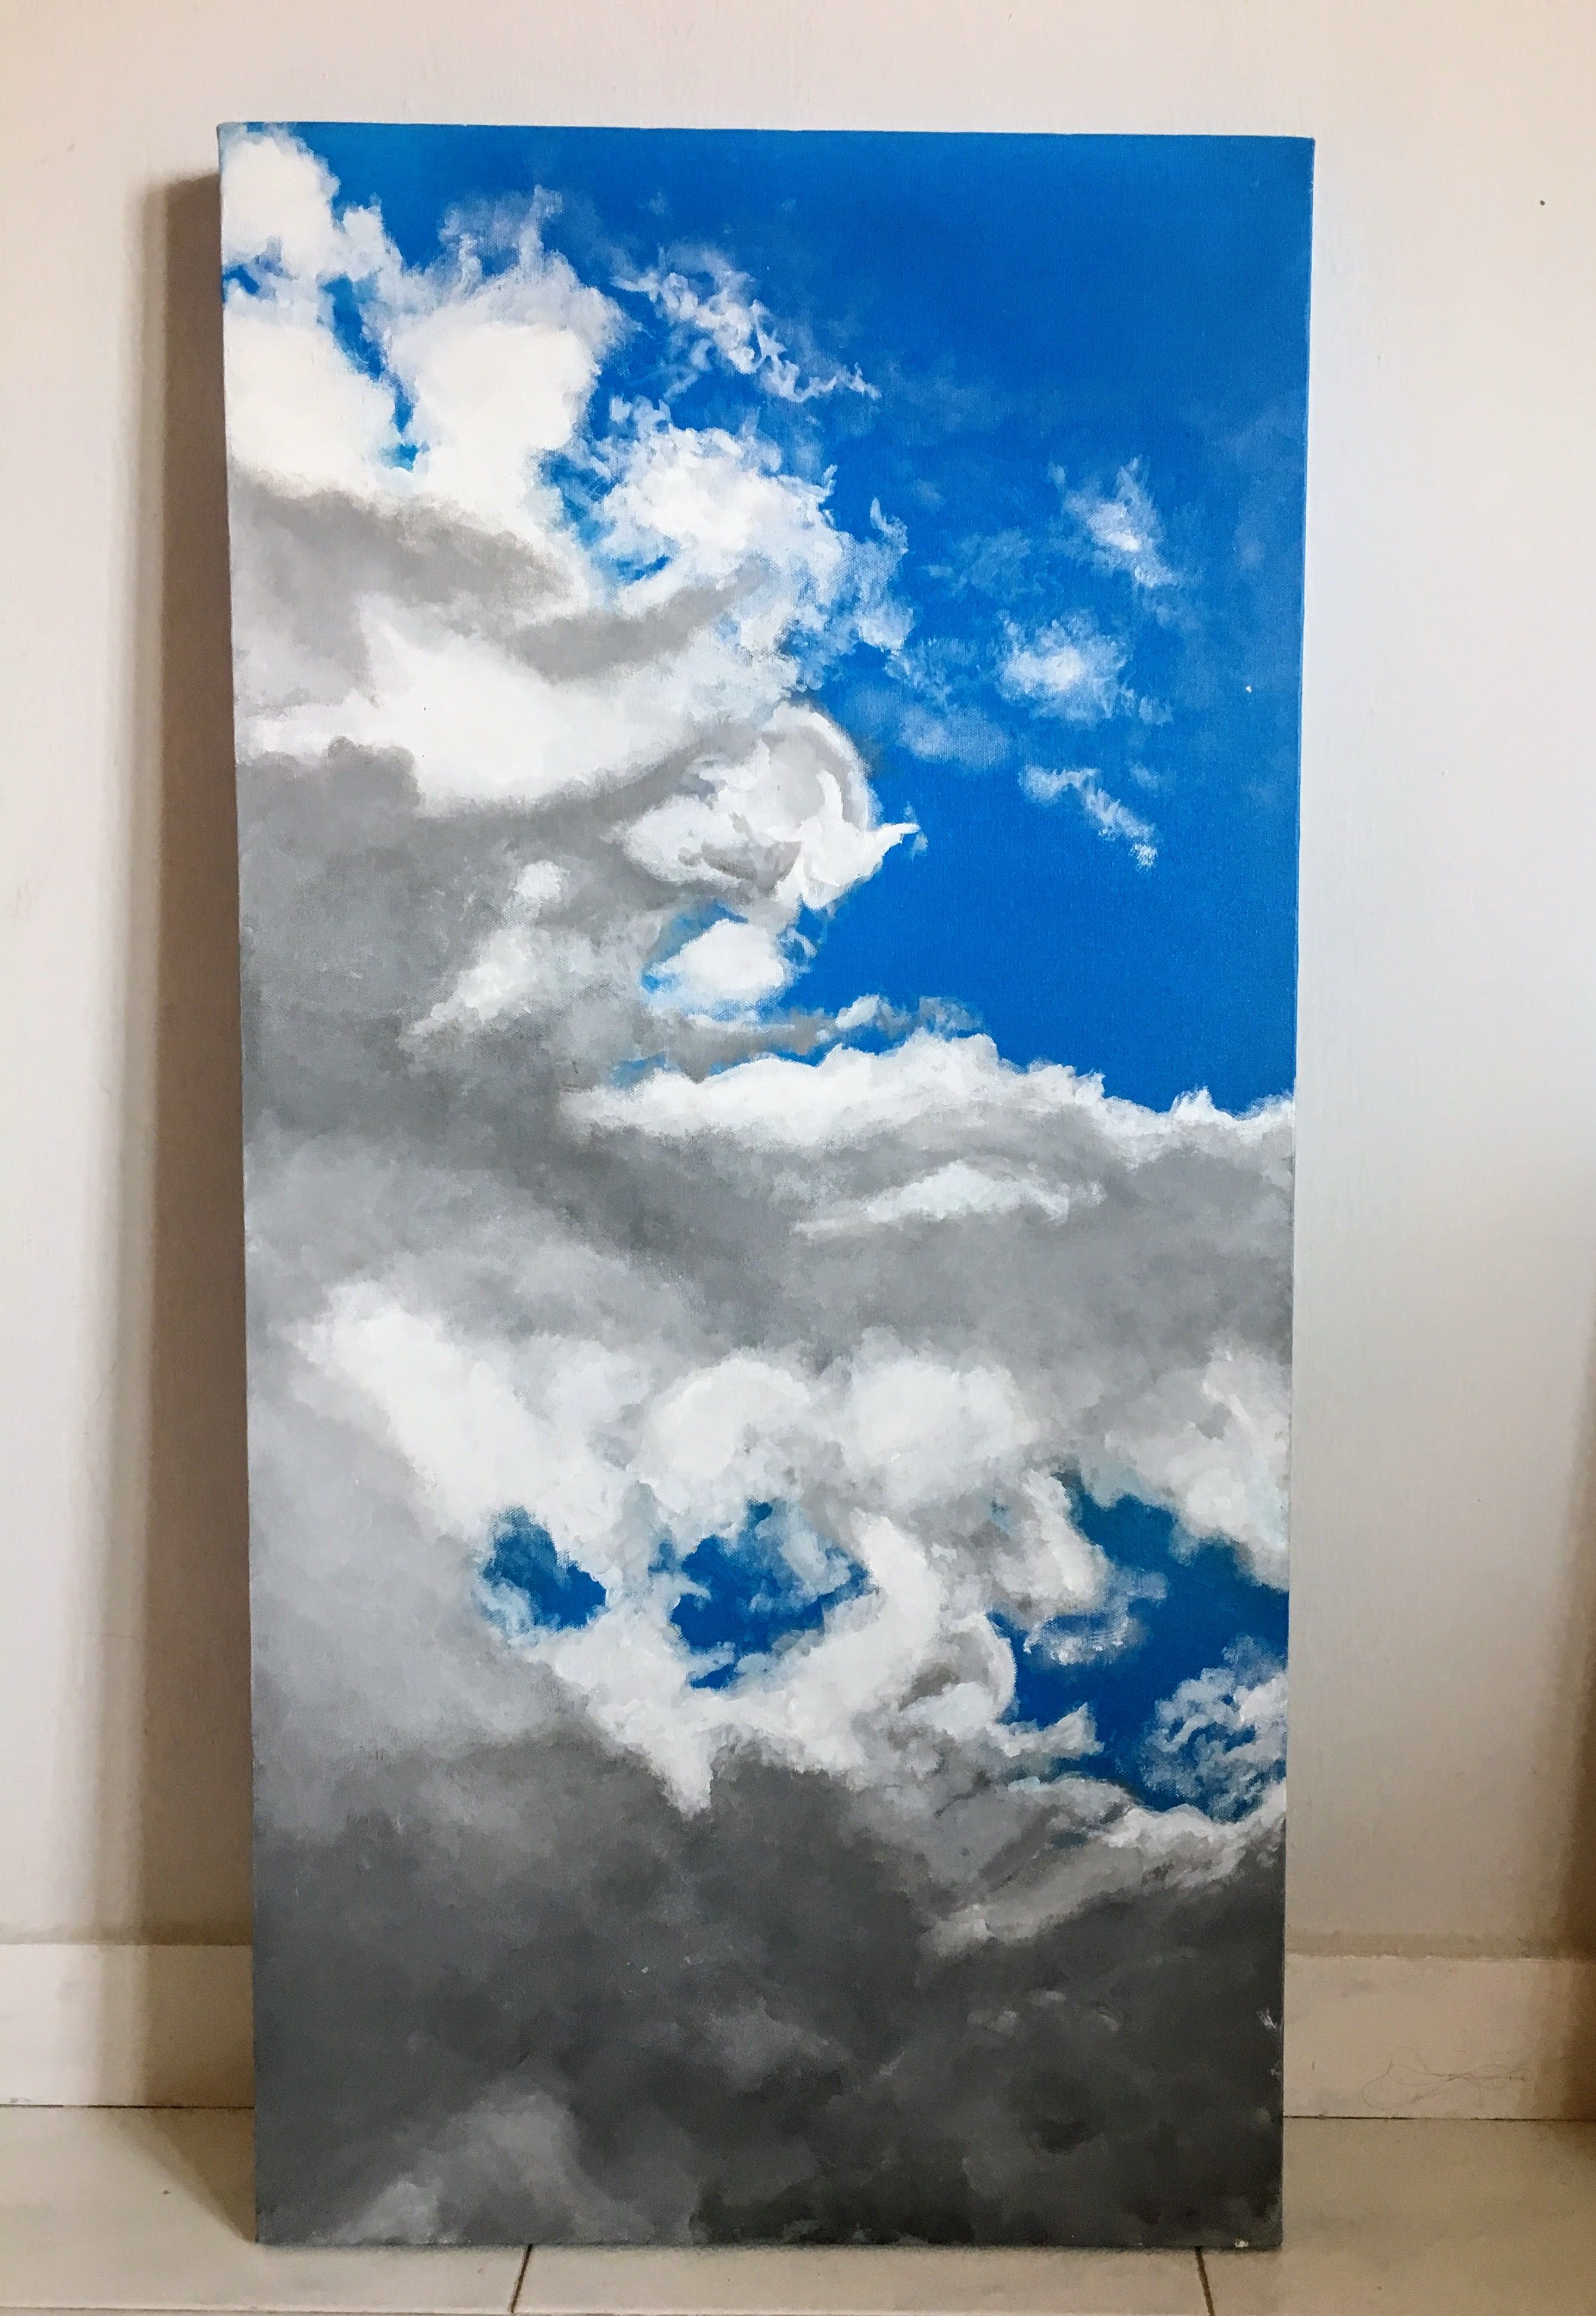
The leftmost piece of canvas, which was mainly the part I’ve shown in the tutorial.
最左边的画布,也是教程中所呈现最多的。
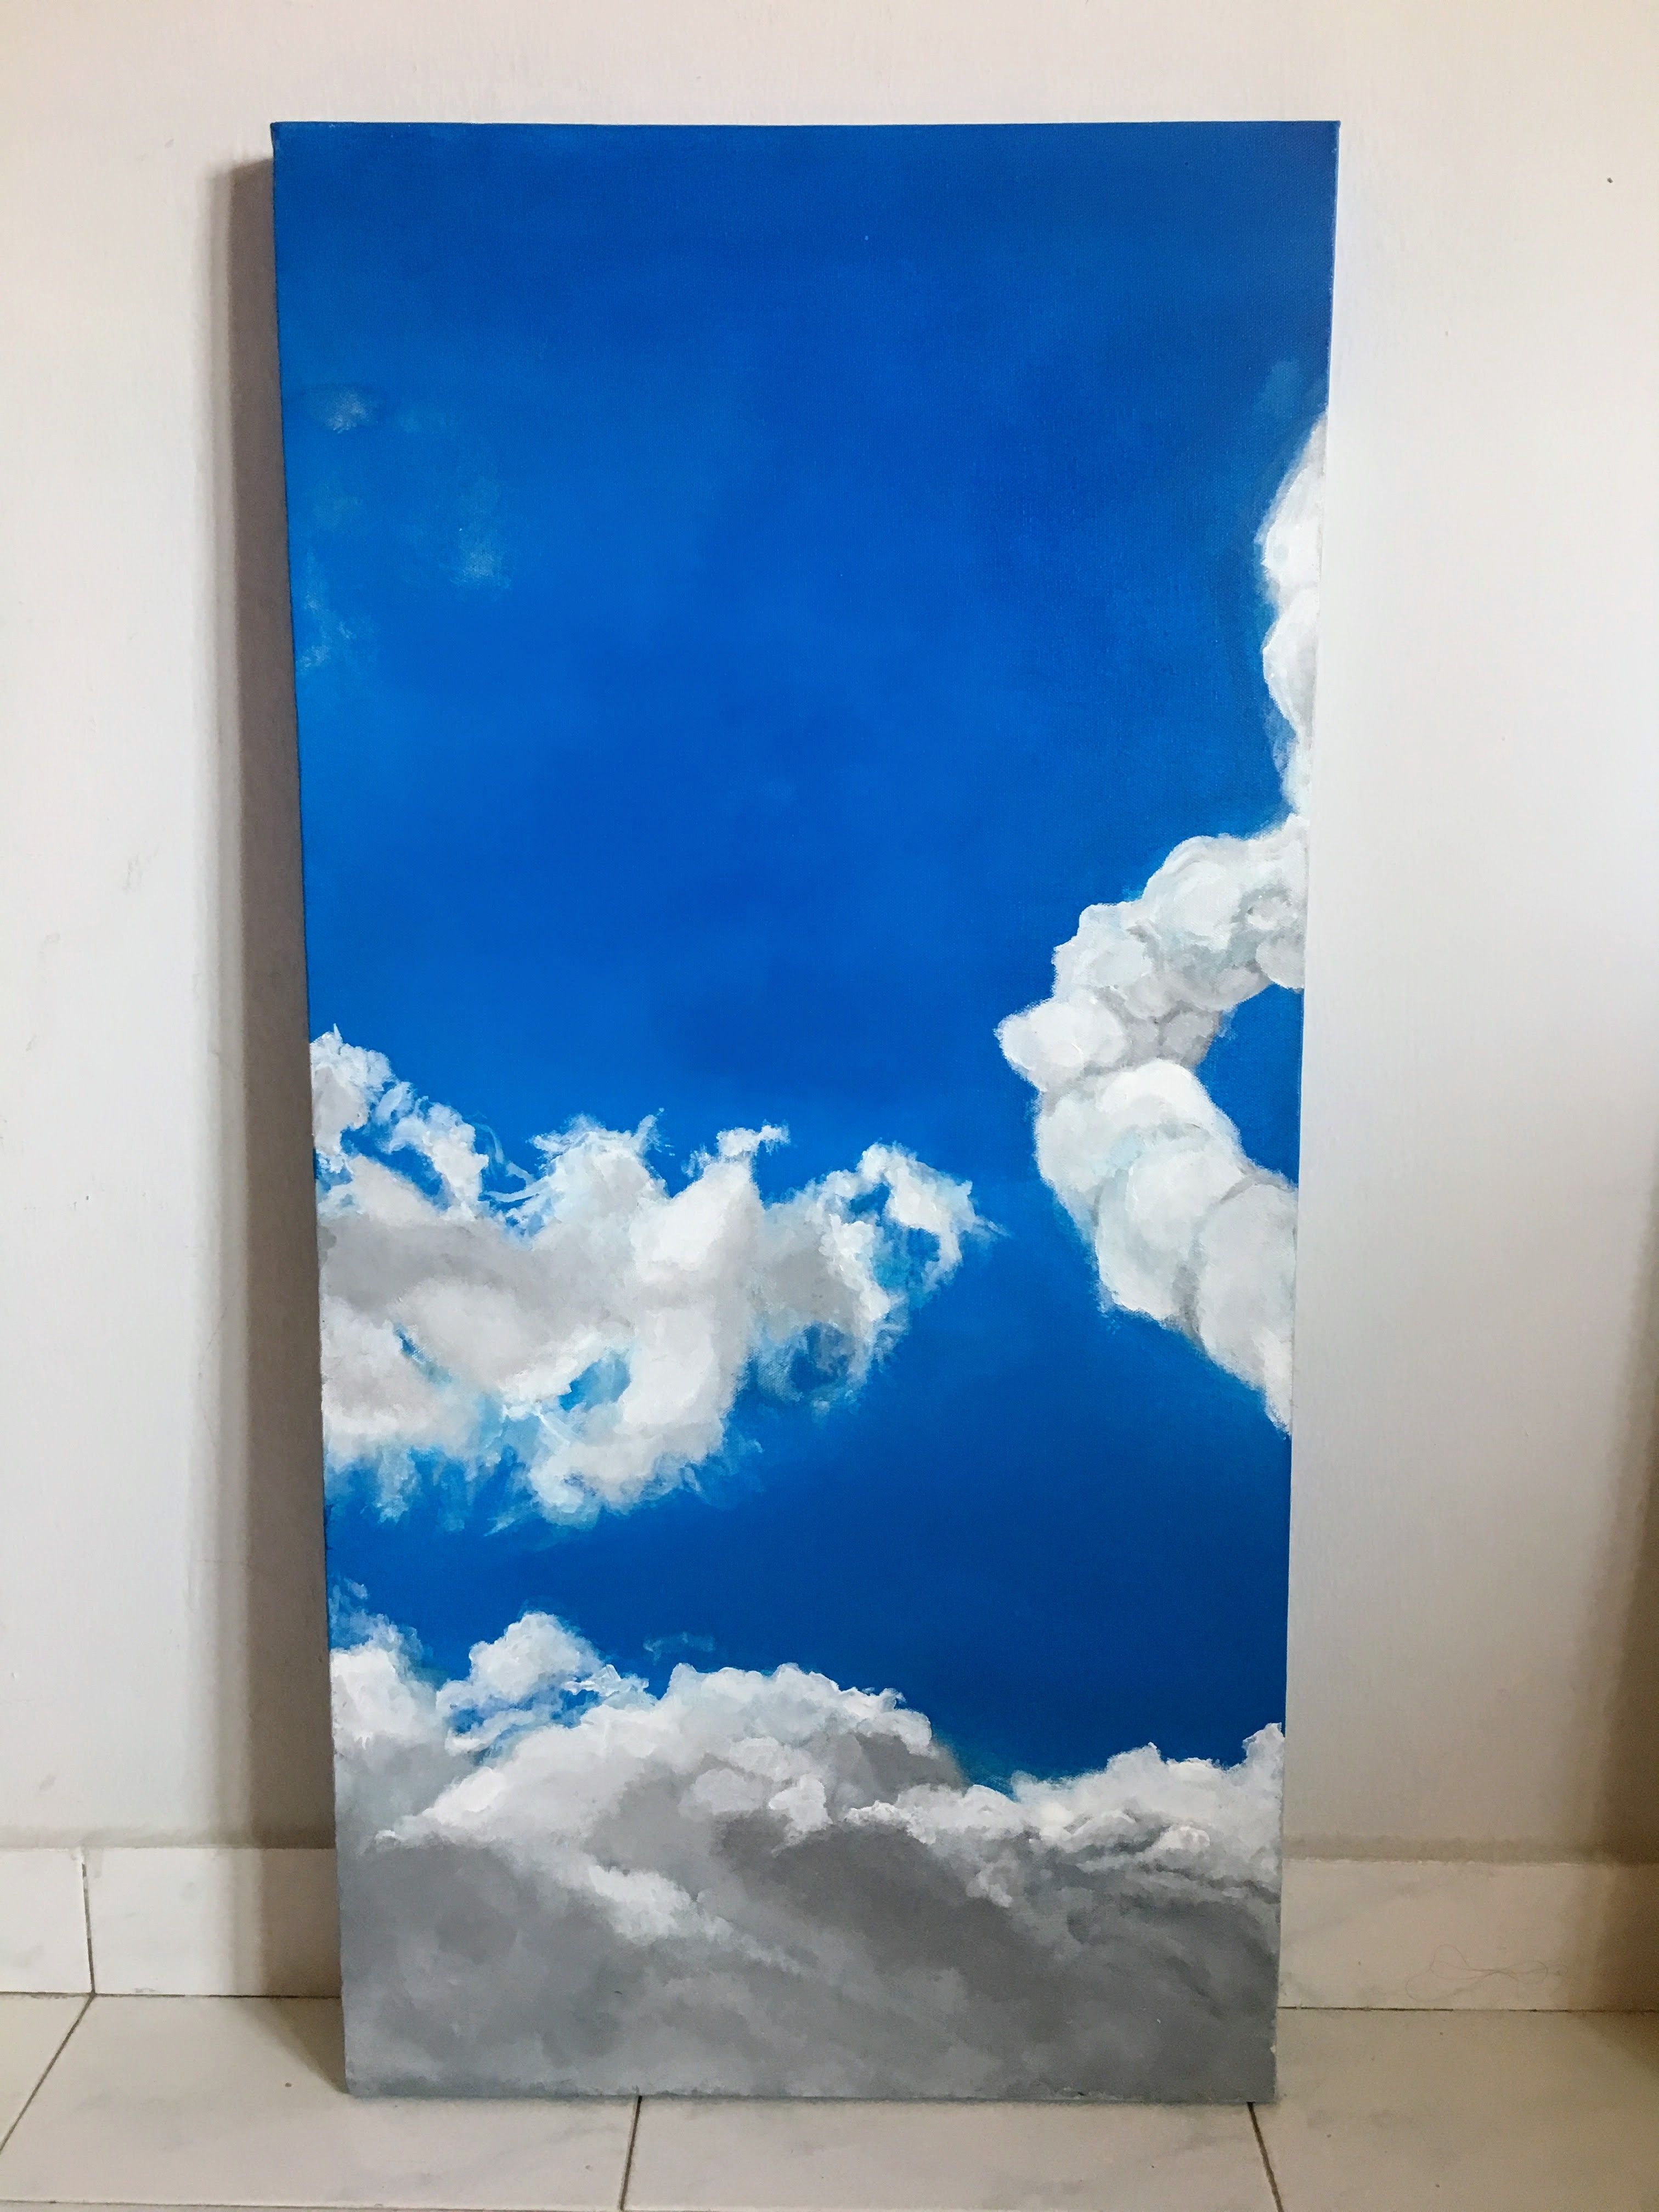
The middle part of the whole picture. As you can see the blue sky has the biggest coverage here, that’s why when painting such a huge area, you need to prepare a large amount of pigment for the sake of consistency. Else the sky will have a different tone of color and looks unnatural.
中间的画幅。在这里可以看到天空蓝占了大面积,这也是为什么在绘画如此大型的画布时,一定要把背景颜色大量准备,否者很容易出现色调不一致的问题,作品效果会差很多。
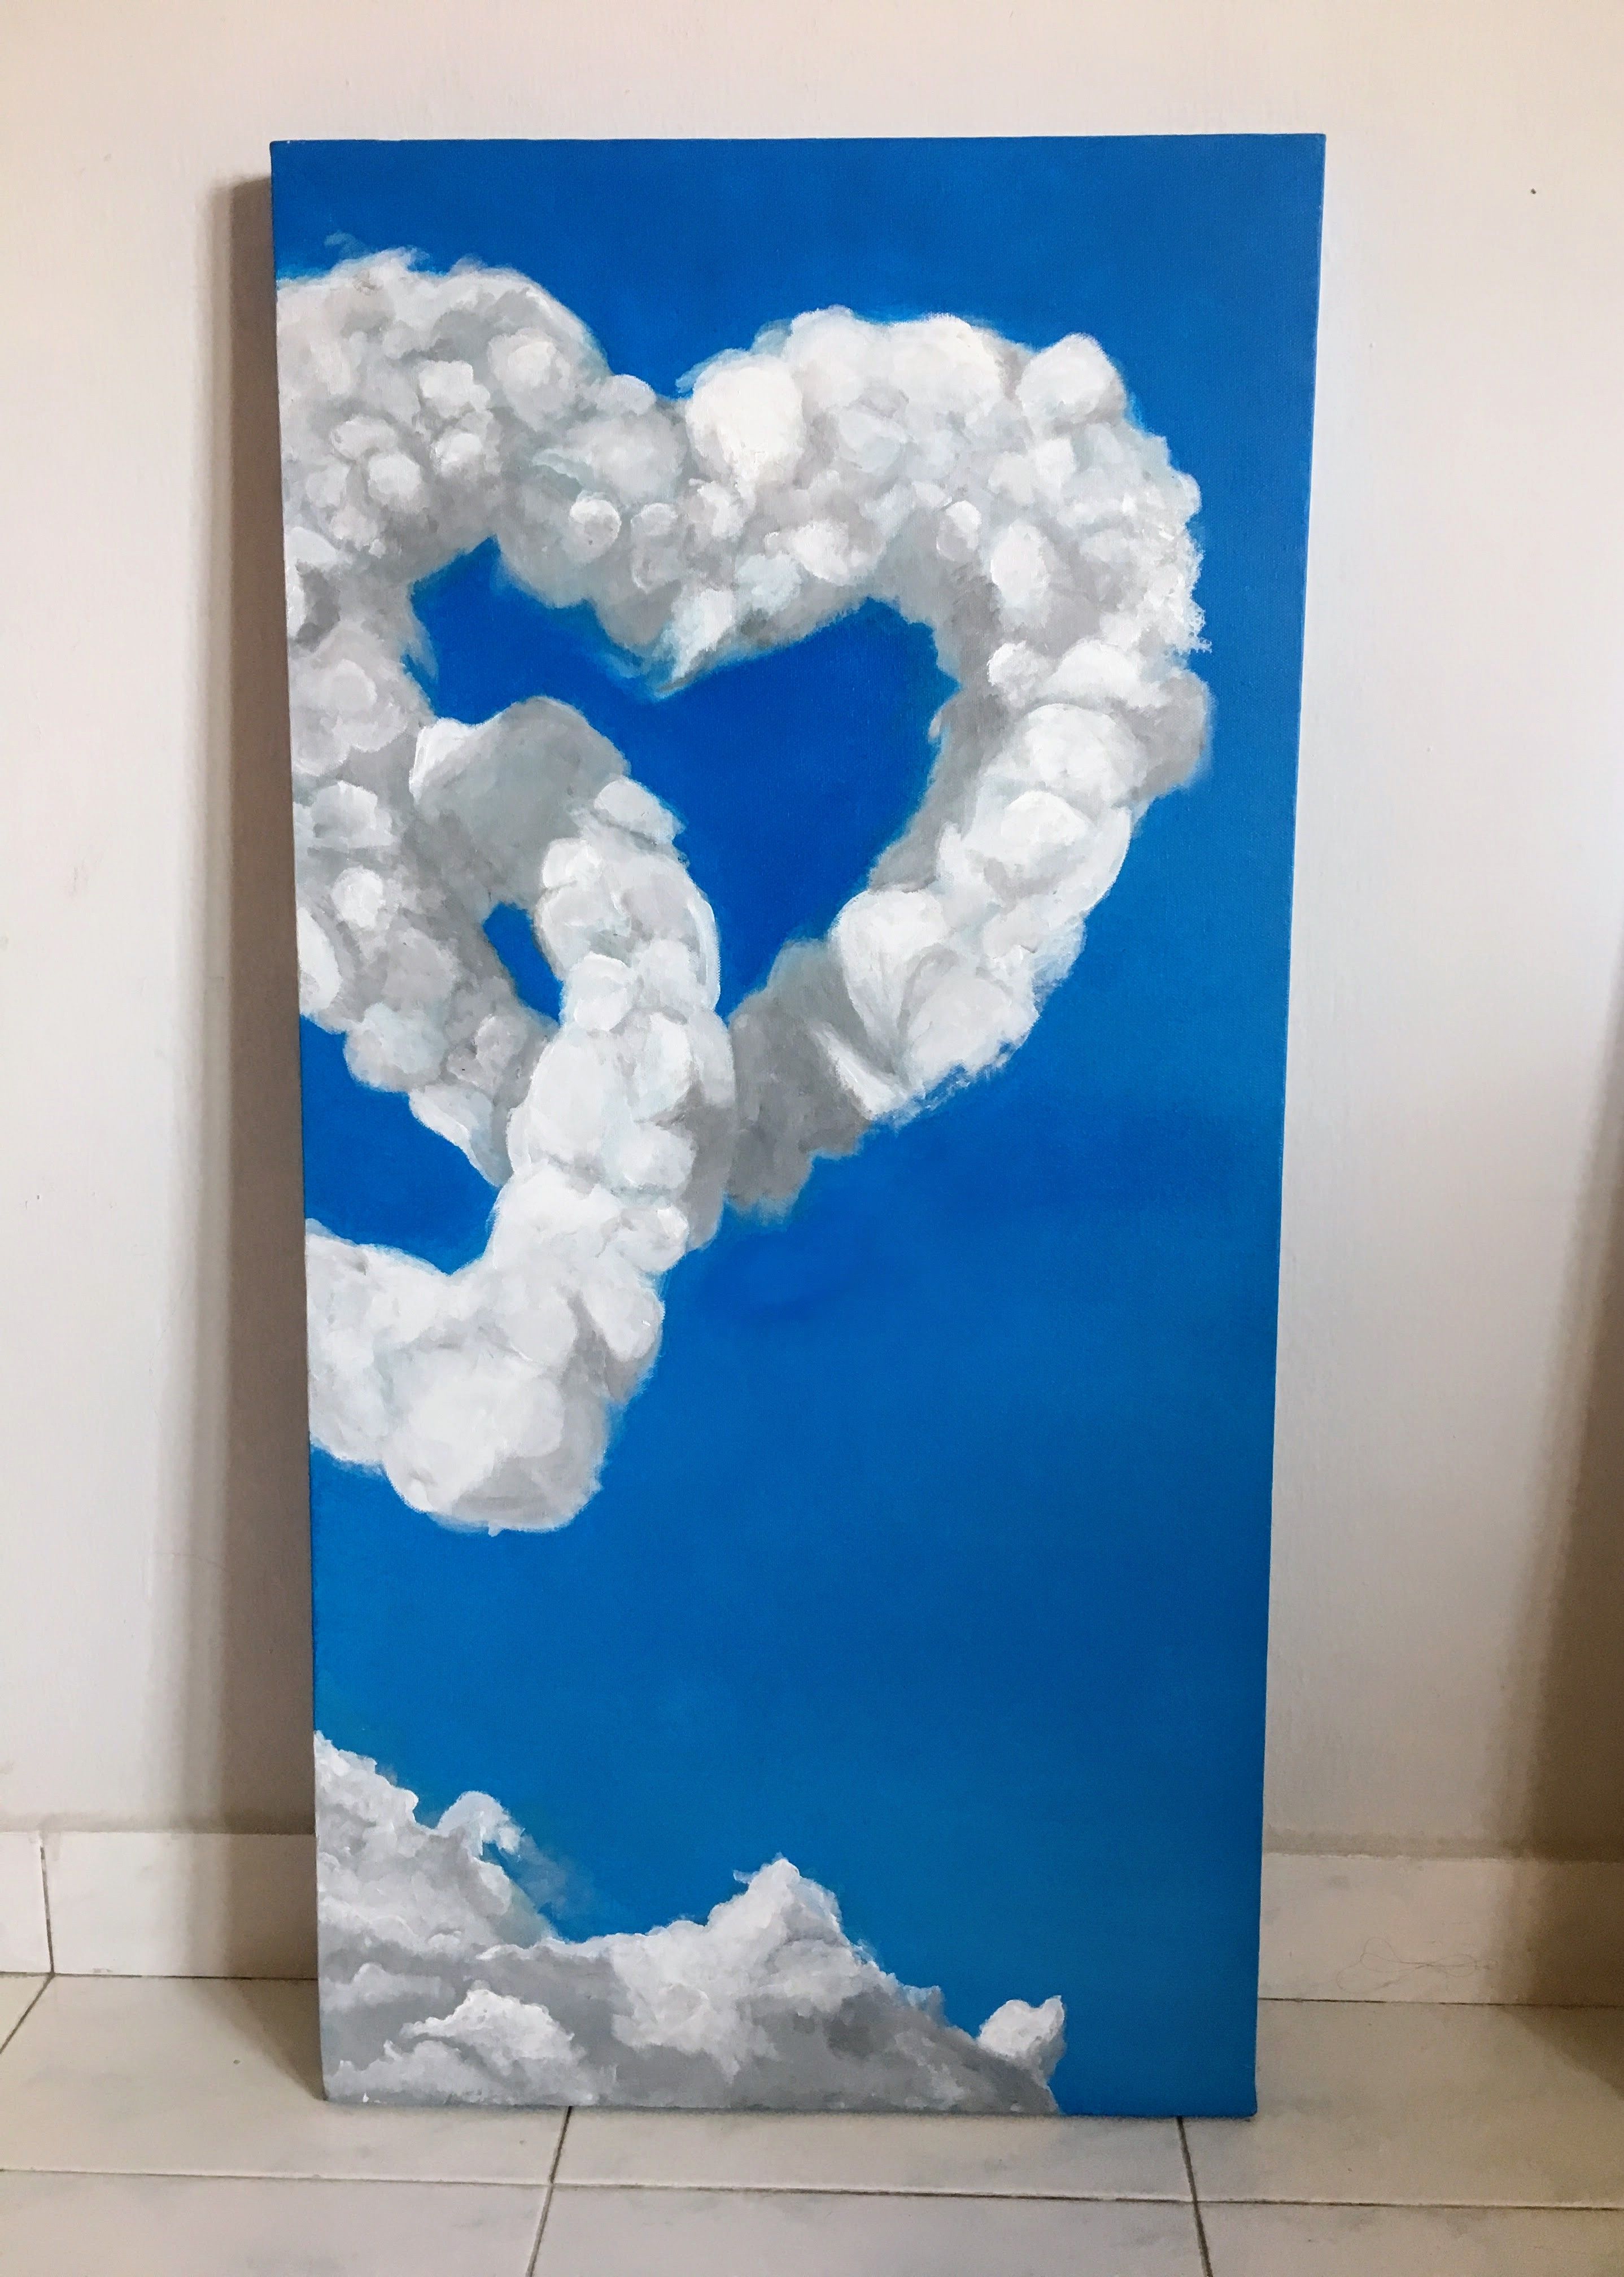
The intersected loves represent my blessing for their marriage. Each of the 3 canvases is in the size of 36 inches tall and 24 inches wide.
最右边的画幅,也是双心交缠的主要篇幅。每幅画布都是36寸高24寸阔。
The creator having fun with the art while waiting for the for the arrival of the bride.
画家本人在等待新娘的到来时,和作品合影中。手中的道具是亲友团准备的。
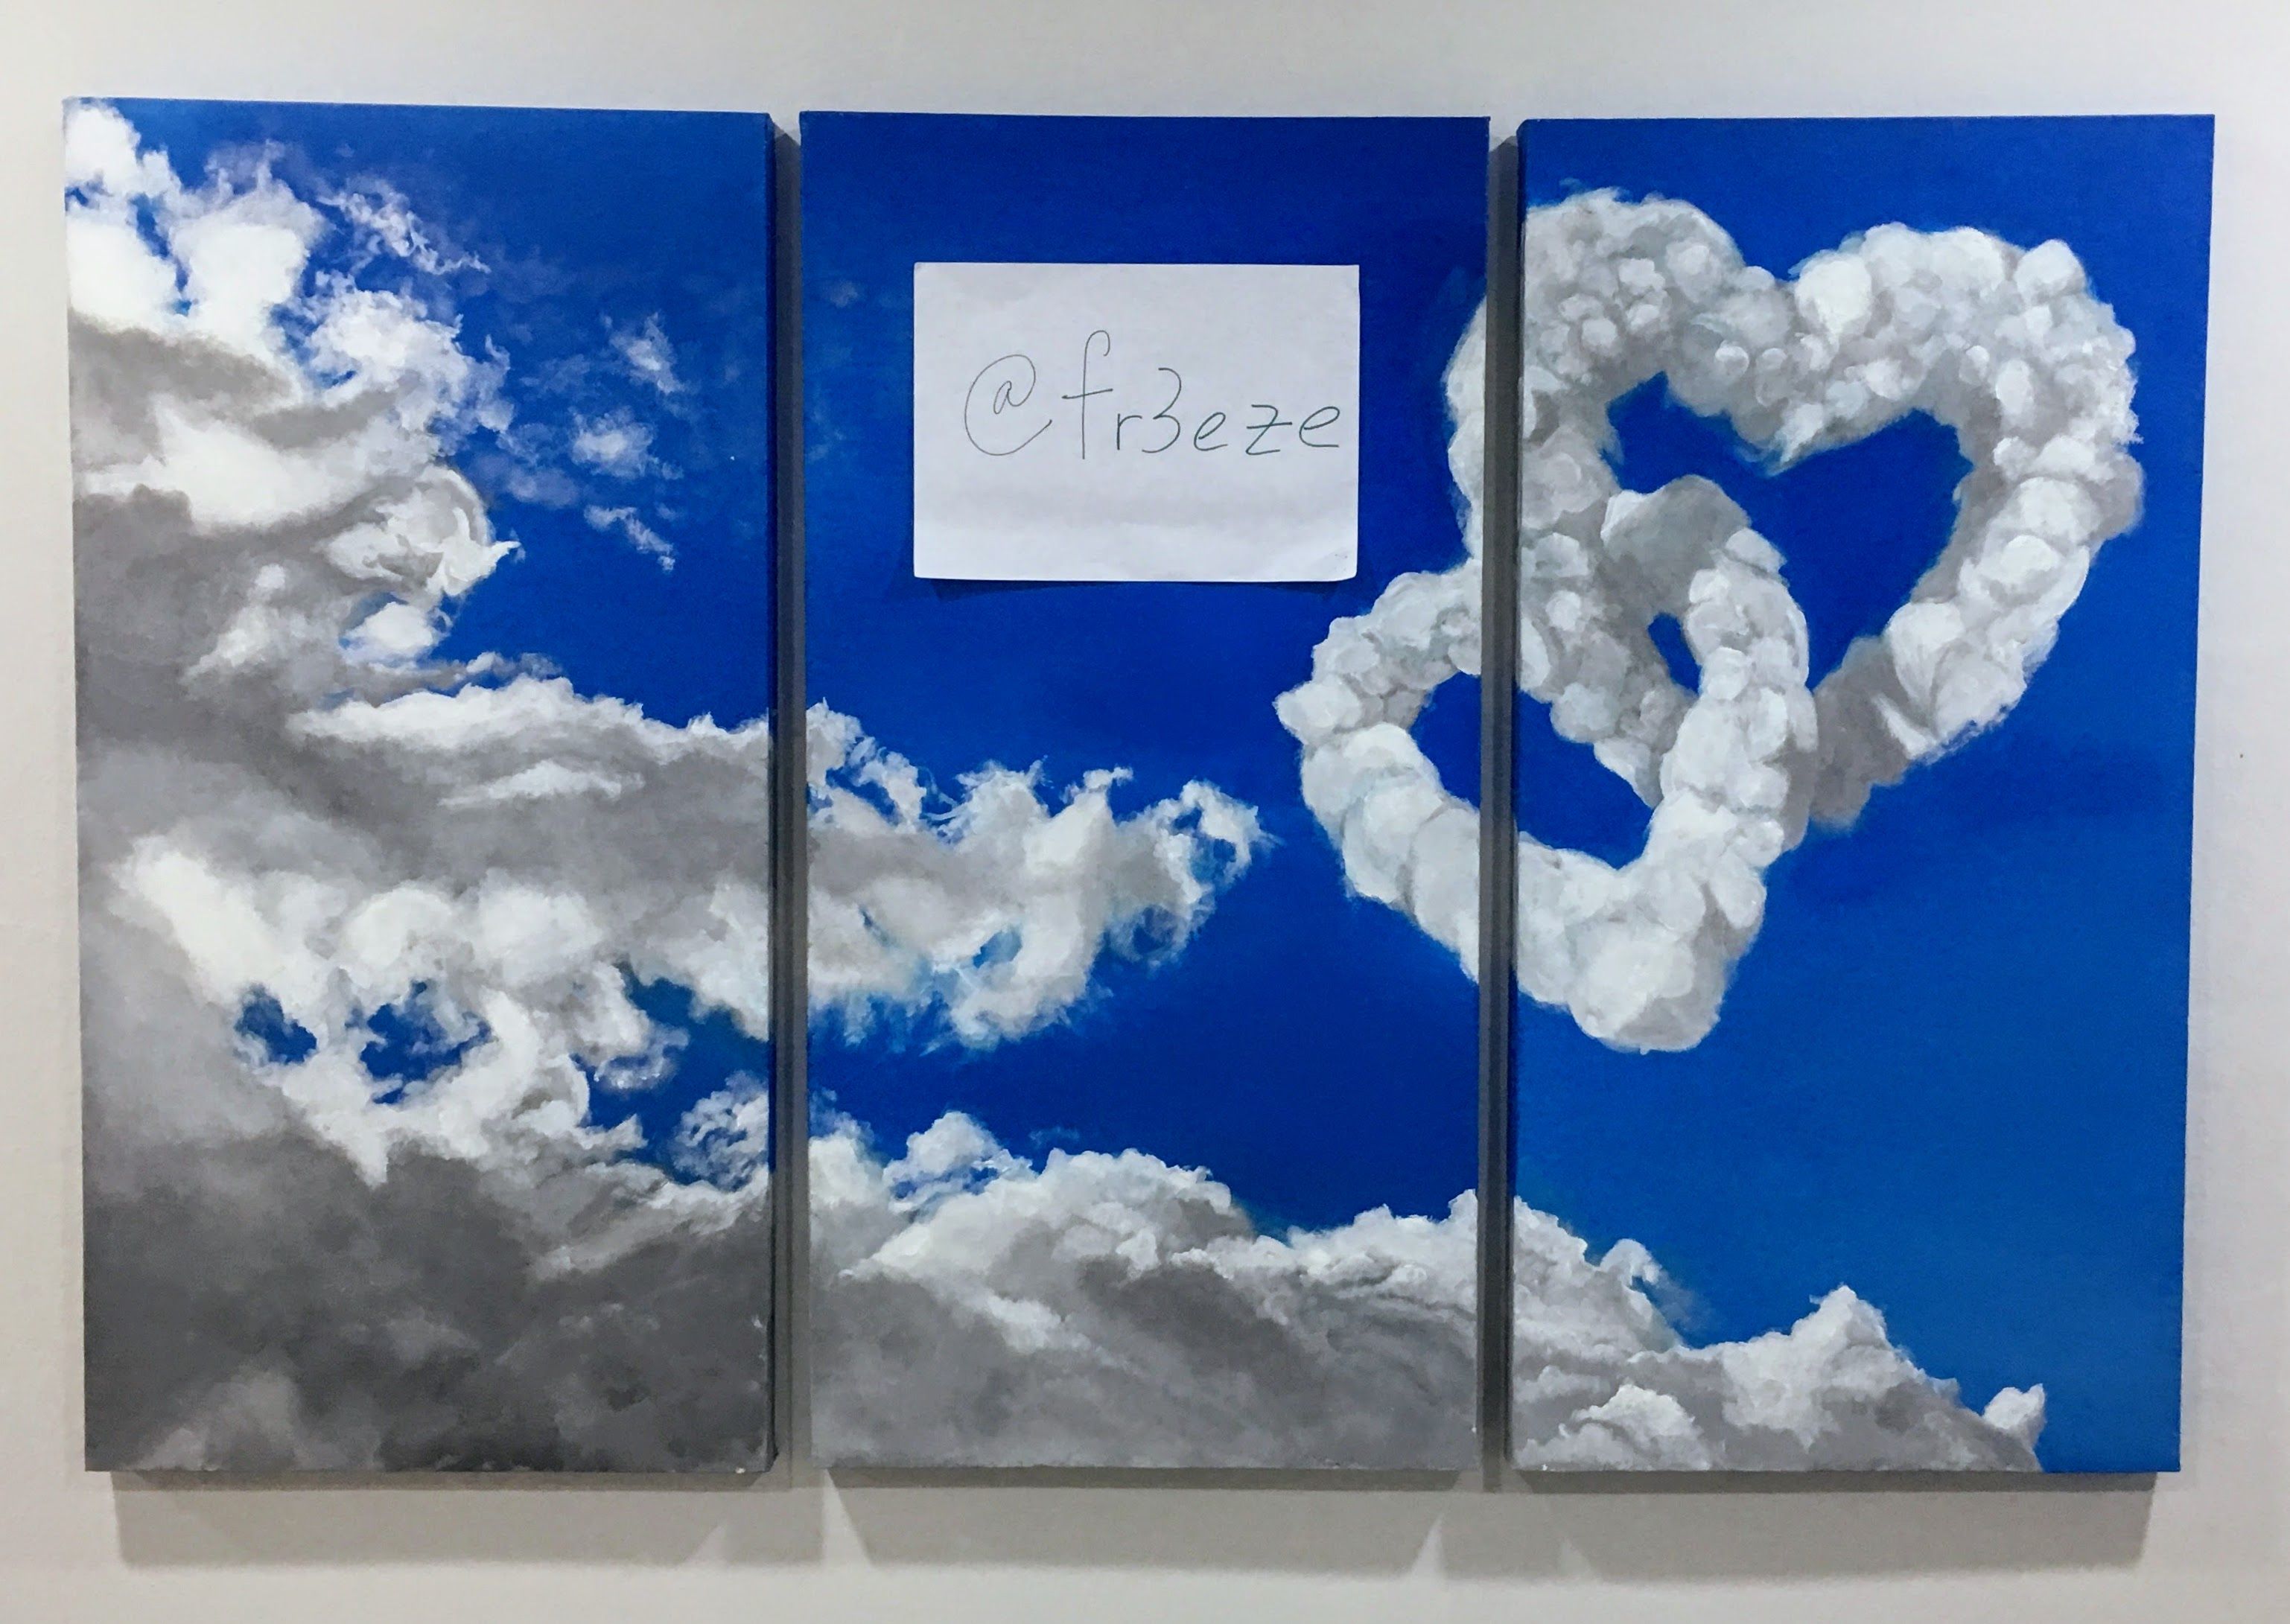
Attached my Steemit ID on a A4 paper.
附上ID。

This entry is now hanging on the wall of the living hall. Though that was not easy for such a huge art creation, the satisfaction of completing a challenge always make it worthwhile.
If you like the content, you know what to do. Peace!
这幅画如今正悬挂在饭厅的墙上。如此的大型绘画从来就不是简单的事情,所以完成之后的成就感也很大。希望你会喜欢!
Update/更新:
The organiser has disaproved my original entry because I failed to provide the process photos of creating it, and I respect that decision. Hereby I change the entry to the final result from the tutorial. Thanks.
My other artworks:
This page is synchronized from the post: ‘Drawing Challenge#8 The lovely cloud 画云’