Trezor could have been your worst enemy 最安全的钱包也可以是你最可怖的敌人

Read an epic story of losing $30,000 in bitcoin by storing in a Trezor. If you are into the world of bitcoin long enough, you know that the Trezor is a hardware wallet which claims to be the safest wallet one can own.

Proceed to read the full story here.

Capture.PNG

January 4, 2016: 7.4 BTC = $3,000 Nick bought 7.4 BTC with $3,000 after some research. Knowing he needs to secure the newly acquired asset, he ordered a Trezor and store all the BTC inside of it. He too wrote down the 24-word recovery seed on an orange paper.

April 4, 2017: 7.4 BTC = $8,384 Came back from a holiday, Nick found out the orange paper is lost. Panicked. He put on the gloves and searched through the trash and garbage bin but to no avail. But it’s okay, Nick remembers the Trezor password correctly, 551445.

April 5, 2017: 7.4 BTC = $8,325 Wrong pin. Nick tried a several similar passwords again and all were incorrect guesses. And the bad news is the Trezor will delay for the next PIN input after a fail attempt. And the delay doubled everytime a wrong PIN was entered. It will cost 34 years to enter the 31st guess.

Customer service of Trezor couldn’t help without the PIN code and recovery seed, which both went missing for Nick.

The forgotten PIN is haunting Nick days and nights. He went to the Reddit asking for help desperately. many ridiculed him and asked him to kiss the 7.4 BTC goodbye.

May 25, 2017: 7.4 BTC = $12,861 After several heart-breaking guesses, Nick even approached hypnotist to recall the PIN. After a nearly four hours session, he decides the PIN was 5514455. Took him days to gather the nerve to try it. Wrong PIN. Nick now have to wait for four and a half hours until the next try.

Having an unreachable treasure is torturing. That moment Nick realized this forgotten password will be the tinnitus for the rest of his life.

August 16, 2017: 7.4 BTC = $32,390 Trezor manufacturer urged the users to update their firmware to the latest version. It is reported that the Trezor device could have been hacked using some physical tricks and expose the wallet private key. This is the best chance for Nick to take advantage of.

August 24, 2017: 7.4 BTC = $32,387 With the help of Andreas M. Antonopoulos, the most well-known figure in bitcoin. Nick had a techie 15 years old kid, Saleem to help him hacking the device. The fee is 0.85 BTC which is $3,700 by the time, Nick had to take this deal.

August 26, 2017: 7.4 BTC = $32,208 After practicing the hack on a new Trezor and by sheer luck, Nick finally hacked into his own device and gained access again to the precious 7.4 BTC.


The safest vault has no mercy even to its owner without a proper backup. Nick’s 7.4 BTC should be long gone for good if it weren’t for:

  • Trezor just happened to have a rare exploitable bug.
  • He knew the right guy to hack the device for him
  • He never set up passphrase (a special encryption feature) in his device.

And what we can learn from this story:

  • Your wallet might not always be your friend if you are not following instructions.
  • Back-the-hell-up whatever your wallet ask you to backup

几天前看到一个很精彩的故事,一个在自己的 Trezor 钱包里弄丢三万美金的故事。Trezor 是号称世界上最安全的个人硬体钱包,这个故事里,它就是最可怖的敌人。前往这里阅读全文,文长慎入。

January 4, 2016: 7.4 BTC = $3,000 尼克花了三千美金买了 7.4 个比特币。听取所有人的建议后,买了 Trezor 代为保管。设定好密码之后,他也将至关重要的 24 字恢复种子抄在一张字条上。 打算在假期回来之后,搞个金属的专属密码条把恢复种子好好备份起来。

April 4, 2017: 7.4 BTC = $8,384 假期回来后,字条不见了。尼克有点紧张,把家里和外面的垃圾桶都找遍了还找不到。但是没关系,他还记得密码,551445。只要钱包还有在,有密码就可开启。

April 5, 2017: 7.4 BTC = $8,325 密码错误,Trezor 的小小显示屏上如此表示。再试多几次,还是错误。更糟糕的是,Trezor 再每一个失败的登入后会加个时间,倒数完才可开始下次的密码输入,这时间每失败一次都会双倍的增加。拉出计算机简单一算,第三十一次的尝试足足需要等上三十四年。尼克开始慌了。

Trezor 的客服表示如果没有密码和恢复种子,他们也爱莫能助。官方渠道算是断了。

日月饱受煎熬的尼克上了 Reddit 的专区求救,换来的只是无尽的嘲讽,还有人叫他给这 7.4 个比特币一个吻别,然后将之忘记好好生活。

May 25, 2017: 7.4 BTC = $12,861 再经过几次令人心碎的尝试后,Trezor 再度可以输入密码的时间已经来到数个小时。尼克决定找个催眠师来唤回失去的记忆。经过四个小时的催眠后,他确定了密码就是 5514455 ,然后花了几天才鼓起勇气再试一次。密码错误。下次可输入密码的倒计时变成了四个半小时。

明明坐拥宝藏却触摸不到。这个时候尼克终于意识到,忘记密码这回事如果不完美解决,将会是他一辈子的梦魇。

August 16, 2017: 7.4 BTC = $32,390 Trezor 官方全面通知用户必须将自己的设备升级上最新的固件。原因是现有的版本有个致命的漏洞,要是设备落入黑客的手上,就有可能被物理手段破解 Trezor 钱包然后偷走一切。这对尼克来说是个绝佳的机会。

August 24, 2017: 7.4 BTC = $32,387 在比特界大名鼎鼎的 Andreas M. Antonopoulos 介绍之下,尼克认识了十五岁来自英国的黑客小能手。小黑客提出 0.85 BTC 的价码来帮助尼克破解他的设备,换成美金就是将近四千刀,虽然价格不菲,但尼克别无他选了。

August 26, 2017: 7.4 BTC = $32,208 在诸神庇佑之下,和用新的钱包试验一次之后,尼克终于成功的破解了自己的 Trezor 钱包,7.4 BTC 再次和他见面了。


如果不按指示备份的话,你的钱包并不会因为你是主人而网开一面。尼克的比特币要不是以下种种因素全部凑在一起,早就完蛋了:

  • Trezor 那么碰巧的出现了极度罕有的固件漏洞。
  • 他刚巧有管道认识到能帮助他的人。
  • 他没有设定 Passphrase(Trezor 特有的加密功能) 在设备上。

读过这故事,我们学到:

  • 最安全的钱包也会是你最大的敌人,如果你不听话好好备份。

  • 如果你的钱包要求你再怎么麻烦的备份,你他x的全照着做就对了。


This page is synchronized from the post: ‘Trezor could have been your worst enemy 最安全的钱包也可以是你最可怖的敌人’


All you need to know about Steemit interface revamp【Steemit 改版需知】

Steemit.com has revamped their website interface this morning. The first thing came to my mind was ‘D*mn’. I just deployed my newly designed footer using the old logo and blue color. Now I will have to do it again?

Oh chill. According to the latest announcement by @steemitblog, we can conclude the following:

今早起来发现 Steemit 改头换面了,之前闹得沸沸扬扬的新 Logo 也华丽的登场了。第一个念头就是 “糟糕,上次才设计好的页脚里包含了旧的标识,难道不能再用了?”
冷静点,根据 @steemitblog 的最新通告,我们知道:

New Steemit logo is completely owned by Steemit Inc. 新的标识完全由 Steemit.Inc 私有


Source

The Steemit brand and logo are protected by intellectual property laws, including copyright and other proprietary rights of the United States and foreign countries. Steemit 品牌和标识为知识产权所保护,包括周边的一切专利都将在美国和世界各地生效。

This means that you can no longer make use of this new logo without their official authorization. You cannot print this logo on any T-shirt or accessories and sell them, or publicly display them for commercial use. I’m not sure about how far does the copyright cover but we should treat this logo just to represent the Steemit company only.

这意味着新标识不能被第三方所使用。人们不能在衣服或是周边产品印上 Steemit 新标识并售卖,或是在商业用途的角度公开展示此标识。公告里没有给出详细的例子,目前也不清楚专利的覆盖范围有多广。必须了解的是,Steemit 标识和 Steem 本身是没有冲突的,它只是代表了 Steemit.Inc 这间公司。

The Steem logo is still the same and free to use 原本的 Steem 标识没有改变并可以免费使用


Source

Steem logo is licensed under Creative Commons CC0 which means this logo can be freely used without permission. So I can keep using my newly-created footer which included the Steem logo and still is valid. Other Steem front-end website like cnsteem.com by @skenan and busy.org can still use the Steem logo as usual, though they can come up with an exclusive logo to their site and patent it.

代表 Steem 货币的标识没有变化。因为是登记在創作共用授權條款之下,此标识将不需批准就可以使用在任何地方,网上看见的各种衣服和装饰都是合法的。所以我之前依据 Steem 标识创造的页脚仍然可以使用,因为我想代表的是 Steem 区链块而不是 Steemit 这间公司。第三方网站如 busy.org 和 @skenan 的 cnsteem.com 仍然可以使用 Steem 标识,当然参考 Steemit 官方的做法这些第三经营方也大可设计自己的独有标识,并将之专利化以作为自己网站的独特门面。

New feature - Toggle Night Mode 新功能-夜间模式


I found this feature the only practical and useful feature in this update. Now the heavy users can tuck inside their bed scrolling Steemit without straining the eyes with the screen blue lights. And I found the turquoise color match the black theme very much, the contrast makes the wording and logo more outstanding than in the usual white background.

这是改版后我发现最为实用的功能。对那些喜欢睡前窝在被窝里刷 Steemit 的中毒用户可谓一大福音,眼睛终于可以少受罪了。个人而言,新版的綠松色因为属于亮色系,在白色背景下是有点难看清楚的。但是在夜间模式的黑背景的衬托下,看起来就很舒服了,这样的黑绿配色效果也是很不错的,看起来有点游戏风,页面年轻了很多。


This page is synchronized from the post: ‘All you need to know about Steemit interface revamp【Steemit 改版需知】’

Powerful tool to reduce grammar mistakes 推介一款强大的英文寫作技巧强化利器

I was first writing on Steemit in English, only to switch to bilingual for English and Chinese when I found out that the Chinese community is such a fun place to join. However, I’m not going to dump English writing anytime soon. Being my second language after the Chinese, I never stop seeking the chance to improve my English command and keep writing in this language would be a great boost.

Introducing the almighty tool for grammar checking, the Grammarly. Grammarly will scan through the article and point out the wrong spelling and grammar mistake, which comes in handy for those who are not yet mastered the language. This is my last quality checkpoint before posting.

Furthermore, Grammarly will email you the weekly report on your progress which I found to be really interesting.

英语是我在Steemit里的第一语言,尽管后来我发现了多姿多彩的CN区,也从中获益不少。英语写作始终是我不能放弃的,所以一直以来都坚持了双语写作,无非就是为了尽可能的锻炼这一门语言的书写技巧。只是英语身为我的第二语言,要毫无障碍长篇大论的写下来还是很有难度的。

这里就要隆重介绍一个非常好用的服务,Grammarly。这是一款自动检测语法错误的软件,像是标点符号放错,拼错的词汇,还是语法上的错误。发文之前它就是我的英语文法最后把关。

还有,Grammarly 每个星期都会出一份报告,让你知道目前写作上达到了什么等级,还有常犯的错误等等,很有趣。


I’ve just unlocked the Herculean achievement today, which means I reached 12 weeks in a row of writing. This can be really motivational and appreciate the recognization.

今天我刚解封了 大力神 的成就,意味着已经连续写作了 12 个星期。挺有振奋人心的作用。


I will unlock the next achievement by the 16th week of writing which is next month. Of course I will be there!

下一个成就解封需要多四个星期,当然没问题了!


They will show you the productivity against the other users as well. They didn’t show the clear definition of productivity but supposedly they refer to the amount of writing you have done.

他们还会让你和其余的用户比较。第一个数据就是效率,应该是指文字总输出量。连续写了 12 个星期就干掉了96%的用户哦。


This is my weakest part, the grammar accuracy. My laziness to correct the simple mistake like dont to don’t contributes a lot to this stat too.

看来语法精准度是我的最大弱点。无可否认,有时明显的低级错误我也很懒得自己修改,交给他们自动修改则省事得多。但是也拉低了这一指标。


Quite surprised by this stat, I used more unique words than 97% of the users? Can’t believe that.

使用特殊词汇上我居然胜过了 97% 的用户?有点难以置信啊。


Top 3 mistakes I’ve made, seems like the comma problem troubles me a lot.

三种我最常犯的语法错误,看来放逗号方面有点问题。只是有时候我还是觉得自己没错的,就忽略不管了。


Clicked into their trophy page to see all the achievements you’ve unlocked.
They use legendary characters to represent each level, funny.

这是官方的荣耀页面,可以看到自己目前为止所有的成就。很有趣味的用传说人物来表达每个等级,挺有创意的。


This tool is free to use and of course, there is paid version where they claimed to be able to detect more advanced grammar errors. Sure this whole report thingy was part of the strategy to subscribe their premium package but so far the freemium is suffice to me. Grammarly does provide a great help in reducing the awkwardness in publishing low-level grammar mistakes. Give it a try.

重点是这么有诚意的软件居然还是免费的,当然也有收费版本,据说可以指出更高级的语法错误。他们搞这些报告啊什么的噱头其实也是最后也一定会打广告让你加入收费服务。我觉得免费版本其实已经足够好,也很满意它的效率了。如果你还在为英语写作的语法错误而纠结不已,试一下 Grammarly 吧!


This page is synchronized from the post: ‘Powerful tool to reduce grammar mistakes 推介一款强大的英文寫作技巧强化利器’

Create footer for your post 为文章创造页脚

Starting from the day I decided to heavily involved in Steemit, I spend most of my spare time reading, commenting and voting here. I try to start at least publishing a post every day too.

There is one tip that I heard somewhere else and I think that is very effective in building the followers base, that you must build your personal brand in the society. Since Steemit is a blogging platform, we can try to create some consistency in our daily post.

Some use an edited thumbnail photo by adding their face or logo on it, some draft the post title in a certain manner, or include a footer or signature logo at the end of the post. I think these are the good idea letting the audience know immediately whose article they are reading without looking at the author’s name.

I always wanted to have a unique footer of my own. Today I will create one using Gimp and make use one of my drawing contest entry as material.

自从中了Steemit的毒之后,每天都花了大量的时间在这里看文章,点赞和留言。每天至少发一篇文章是我给自己的规定。

对于建立自己的关注群,之前听到一个觉得蛮有用的技巧。那就是必须建立个人品牌,让人家不用看作者名字就知道是你的作品。有些人在第一张图片上喜欢贴上自己的照片,有些人喜欢用特定风格的标题,有的则喜欢在文章尾部加上个性签名或是页脚。我想要创作属于自己的页脚很久了,今天就付诸行动吧。

使用的软件是 Gimp ,材料则是之前的参赛作品。以下的创作过程就不翻译了,太多专属名词,语法也很简单易懂。

1.PNG

First, open the image in Gimp. Change the image size to your liking. And right click on the current layer and select Add Alpha Channel.


2.PNG

Use the Paths tool to outline the part of the image you want to crop out.


3.PNG

After you have selected the part, from the menu bar, Select -> Invert. This will make the invert the selection and select the unwanted background instead.


4.PNG

Press [Backspace] key, the background is now removed.


Add a new layer in order to enlarge the canvas size.


8.PNG

Use the Scale Tool from the toolbox.


9.PNG

Make sure current layer selection is the newly created layer. Then drag from right to left to the desired size.


10.PNG

To fit the cropped image into the larger canvas size. Image -> Fit Canvas to Layers.


11.PNG

The combined image will now look like this.


12.PNG

Add another white background and add text using Text Tool from the toolbox.

We’re done here. Export the project into PNG format. File -> Export As.

This is a really simple footer creation guide using existing image. Maybe I should study how to create an animated image (gif) in the future. But for the moment, I’m satisfied with the footer result!

对于常使用此类修图软件的人来说,这可是小菜一碟,我就花了好几个小时来研究各种操作。总的来说,这是个非常简洁的页脚,效果也还可以,将就先用着吧,看以后有时间再学学动图创作。


This page is synchronized from the post: ‘Create footer for your post 为文章创造页脚’

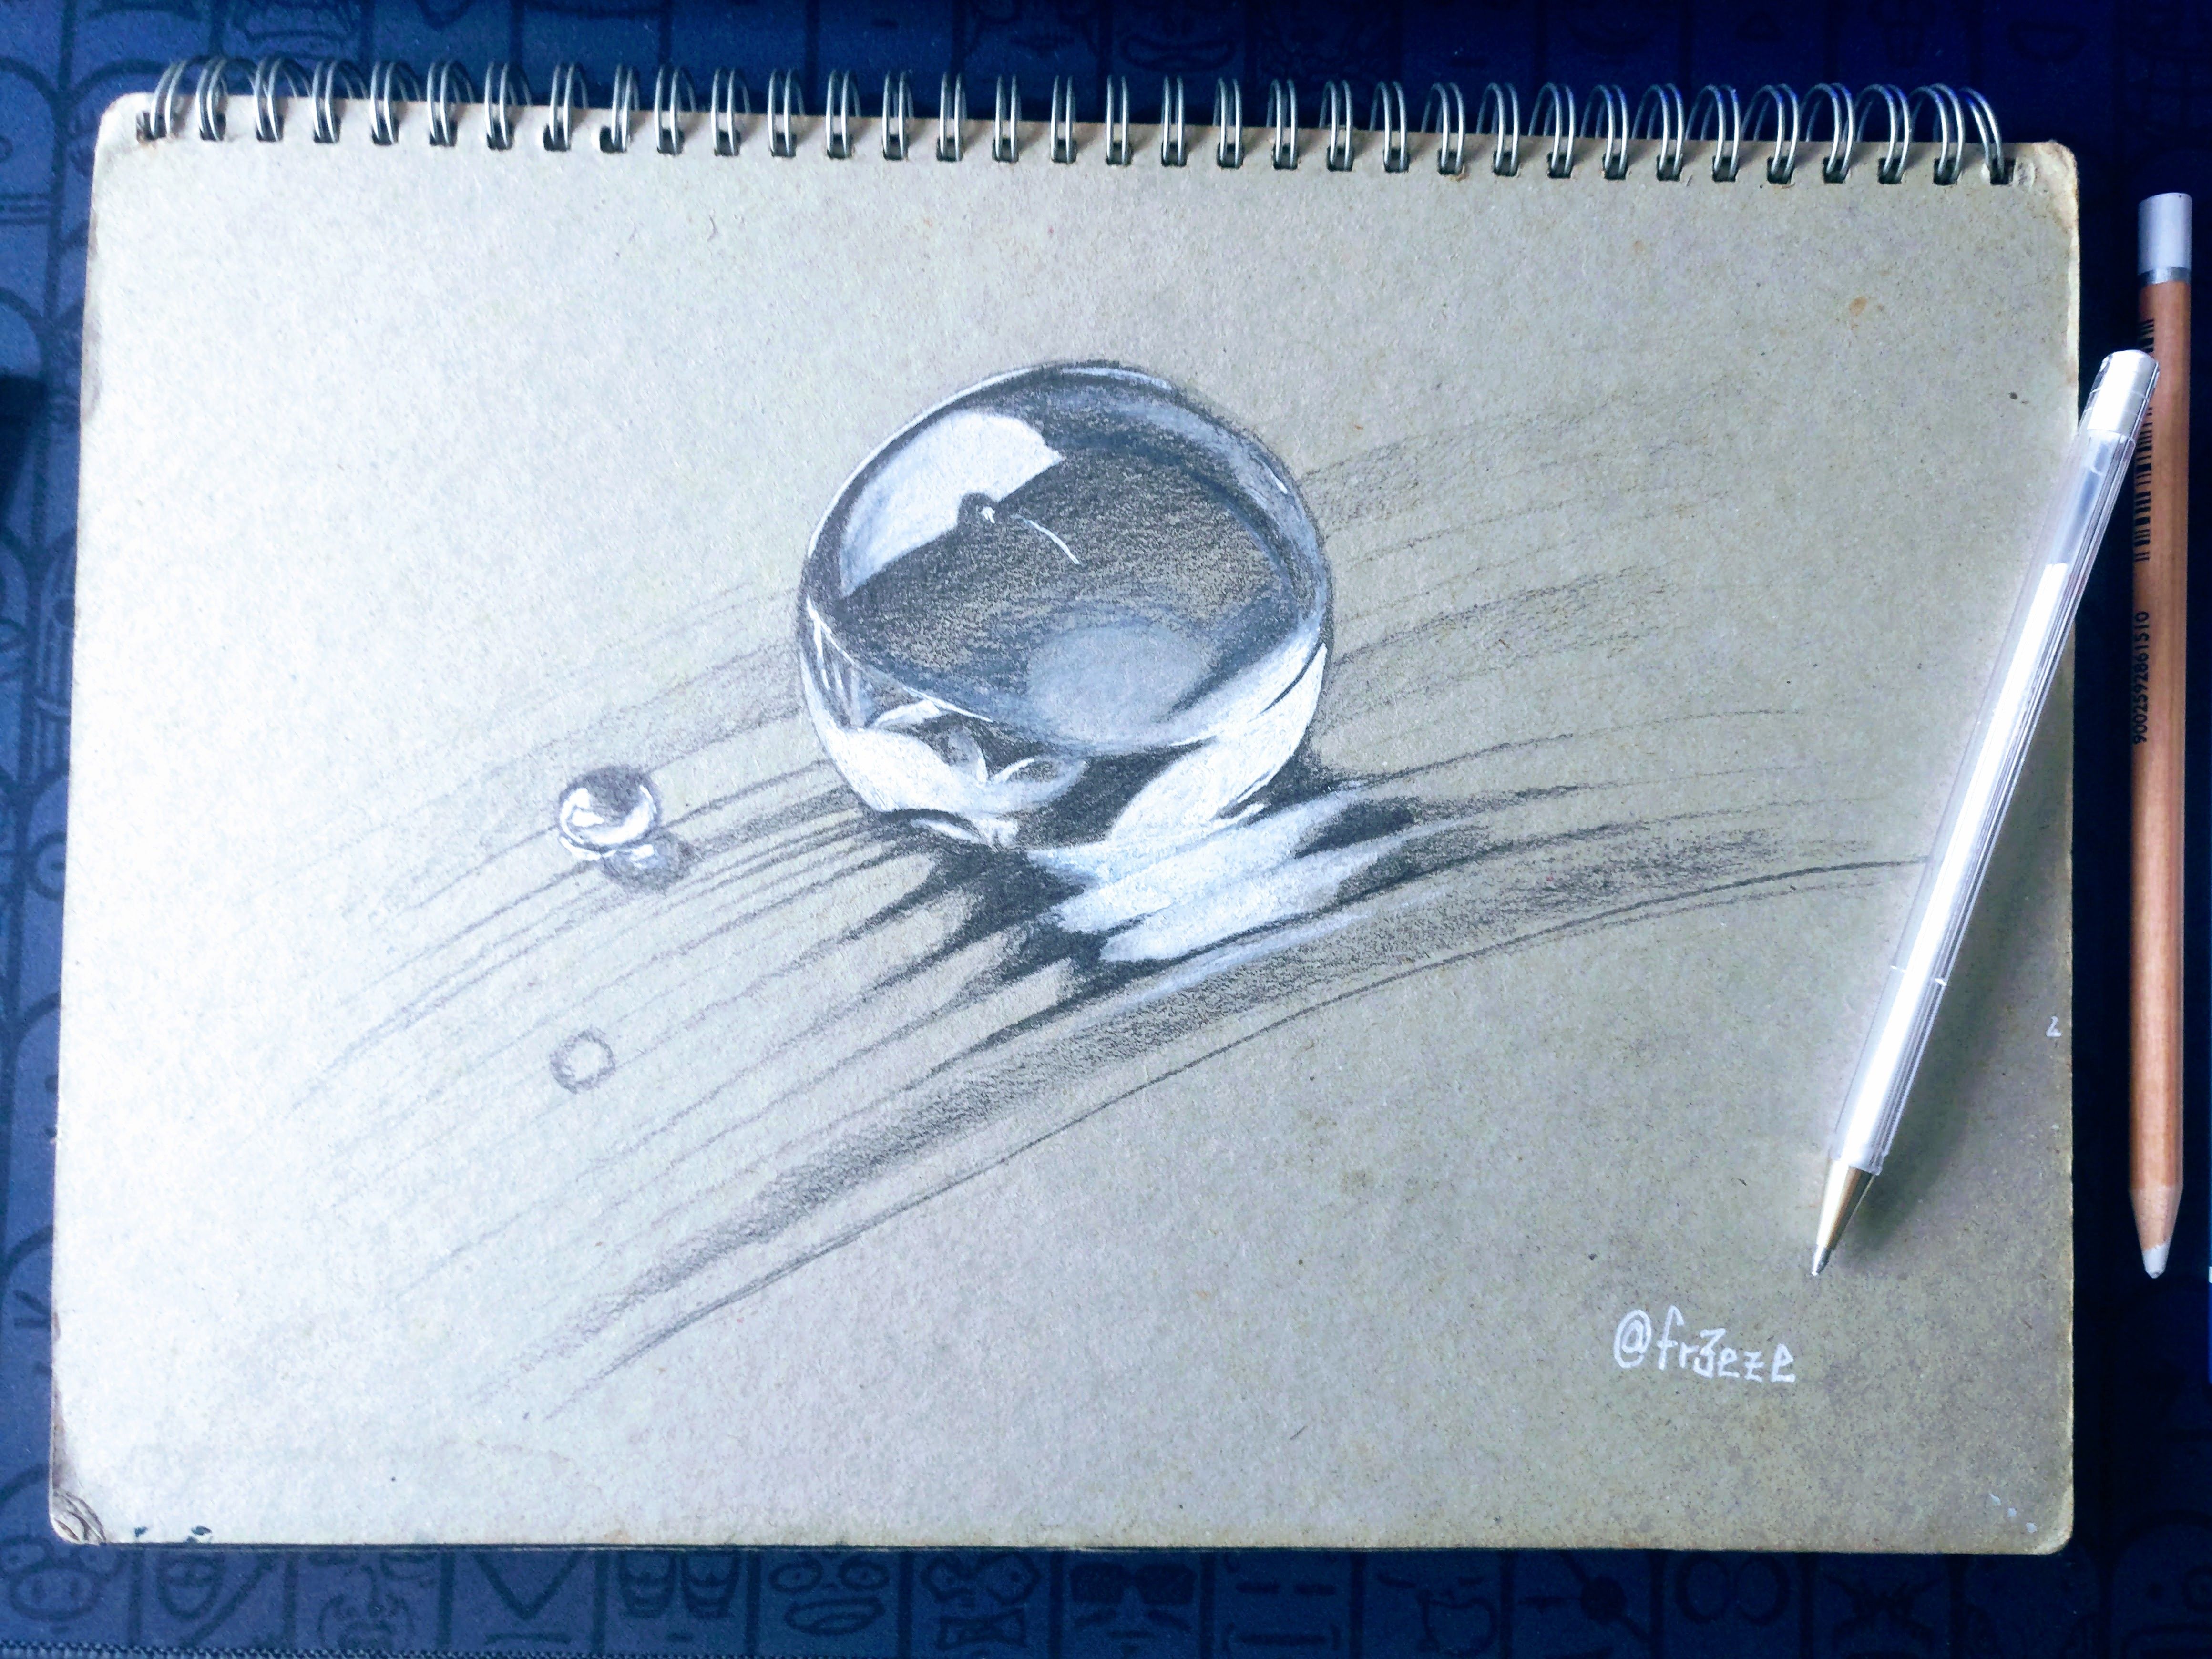
Drawing Challenge#9 Light 光

IMG_20171029_115341.jpg

I’ve spent 2 hours on this artwork. Pencil on A4 size cardboard.

This is an entry for a drawing contest by @helene with the theme Light. Light enables us to see what we see. Actually, we can just draw anything for fitting into the light themed contest as it would a total darkness if no light was present. But obviously, that wasn’t the intention of the organizer.


Two Glasses 两只酒杯

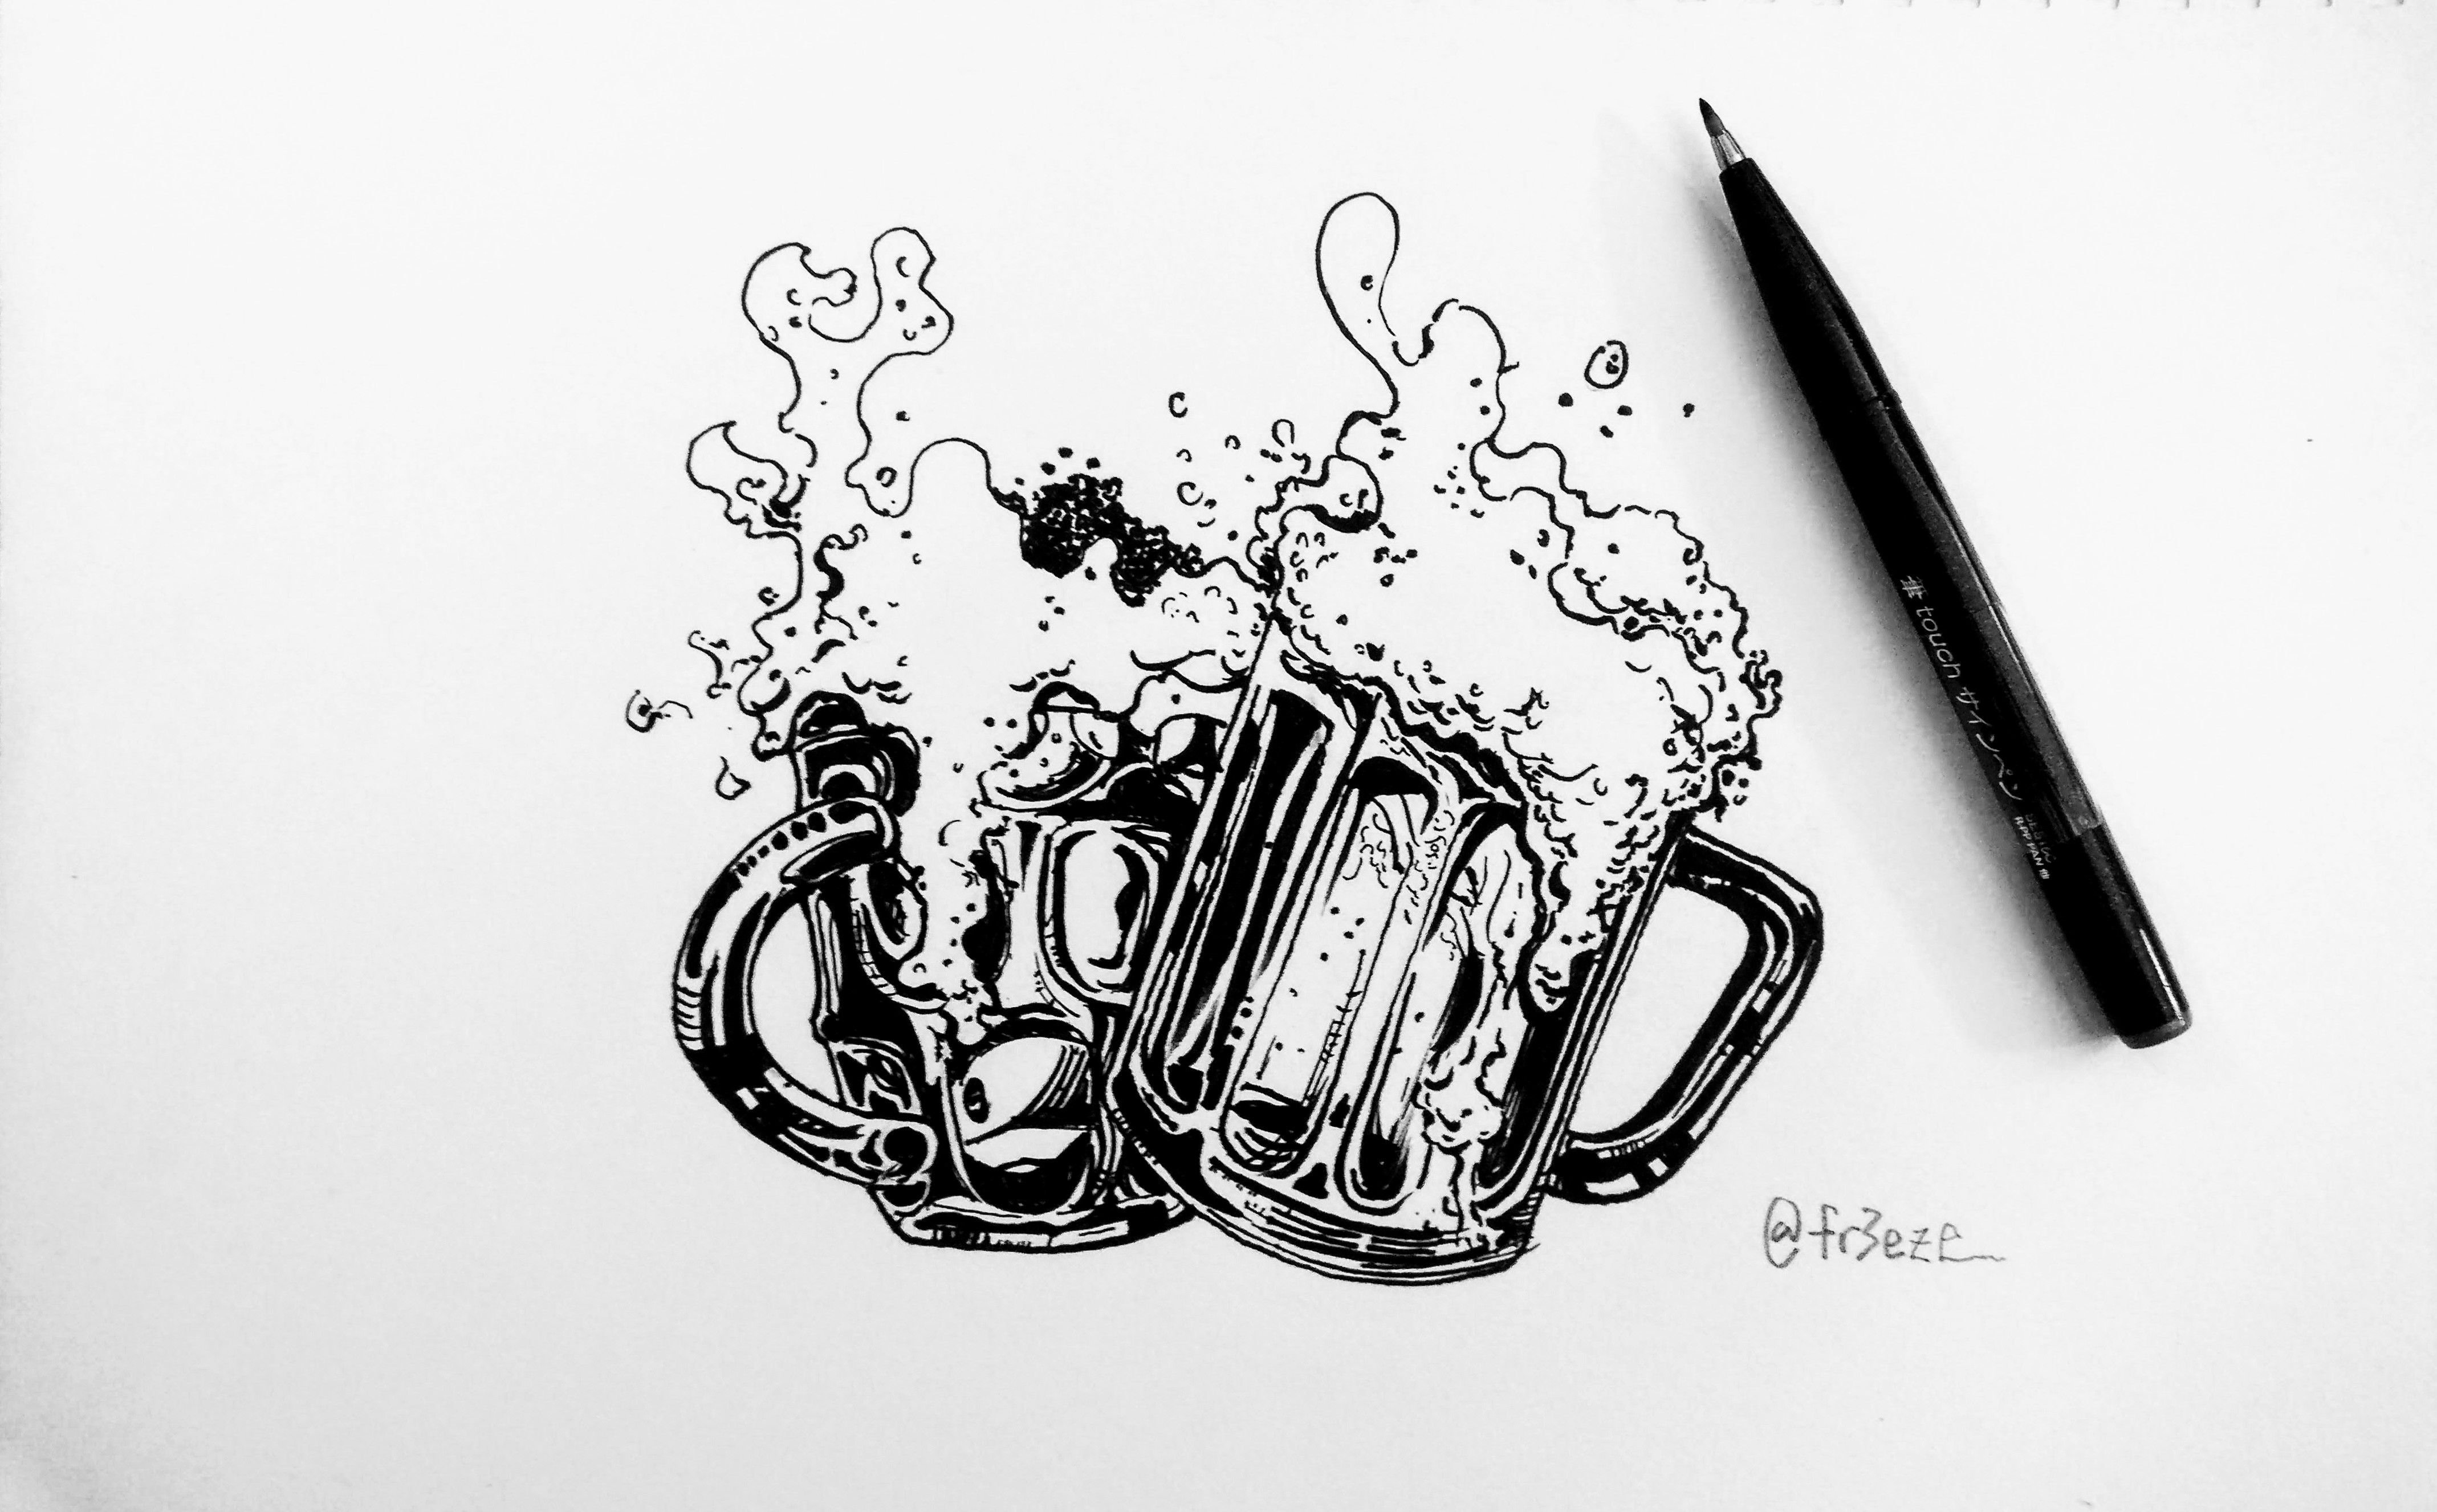
I have to find something that can represent the light in our everyday life. The first thing that came to my mind was the glass cup. The glass has the ability to capture light motion as it moves, complimented by various blurred shadow. However, that would be a repetition since I have drawn the beer cup for 2 weeks ago for the same contest series too. I got to find something else that is able to show the presence of light in an interesting way.

The subject I chose for the contest is the dewdrop on a leave. I always love the look of dewy leaves. Early in the morning, the dewdrop silently sitting on a leave, facing towards the sunlight. The naturally perfect circle shape was crystal clear. Combined with the refractions of outside world, showing a tremendous detail of morning light.

此作品花了近两个小时,用的是铅笔画在卡片上。

我将会用这幅作品参加由@helene举办的,以为主题的绘画比赛。光是我们能看见事物的最重要元素,几乎任何东西都可以参加以光为主题的比赛。因为没有光就看不见任何东西,没有光暗表现,将是一片漆黑。但那应该不是主办方的本意。

现实生活中有很多东西可以呈现光线,第一个想到的就是玻璃杯子。玻璃杯子有很好的透光性,还可以因为造型的不同把光用各种匪夷所思的角度弯曲,让平平无奇的光线呈现千变万化的舞姿。但在之前的比赛已经画过同类型的两只酒杯了。不想画重复的东西,只好再继续寻找适合的主题。

如上所见,这次选择的主角是露珠。露珠是很可爱的存在,每个凌晨霞光初露寒气未散之时,花园中的叶子上总会有点点晶莹剔透的露珠。它们静静的坐在叶子上,完美圆形的透明身躯被阳光透过,配合外界的事物,在小小露珠的世界里呈现了光怪陆离的光线。

Breakdown of drawing

IMG_20171029_102743.jpg

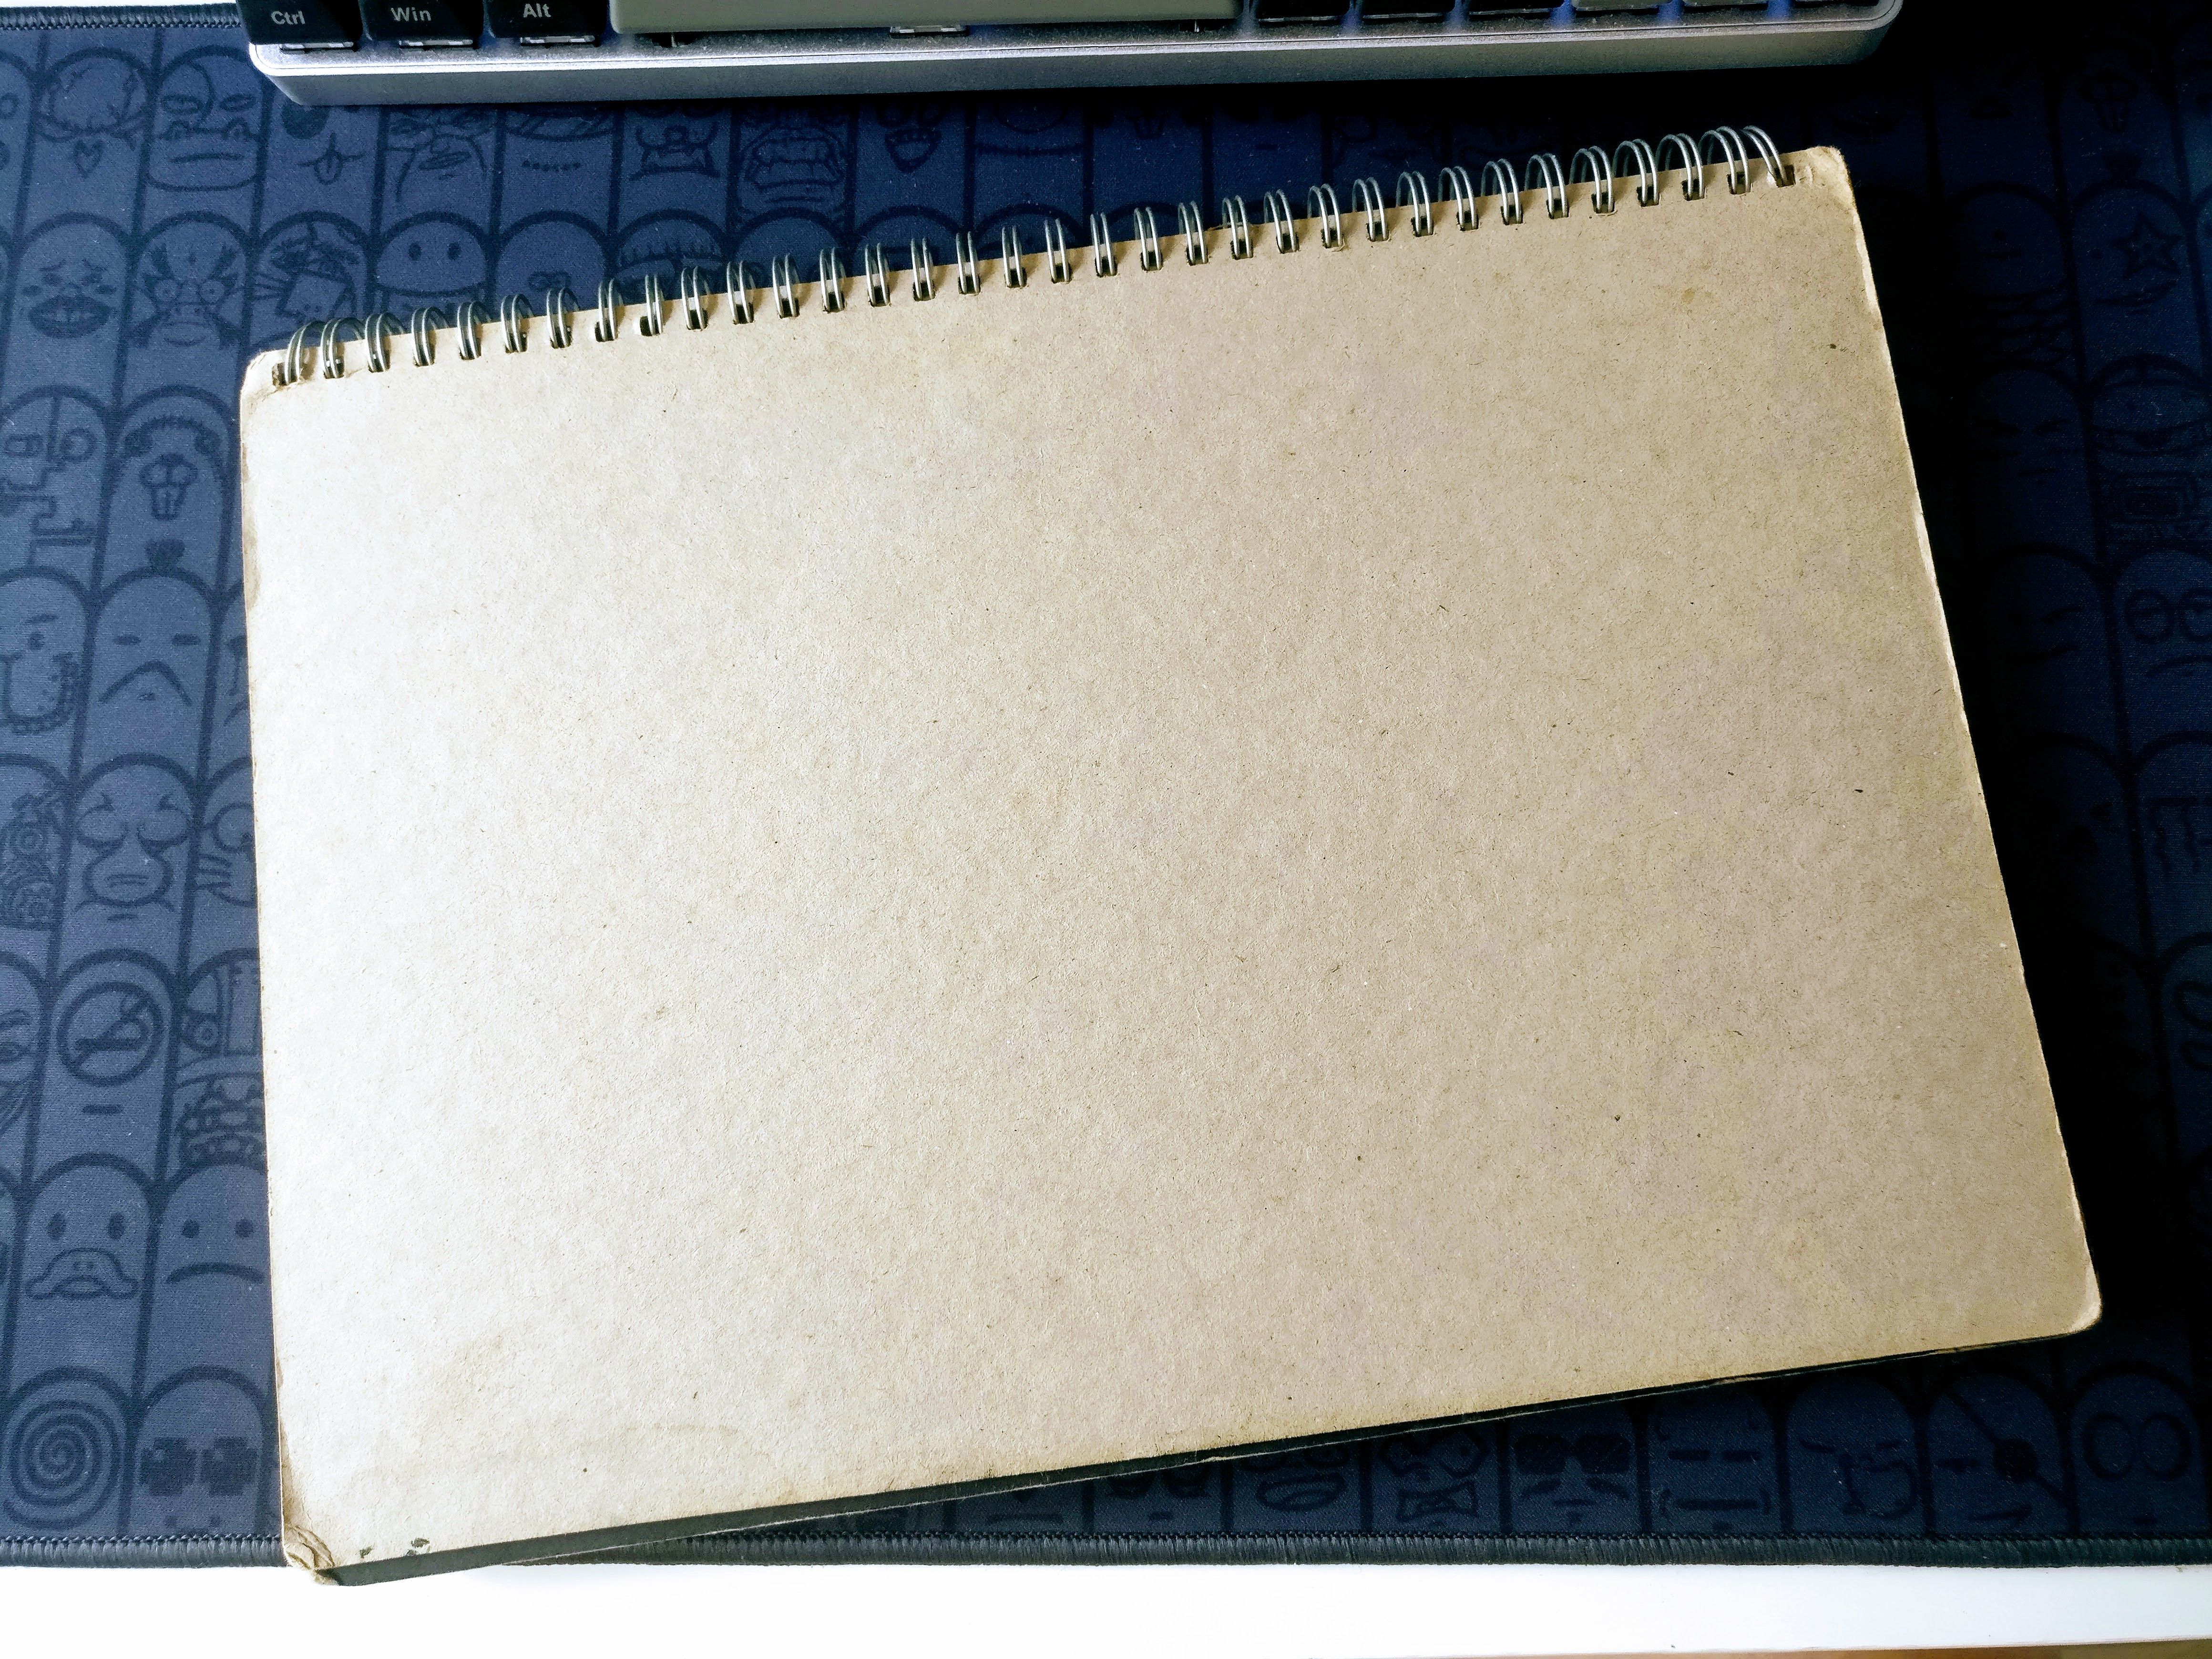
I wanted to draw on a toned surface to showcase the white strokes of light. But all I have is the pure white paper sketchbook. Why not trying to draw on the cardboard cover of the sketchbook itself? The surface was rough but it should be fine.

因为手上只有纯白的画纸,为了呈现白色的光线只好使用绘画本的棕色卡片封面。表面是粗糙了些,但是无碍下笔。


IMG_20171029_103023.jpg

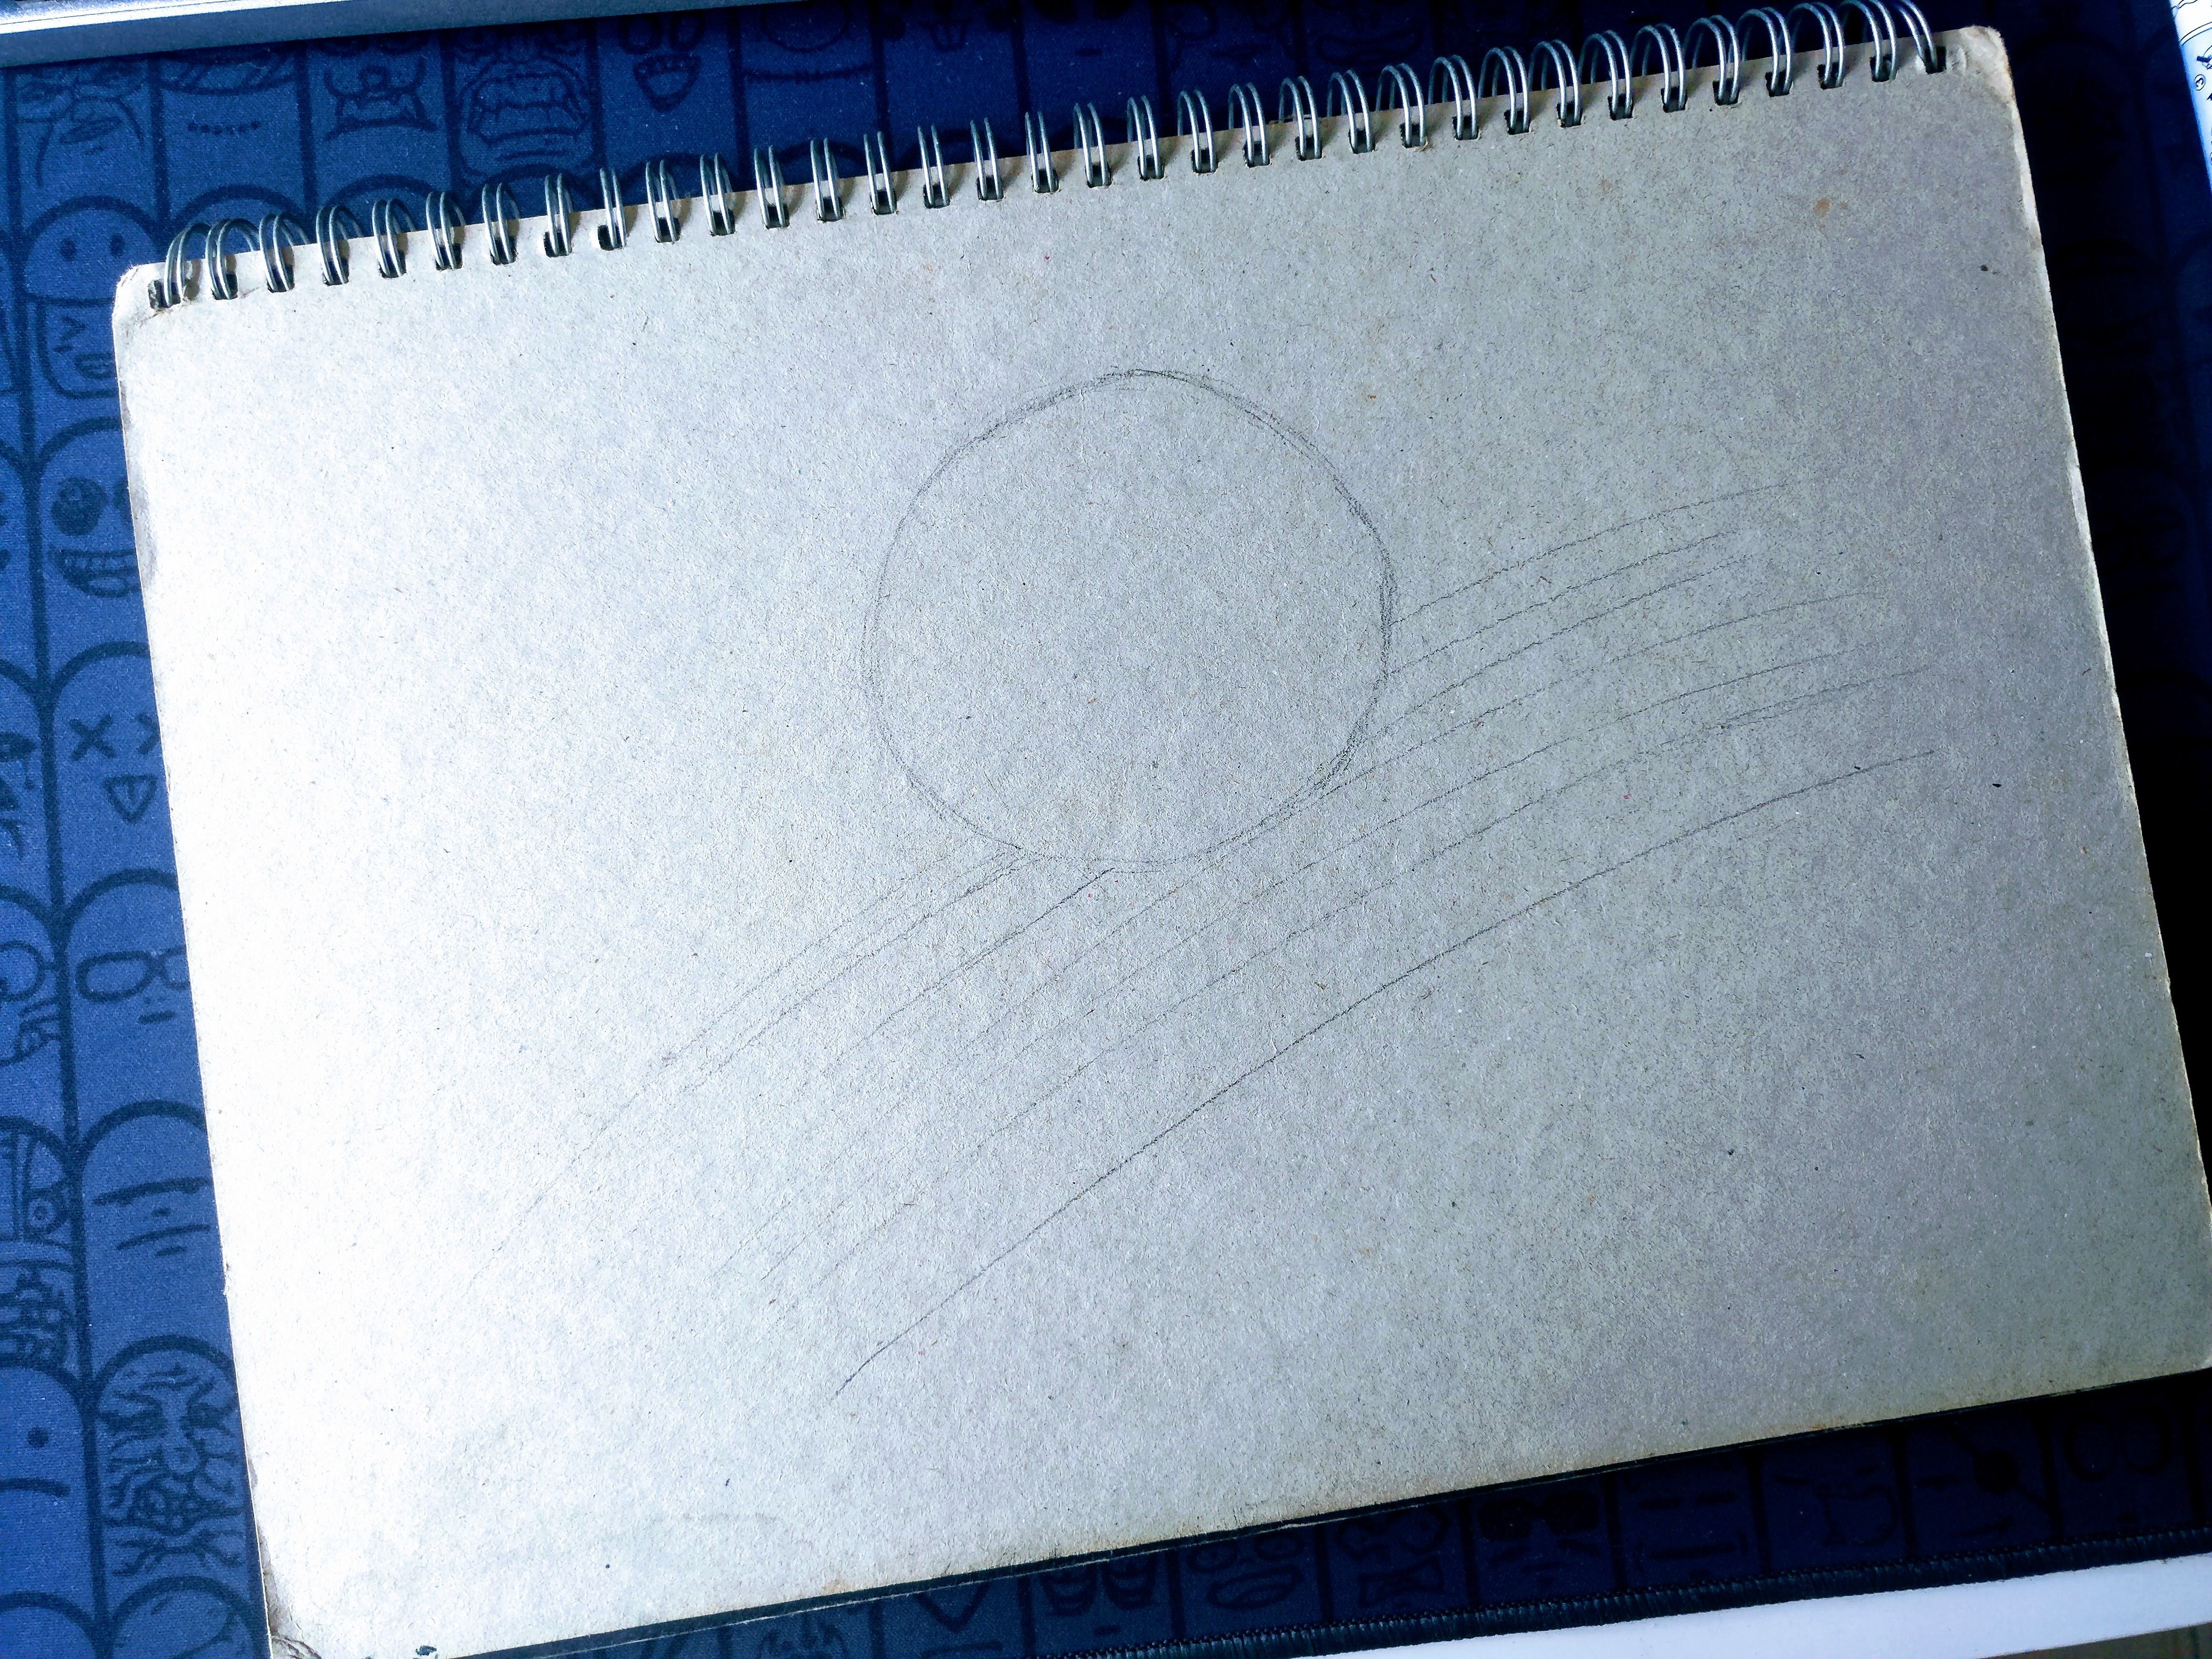
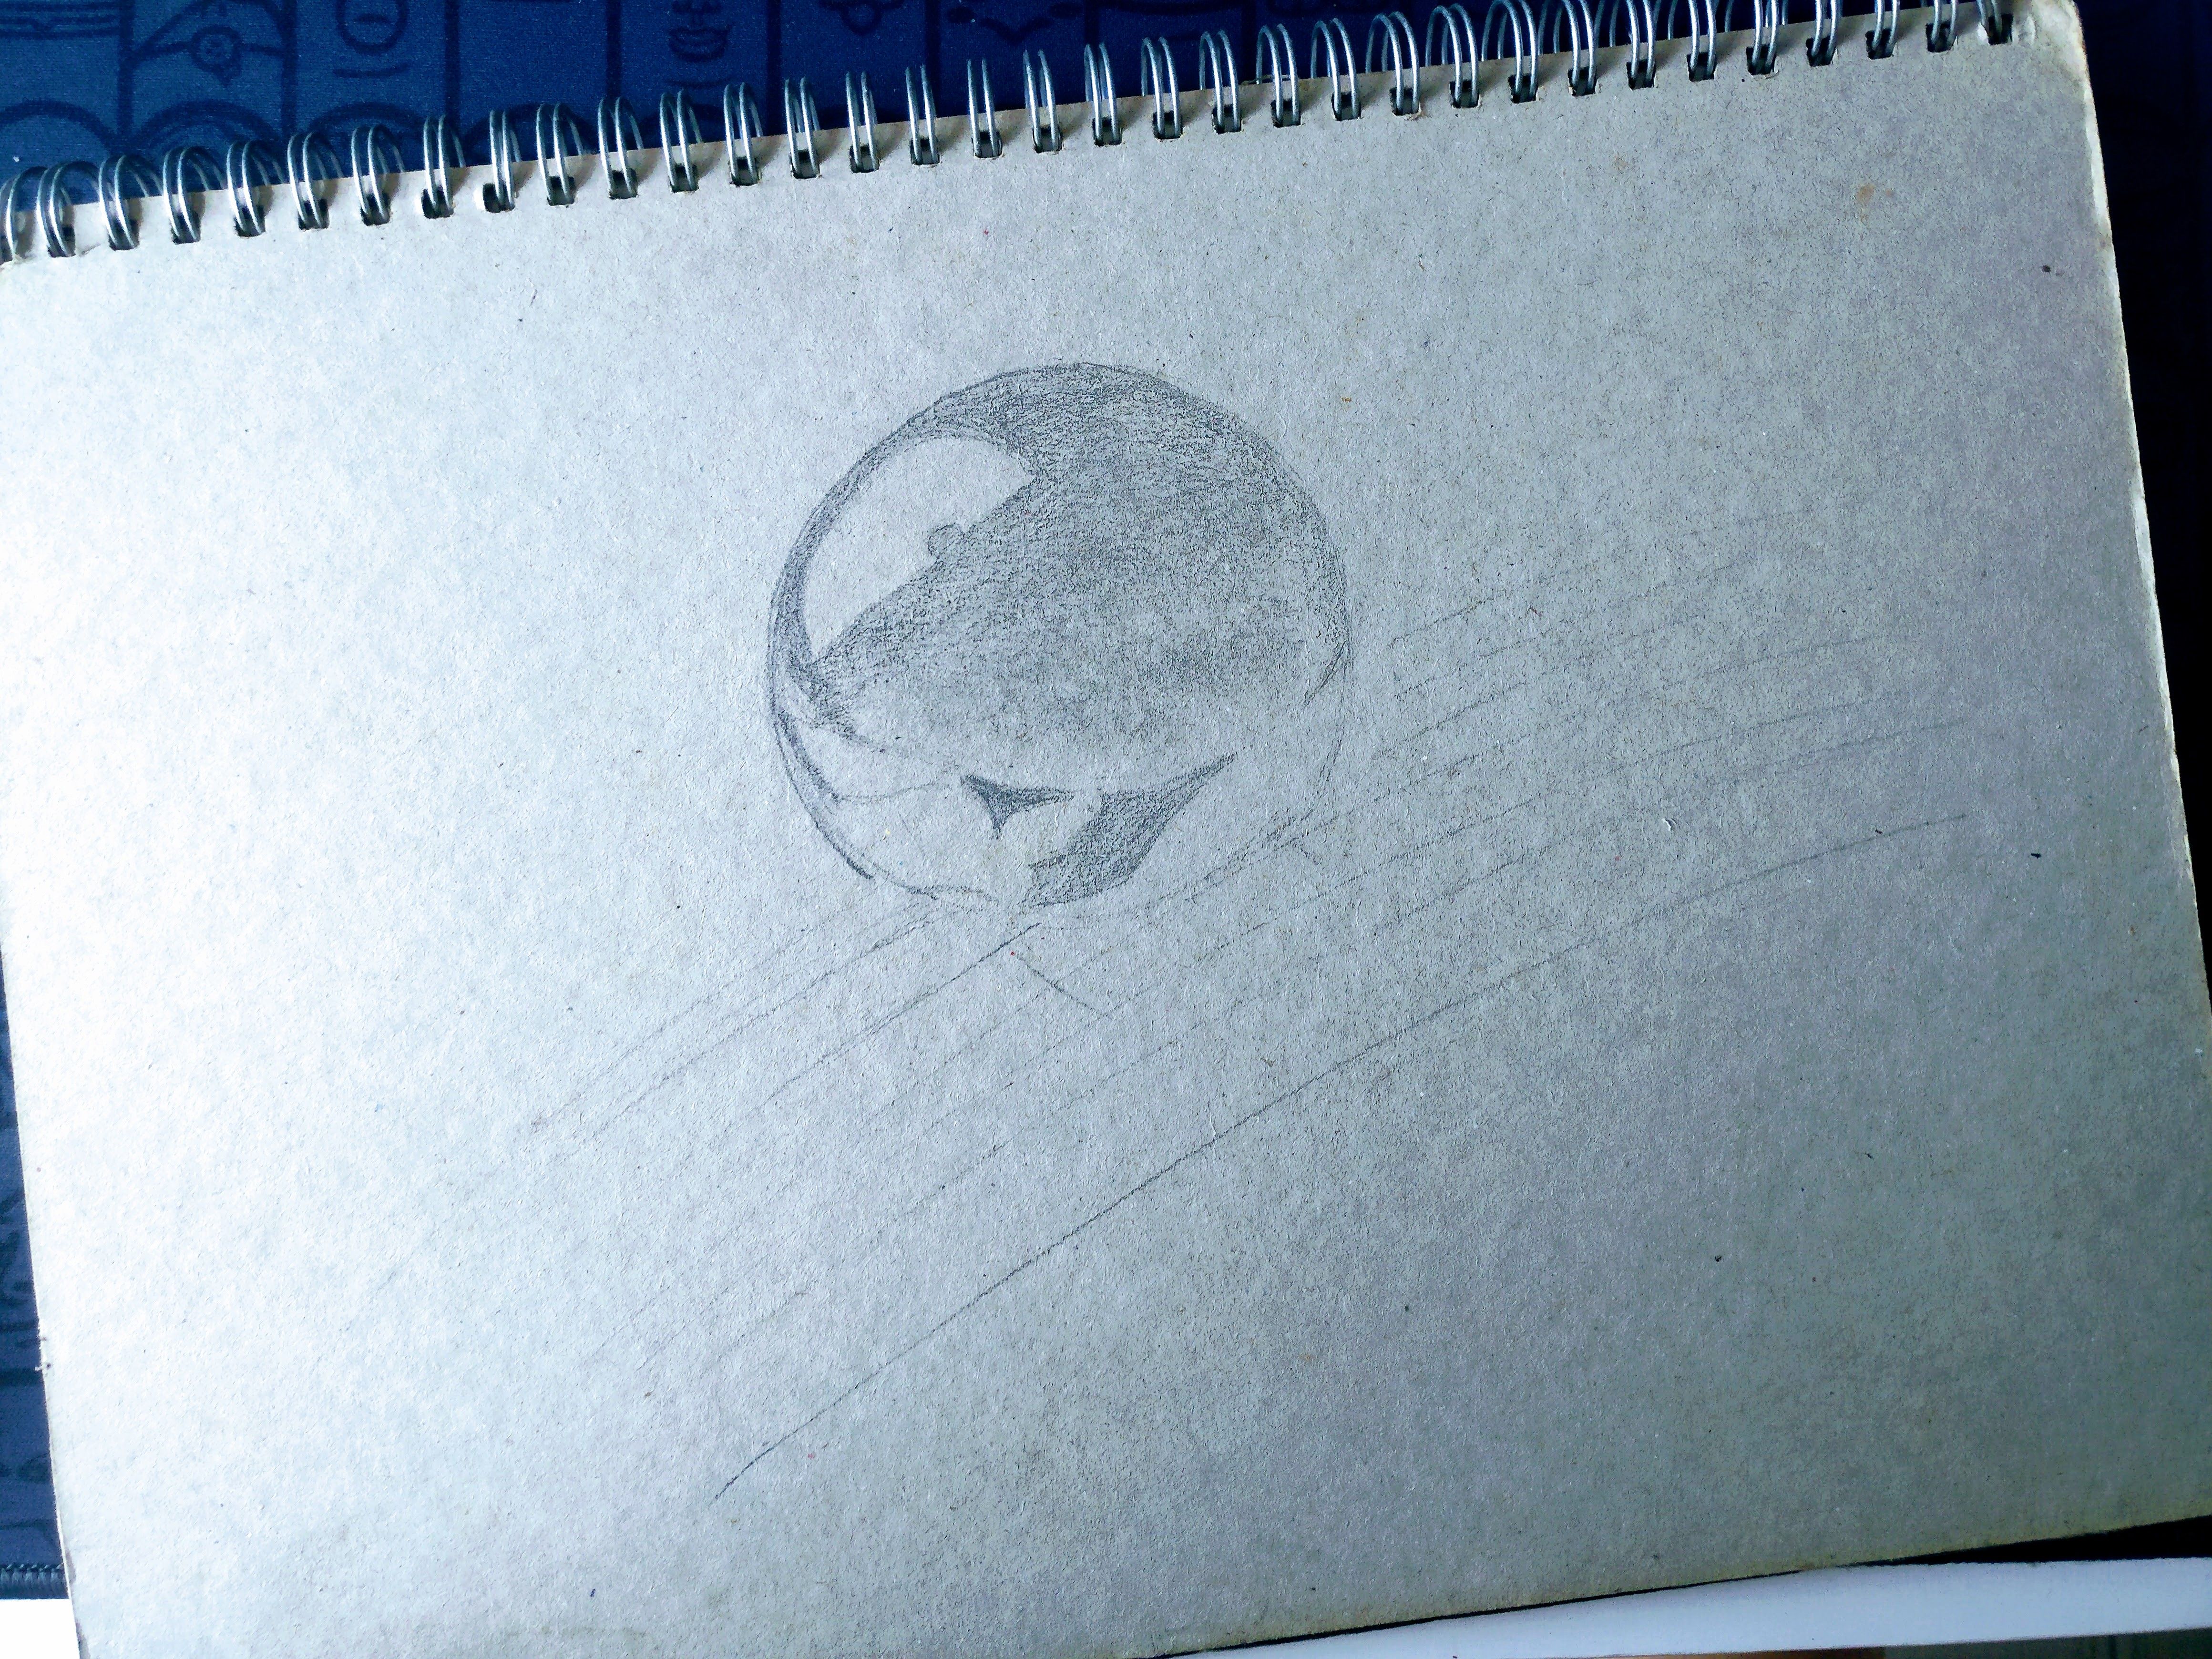
Sketch the outline of the dewdrop shape and the base of leaves.

先把草稿画出来,主要是露珠的原型和叶子底线。


IMG_20171029_104637.jpg

Drawing the detail of shadow first with a pencil, you don’t want to go hard on the stroke now.

把露珠的阴影用浅手法画出来。


IMG_20171029_111331.jpg

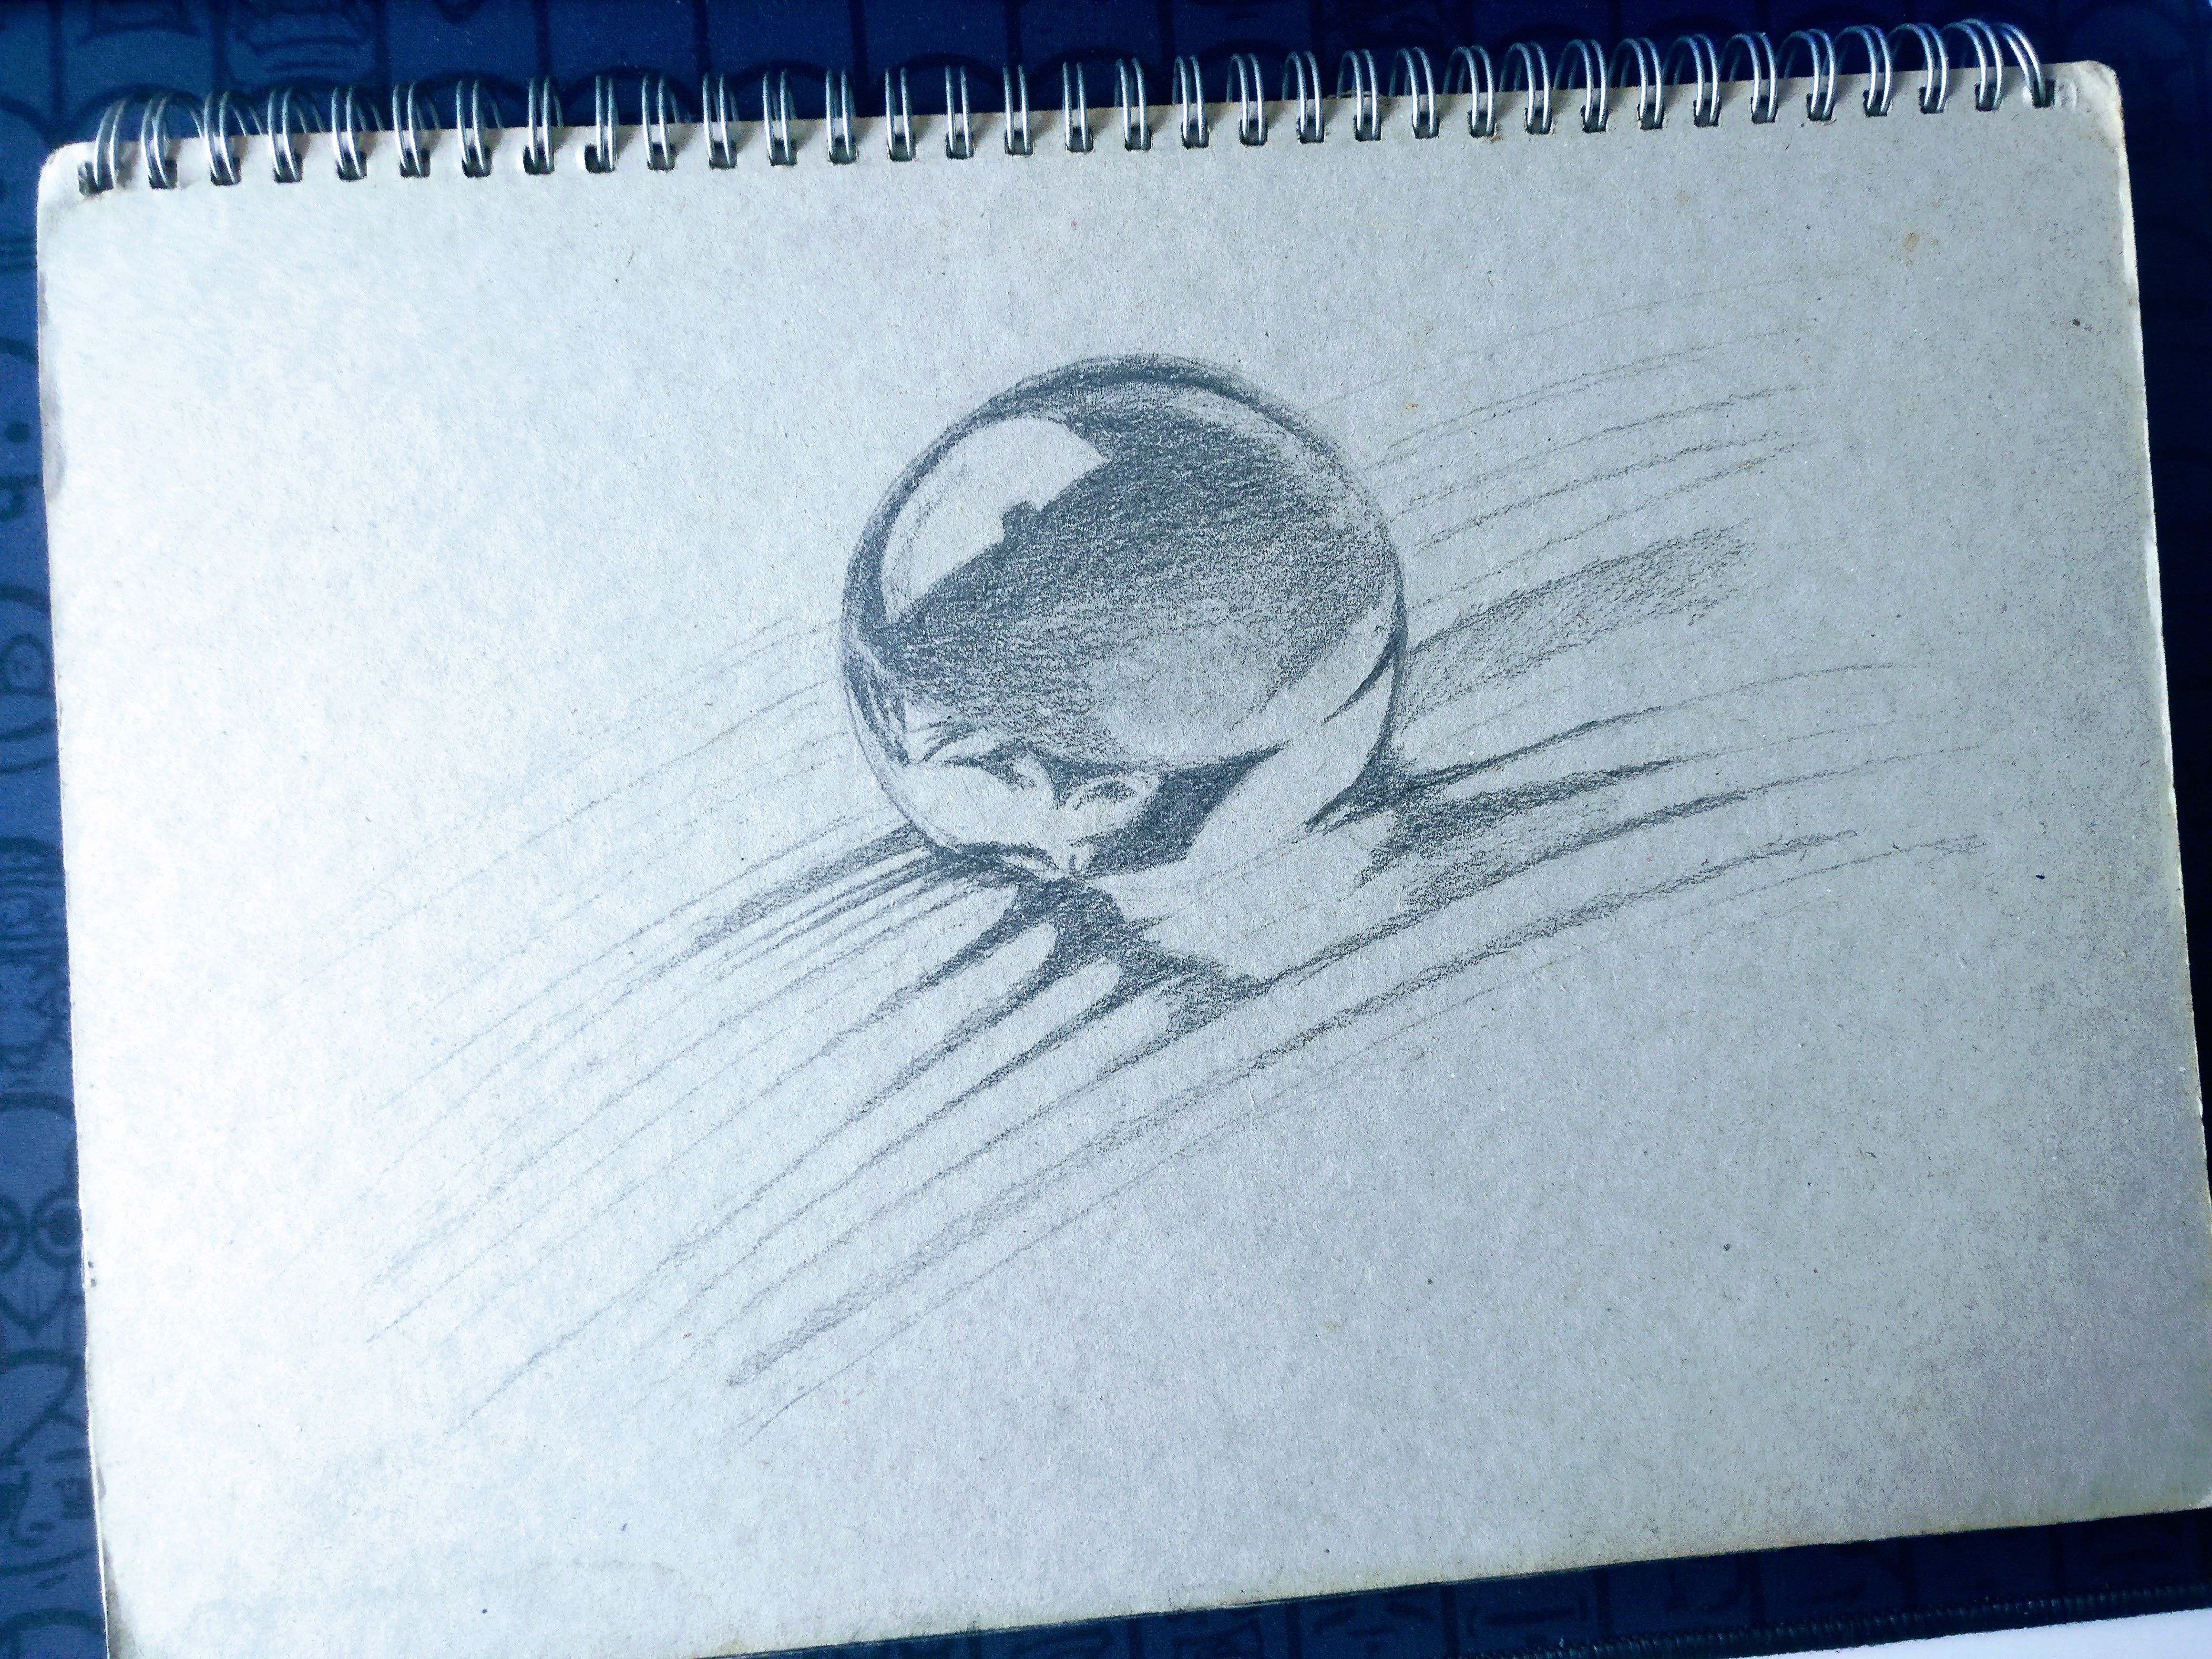
Extend the shadowing on the leave, now heavier stroke can be used as we almost got the whole frame steady.

初具格局之后,用稍微重的手法把暗影加深,也把露珠所带出来的影子呈现在叶子上。


IMG_20171029_111834.jpg

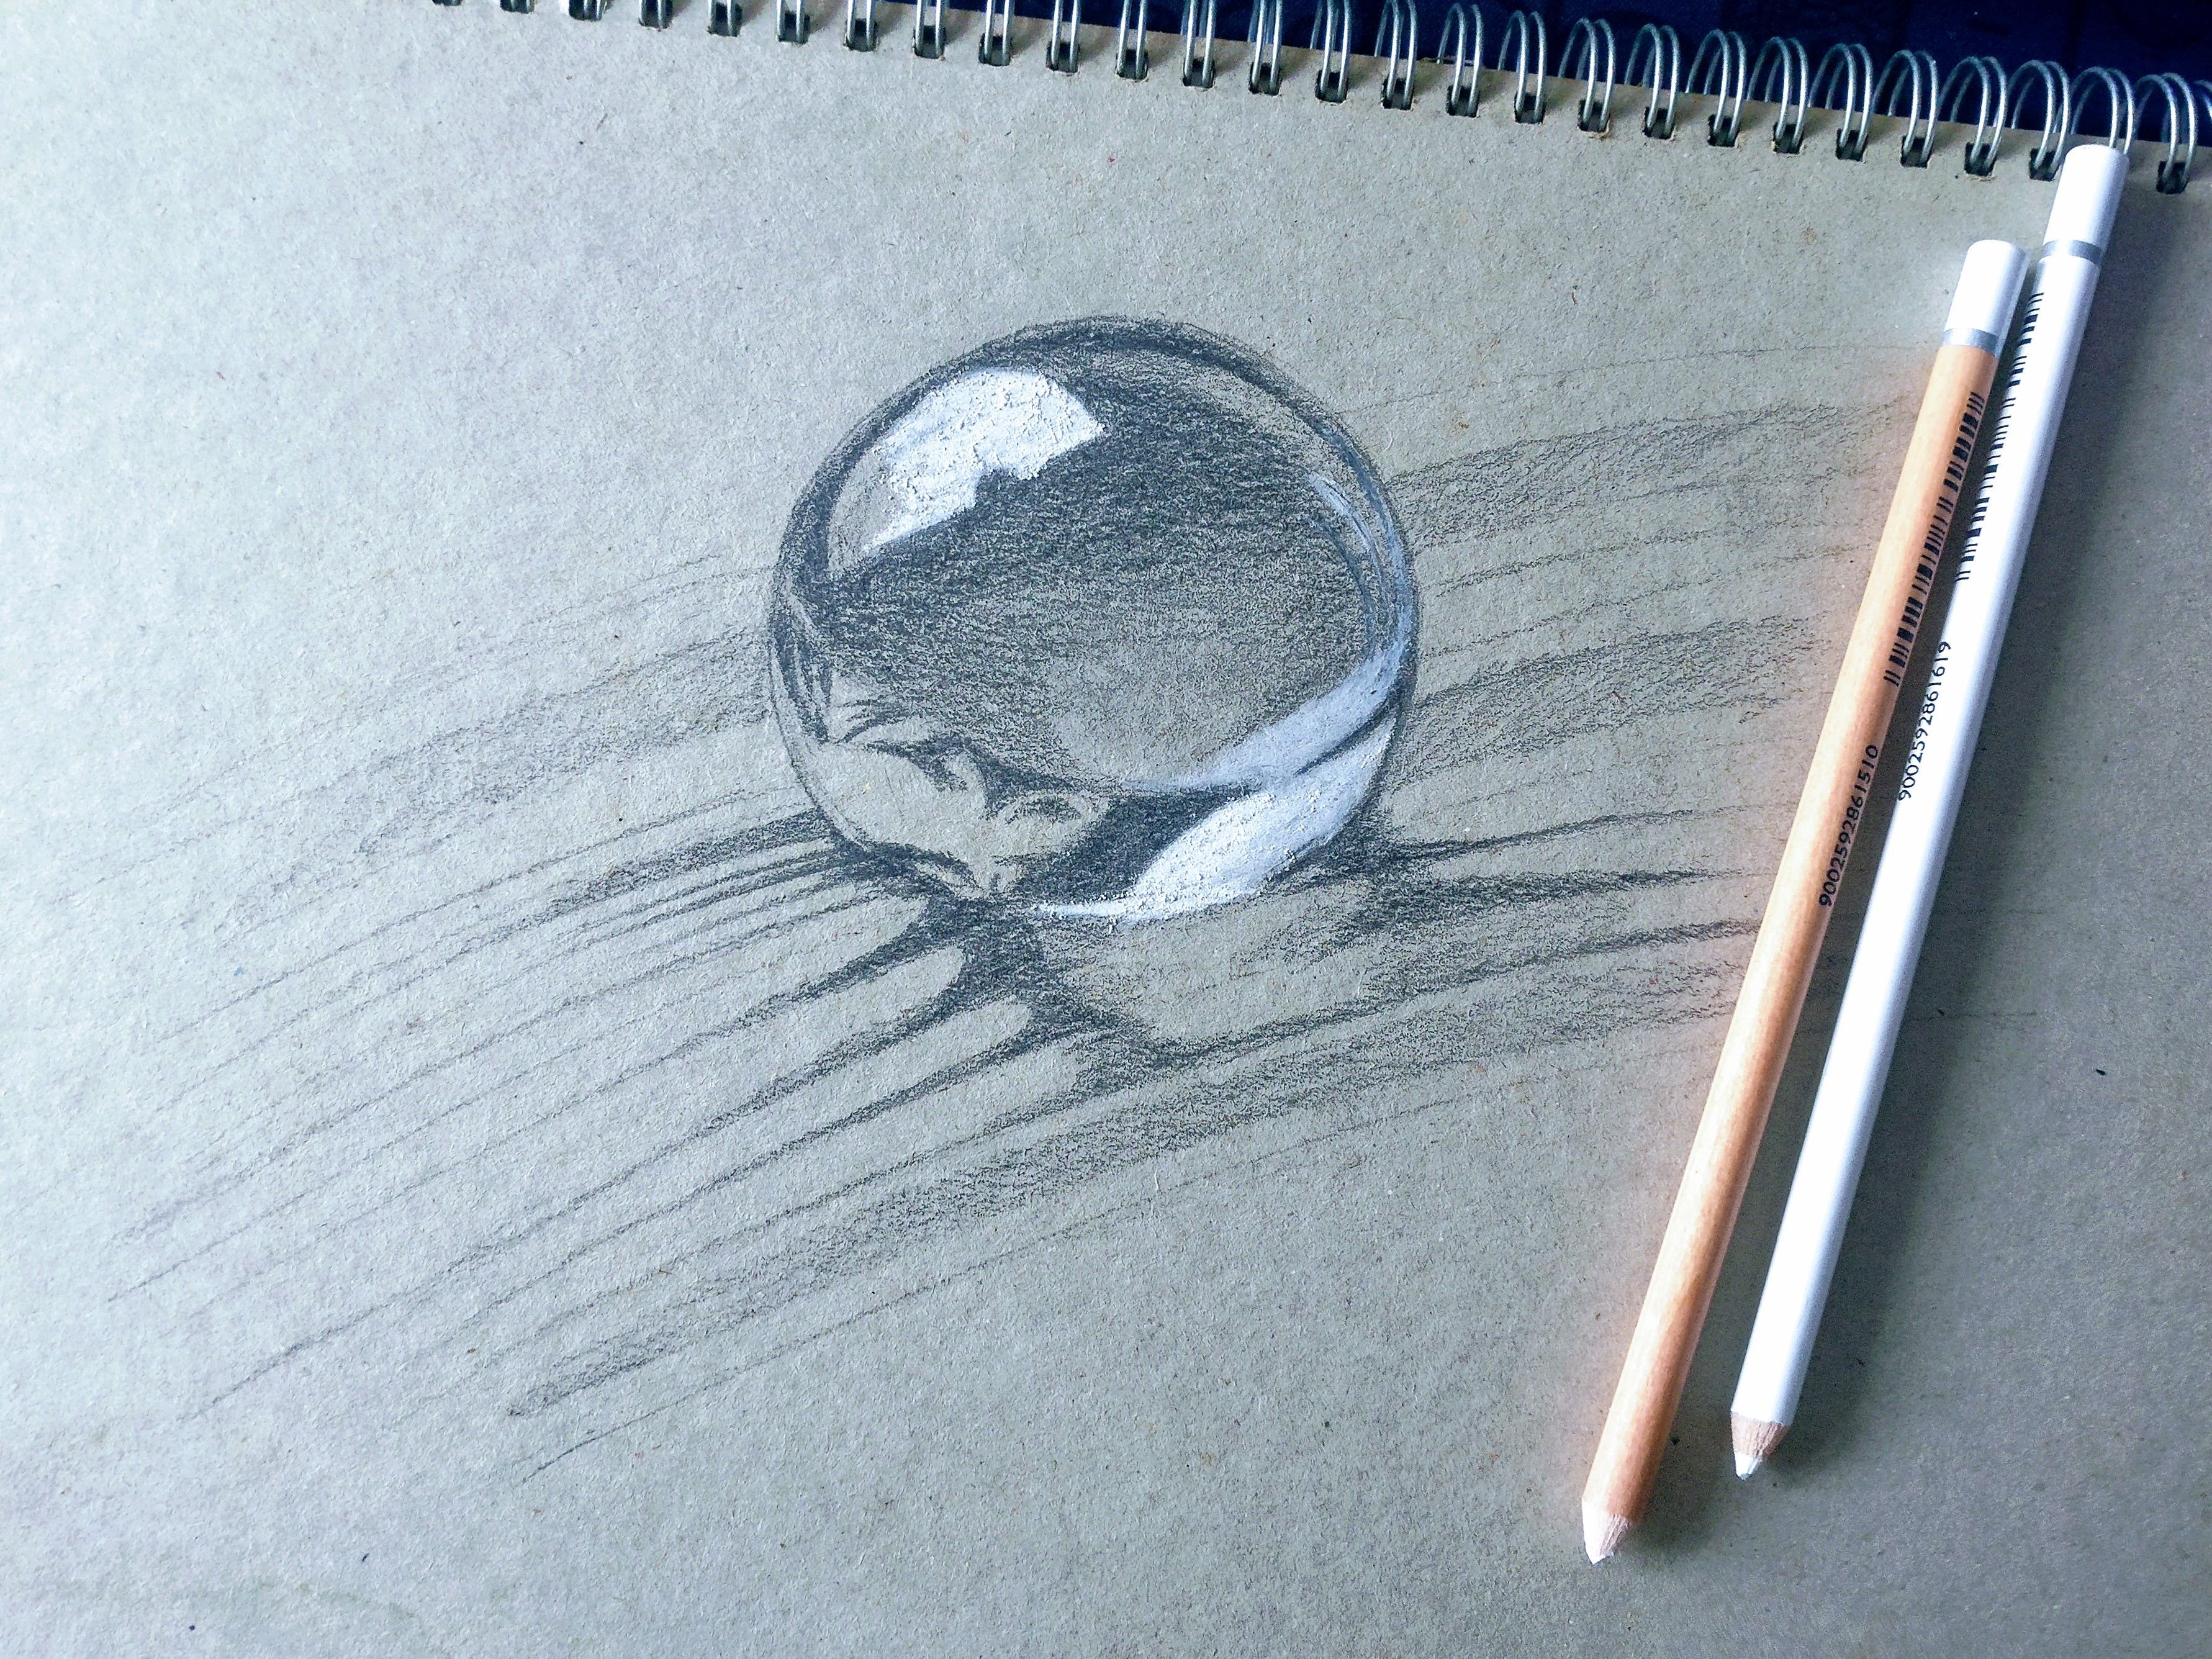
Now comes the exciting part. This is my first time using white pencil, now you see the point of drawing on a toned material, else the whites can’t play a part in it to present more contrast against the shadow.

处理好暗影部分后,是时候试一下白色铅笔的效果了。现在在中色纸上作画的好处就会显现,白色比划很好的呈现露珠里的光线。


IMG_20171029_114418.jpg

Whiten the reflective areas in the dewdrop, as well as the glowing shadow on the leave. The white pencil and gel pen work like charm covering up the graphite by pencil.

第一次使用的白色铅笔和原子笔出乎意料的好用,露珠和叶子的反光部分很立体的描述出来了。


IMG_20171029_115341.jpg

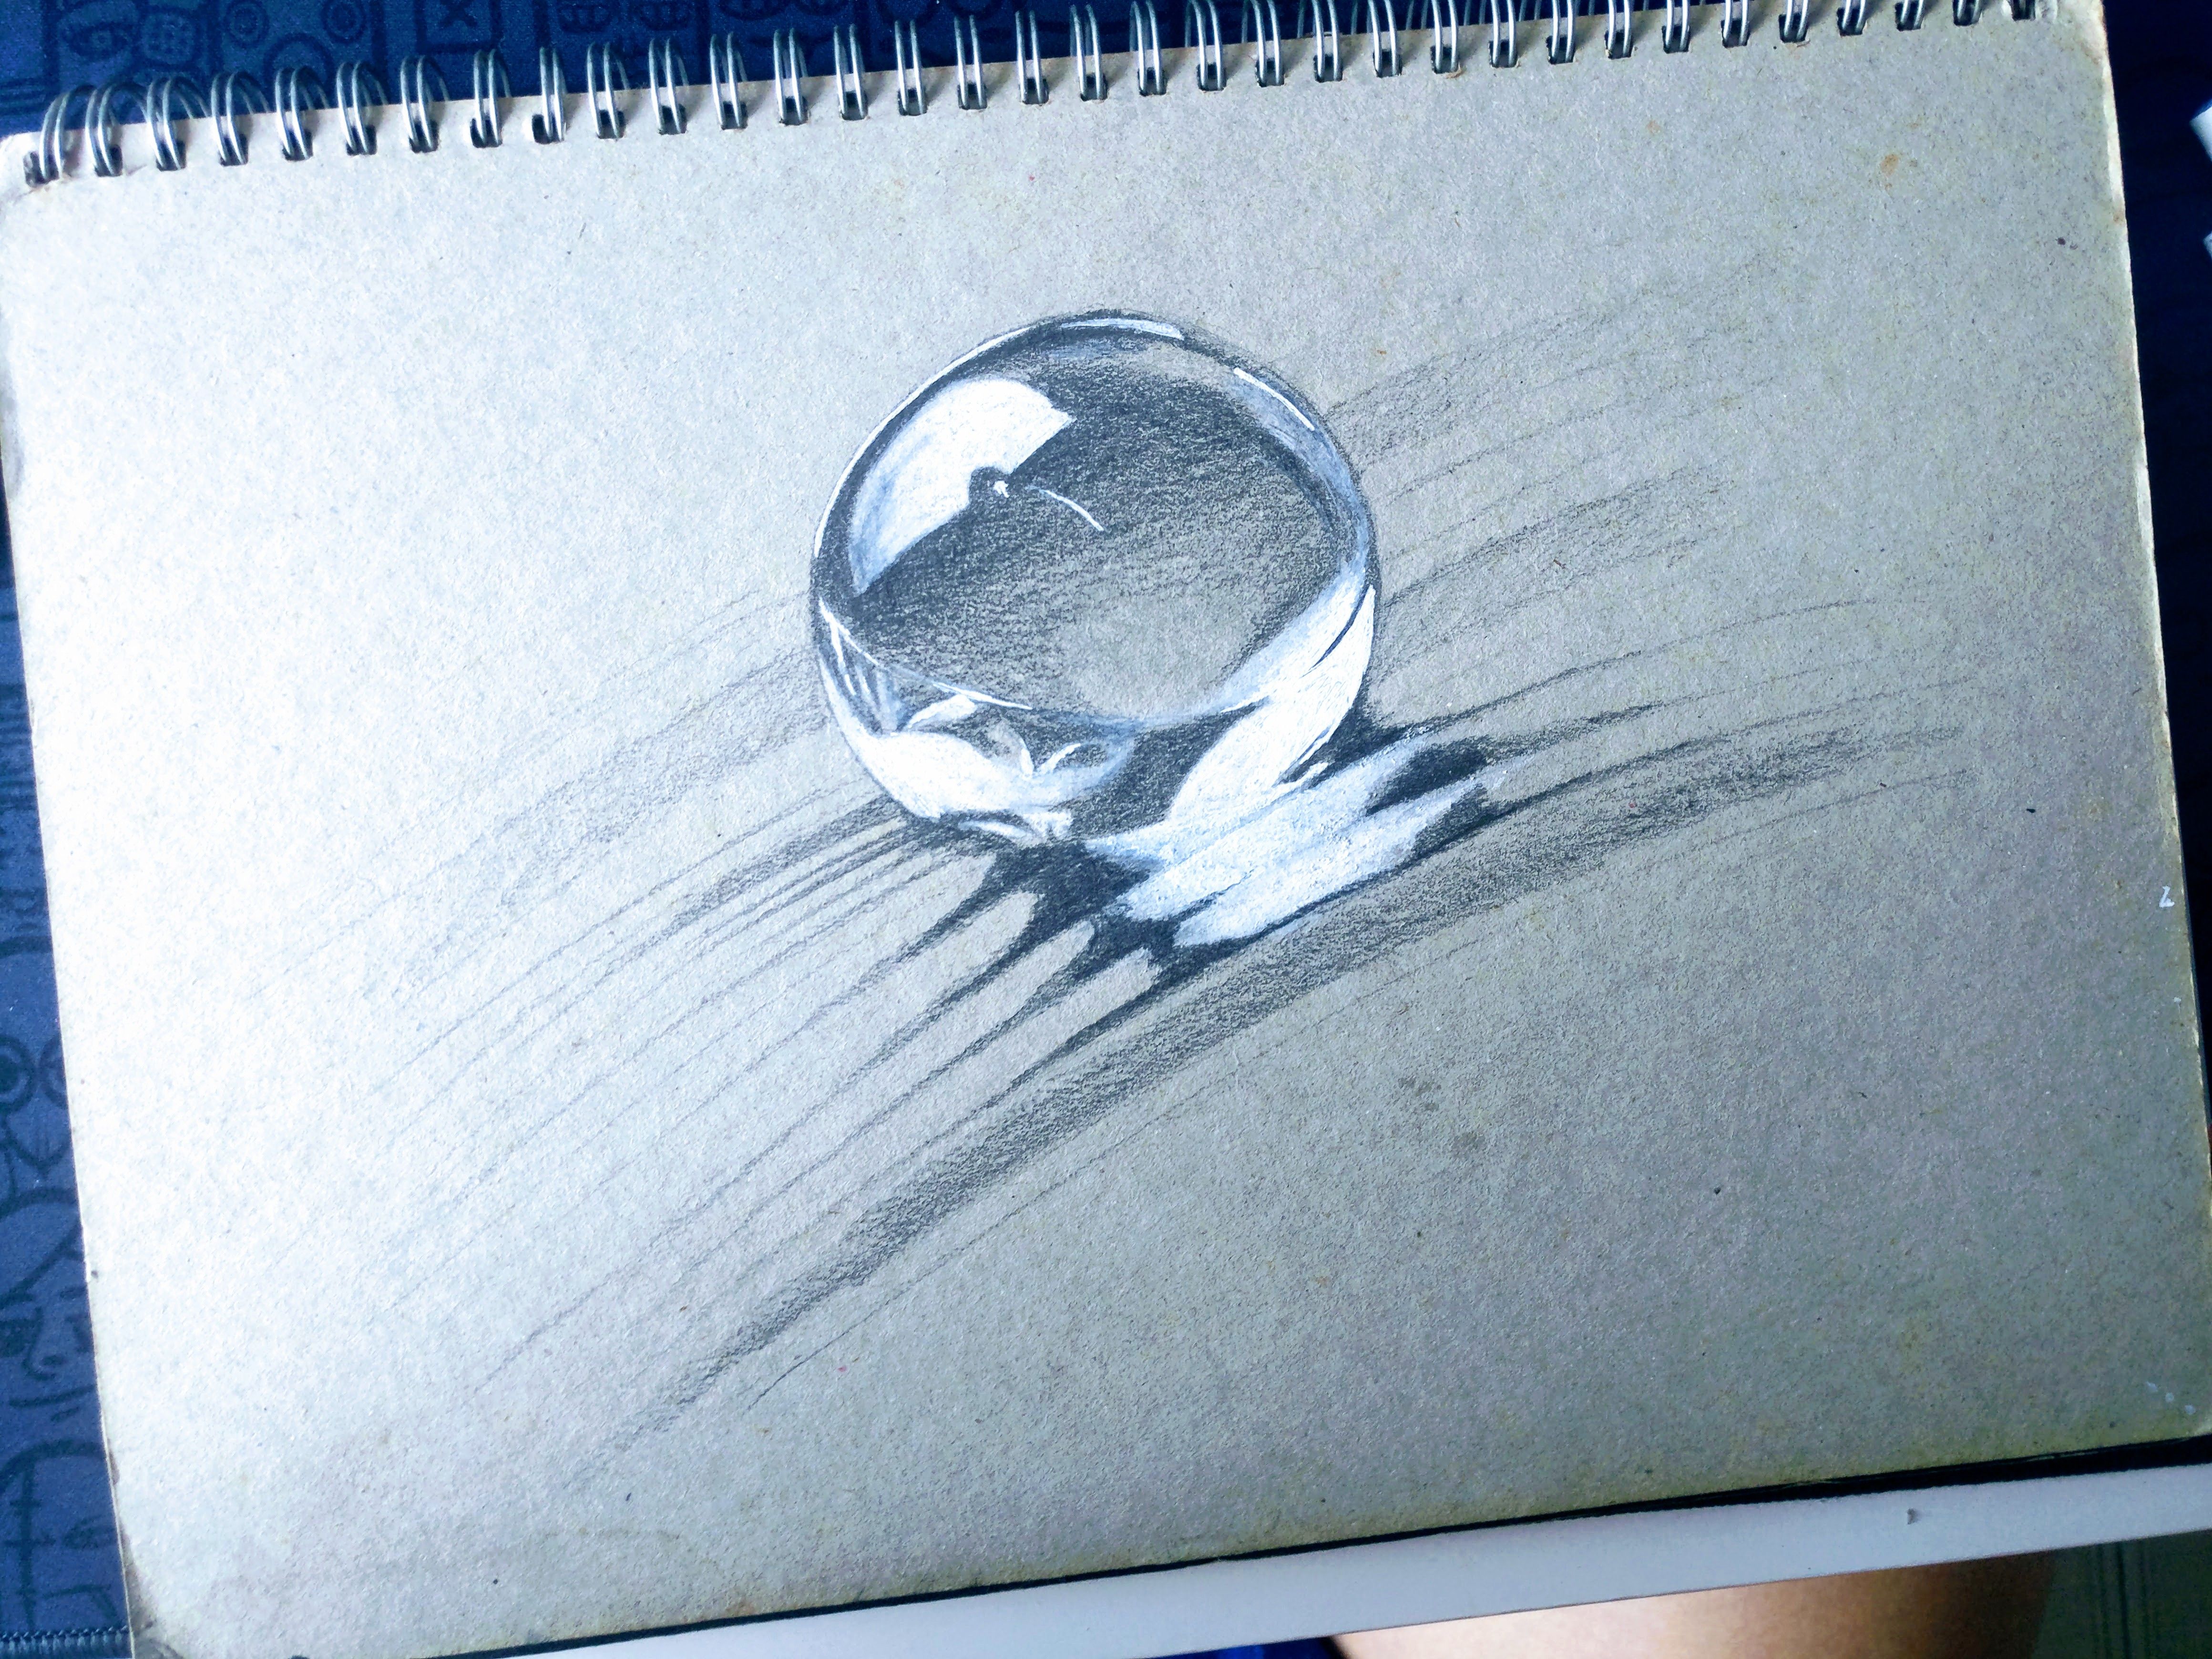
Touching up the background with a few really rough blurred shade, added a few tiny dews too. Now it is the time to darken the shadow inside and around the dewdrops to make the contrast looks more real.

Dewdrop did a great job to capture the shapeless light and present it lively under the close-up angle. If you like the content, you know what to do. Peace!

主体完成之后,可以把叶子的背景再加强点,利用模糊背景的手法把主体衬托得更突出。白笔的第一次使用效果很不错,露珠的透光效果令人满意。

在镜头放大之下的露珠果然是捕捉无形光线的好帮手。希望你会喜欢!


My other artworks:


This page is synchronized from the post: ‘Drawing Challenge#9 Light 光’

How to preserver graphite drawing 如何保存铅笔画

After spending hours of effort onto that awesome pencil artwork, the last thing you would do is just close the sketchbook up, only to find out it was all smudged up next time you open it.

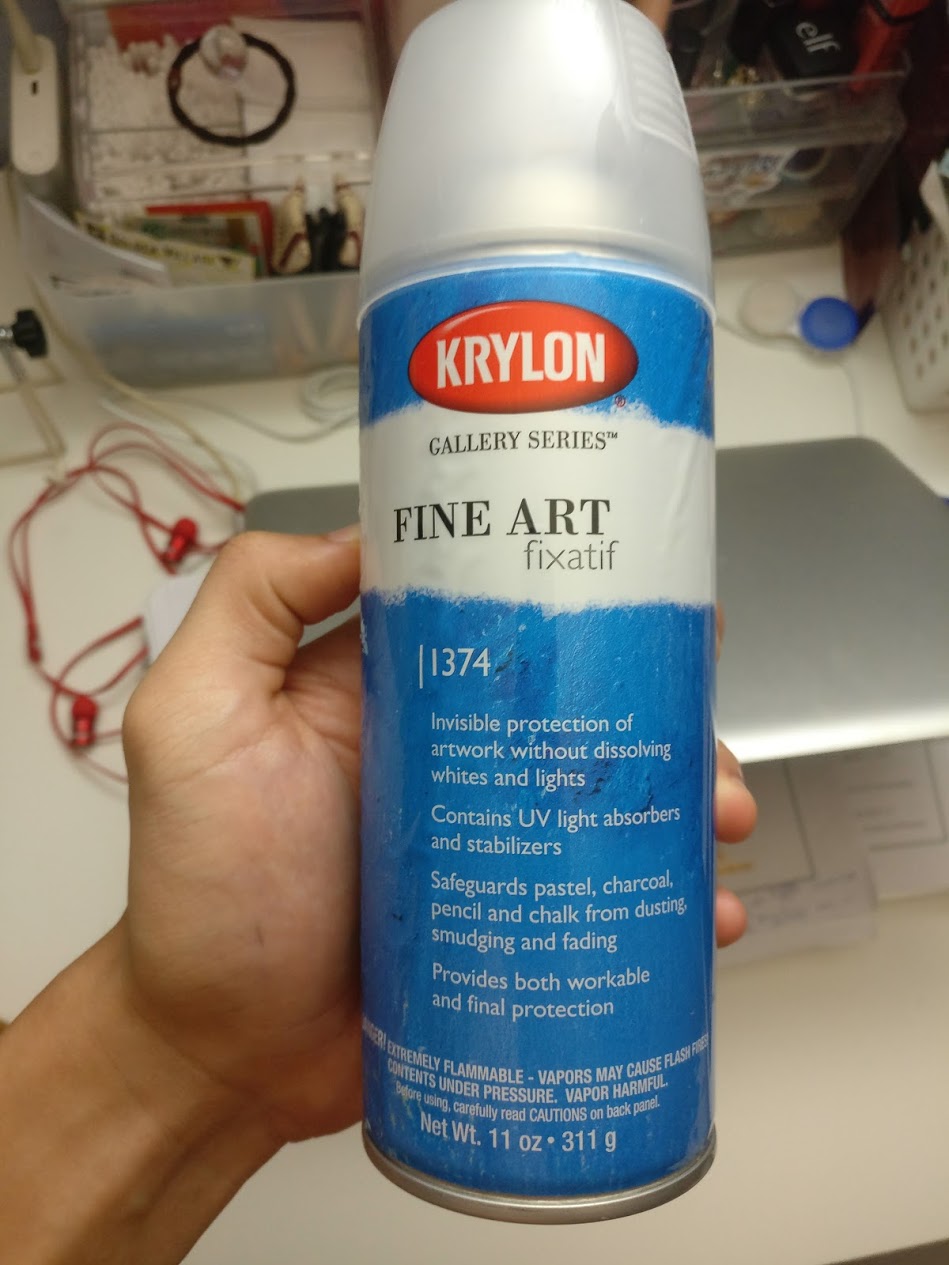
The fixative spray is specially designed for protecting graphite, charcoal, pencil, pastel, and chalk from dusting, smudging and fading. They can also provide UV protection without dissolving whites and lights.

IMG_20171028_221332.jpg

Many big art brands provide their fixative spray and I got the Krylon Fine Art Fixatif for S$19 from local art supplies store. There is 2 kind of fixative spray, the workable fixative, and the final fixative. Workable fixative saves the progress of work and further touch up can still be added on to the medium. When everything is done, the artwork may seal up with the final fixative.

Krylon Fine Art Fixatif is somewhat in between, as it provides workable and final protection. Apply a thin layer for the workable layer and a few layers consecutively for the final varnishing result.

最不想看见的事辛苦创作的铅笔画在画完之后,因为没有妥善保存,下次再看时已经模糊不清了。保护喷胶就可以完美解决这问题,还可以防紫外线。我在本地的画具店卖了Krylon Fine Art Fixatif,价格是新币19元。这支有点特别,喷一层薄的就可以锁住目前的进度,还可以继续在上面加工。如果完工了要完全封锁效果,就连续喷上数层即可。

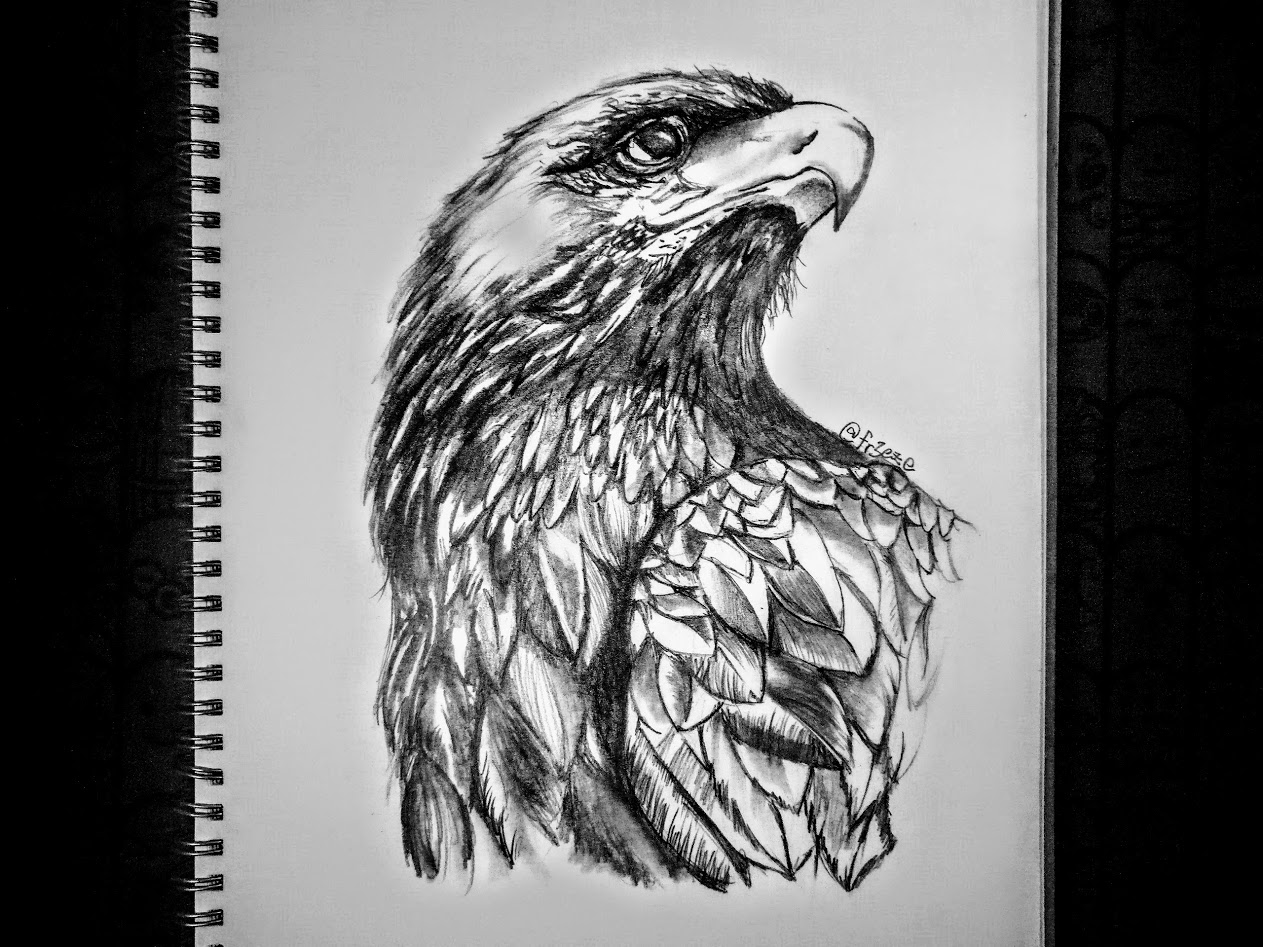
I will varnish my Eagle which was a contest entry weeks ago using the fixative spray. Mark any area that you don’t want to spray, in my case I want to spray the whole figure.

我会用用数个礼拜前的参赛作品《老鹰》来示范。先将不要被喷到的地方掩盖起来,我则要覆盖整个图像。


ezgif.com-video-to-gif.gif

Shake the spray every time before using it.

使用之前先摇匀。


ezgif.com-video-to-gif (1).gif.gif)

Test spray in an inconspicuous area for compatibility.

在通风的地方试喷几下以确保正常运作。


ezgif.com-video-to-gif (2).gif.gif)

Spray artwork in the upright position. Begin at closest edge and stroke from left to right across the surface and beyond the edge. Overlapping slightly for every stroke. Since the work is already done and no more tuning is needed, I will apply a few layer to achieve the final fixative result.

将作品垂直摆放。由左至右一道一道的喷,每道之间稍微互相覆盖以确保每寸图像都有被照顾到。因为这已经是完成的作品,我将直接喷上数层将之完全封锁起来。


ezgif.com-video-to-gif (3).gif.gif)

The coat will dry in 15 minutes. I tried to erase the pencil drawing but the graphite stays on. We can know now everything is locked up within the coat!

保护层只需要15分钟就会干透。这时用橡胶试一下擦拭,并不能擦去任何痕迹了。完美!


This page is synchronized from the post: ‘How to preserver graphite drawing 如何保存铅笔画’

Your browser is out-of-date!

Update your browser to view this website correctly. Update my browser now

×