
In the last post we know ShareX is a very powerful screen capturing tool. Read more introduction about ShareX at this link:
TechReview #2 - Ultimate screen capture weapon, ShareX.
Previously when I use the default screen capturing tool in Windows, Snipping Tool to capture screen, often I will have to edit the picture with Microsoft Paint to make simple adjustment such like adding arrows, text, or brackets.
The flow of overall process was
Start Snipping Tool -> Open capture mode -> Capure screen -> Save as picture -> Look for picture location -> Edit with Paint -> Save and done
Using ShareX, the process will be
Start ShareX in capture mode Hotkey -> Capture screen -> Edit with ShareX -> Save and done
I’ll show you the basic screen capturing process and the awesome edit feature.
The Walk-Through

Ignite ShareX region capture mode by Ctrl + Print Screen. The selection will form a dotted-line region on objects, click once to capture whatever inside the bracket or you can just click and drag over the screen for custom capture.

The captured image will be generated in the file list, we are using the 1.png in this example . Right-click on the image and select Edit image, this will start the built-in editor.

There is a top bar with a series of editing tools like drawing rectangle and circle, text, arrow, blur effect, crop image and so on.
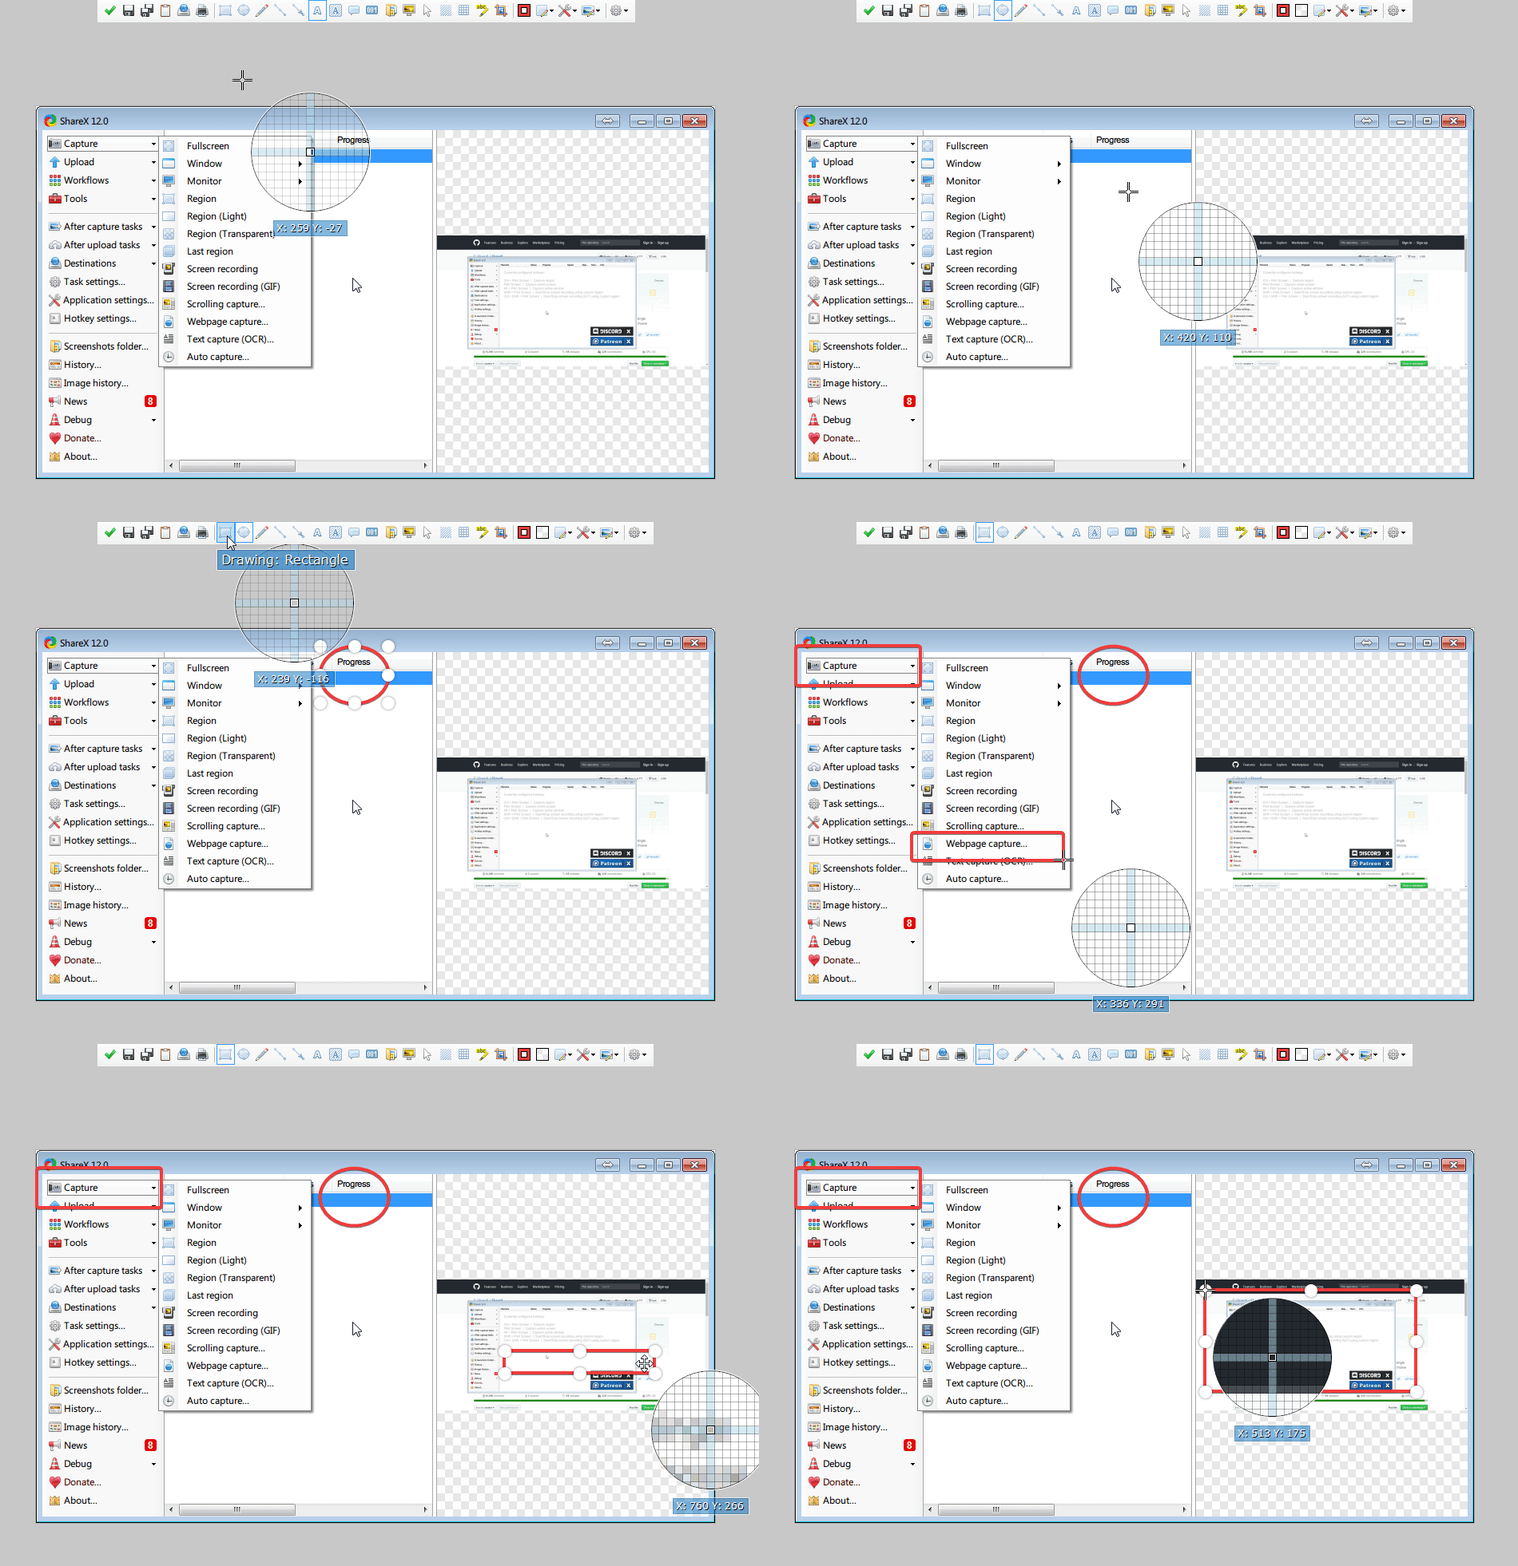
Drawing Circle and Rectangle is a very basic feature of most editors. Default color is red which is suitable for emphasizing in an image. You can draw the form and later change the shape and size as well the as the position.
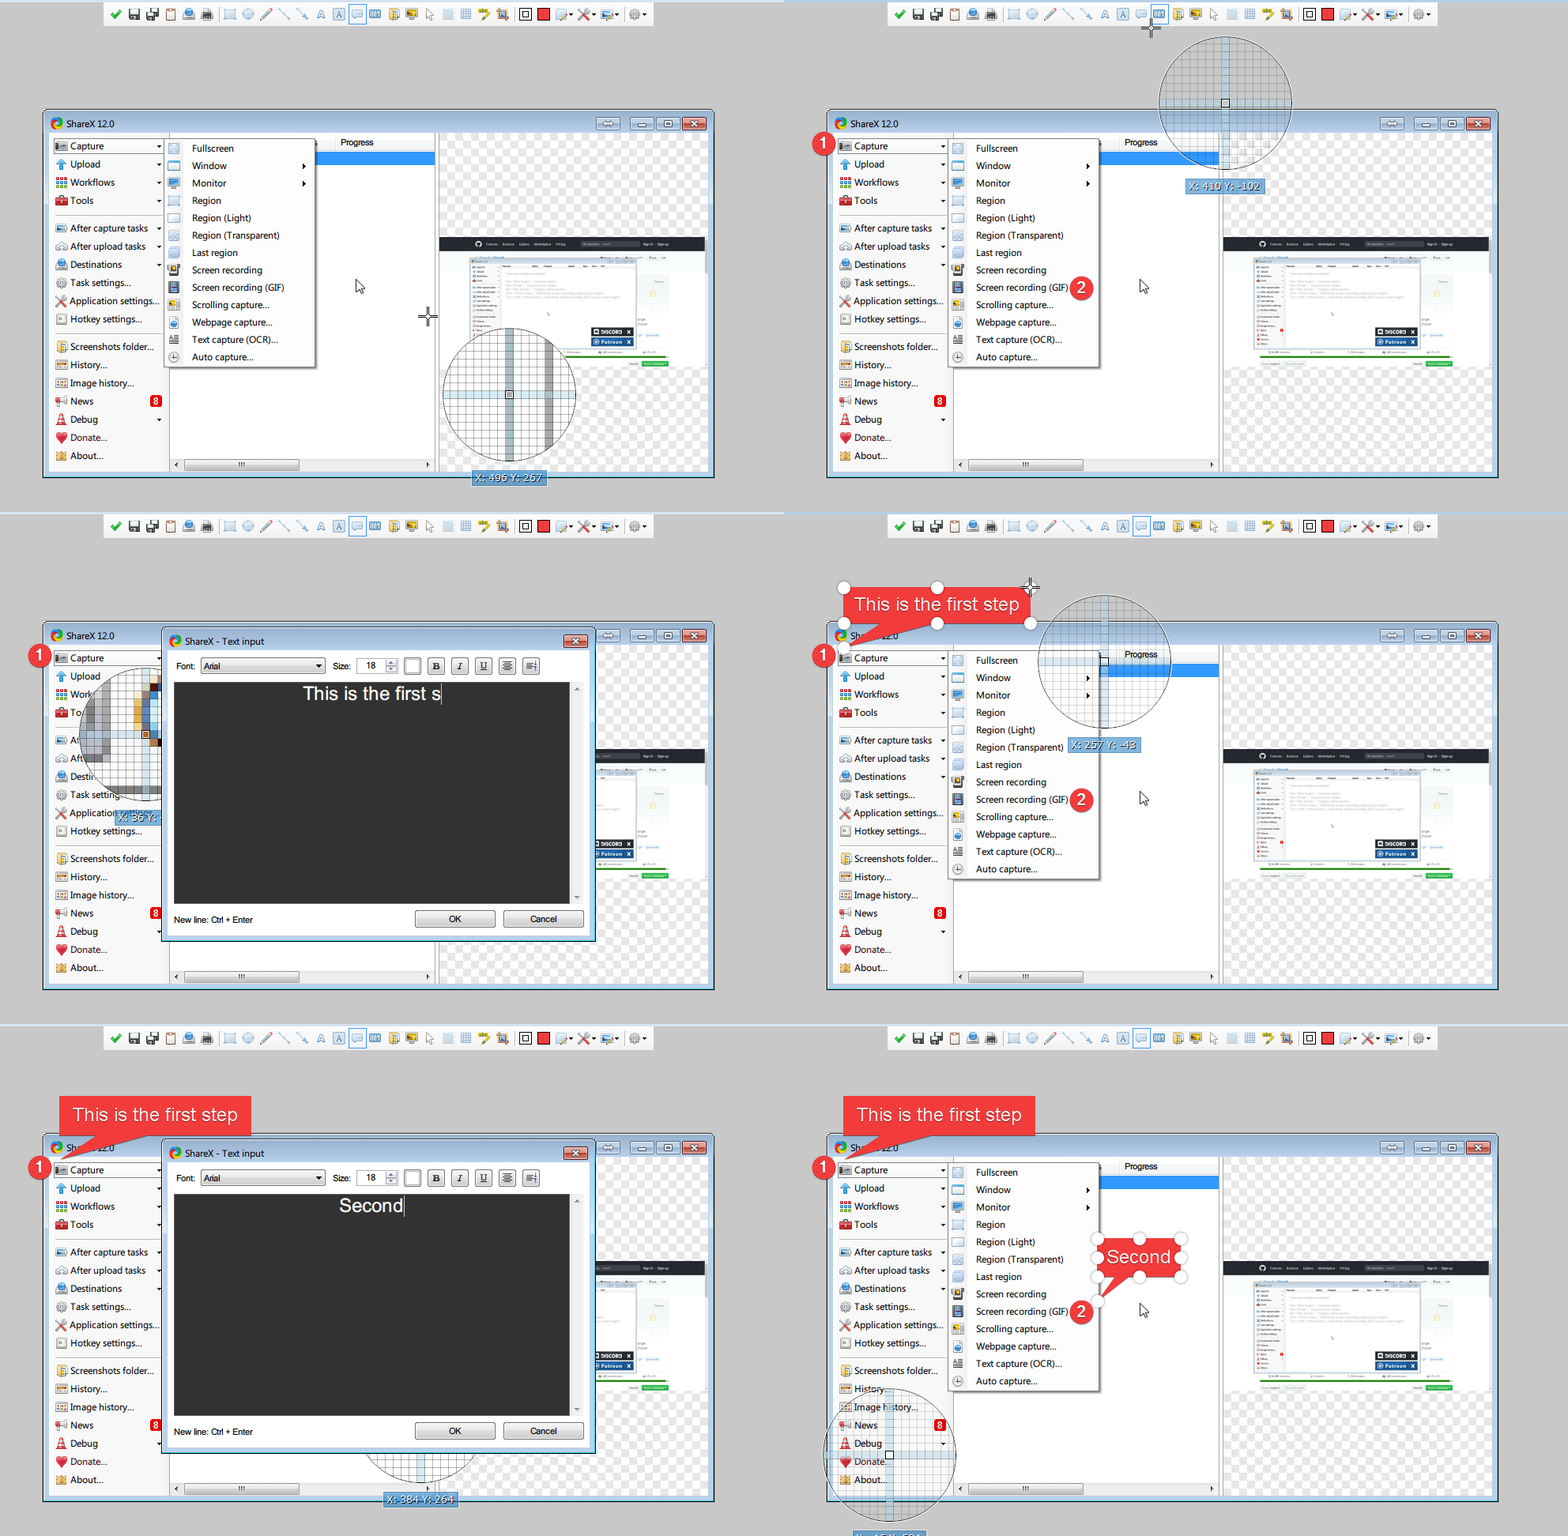
Drawing Steps is useful in introducing procedure by adding numbering at random places.Drawing Text and Drawing speech balloon can be used to adding explanation or note.
Both of the results can be altered as desired after first creation.
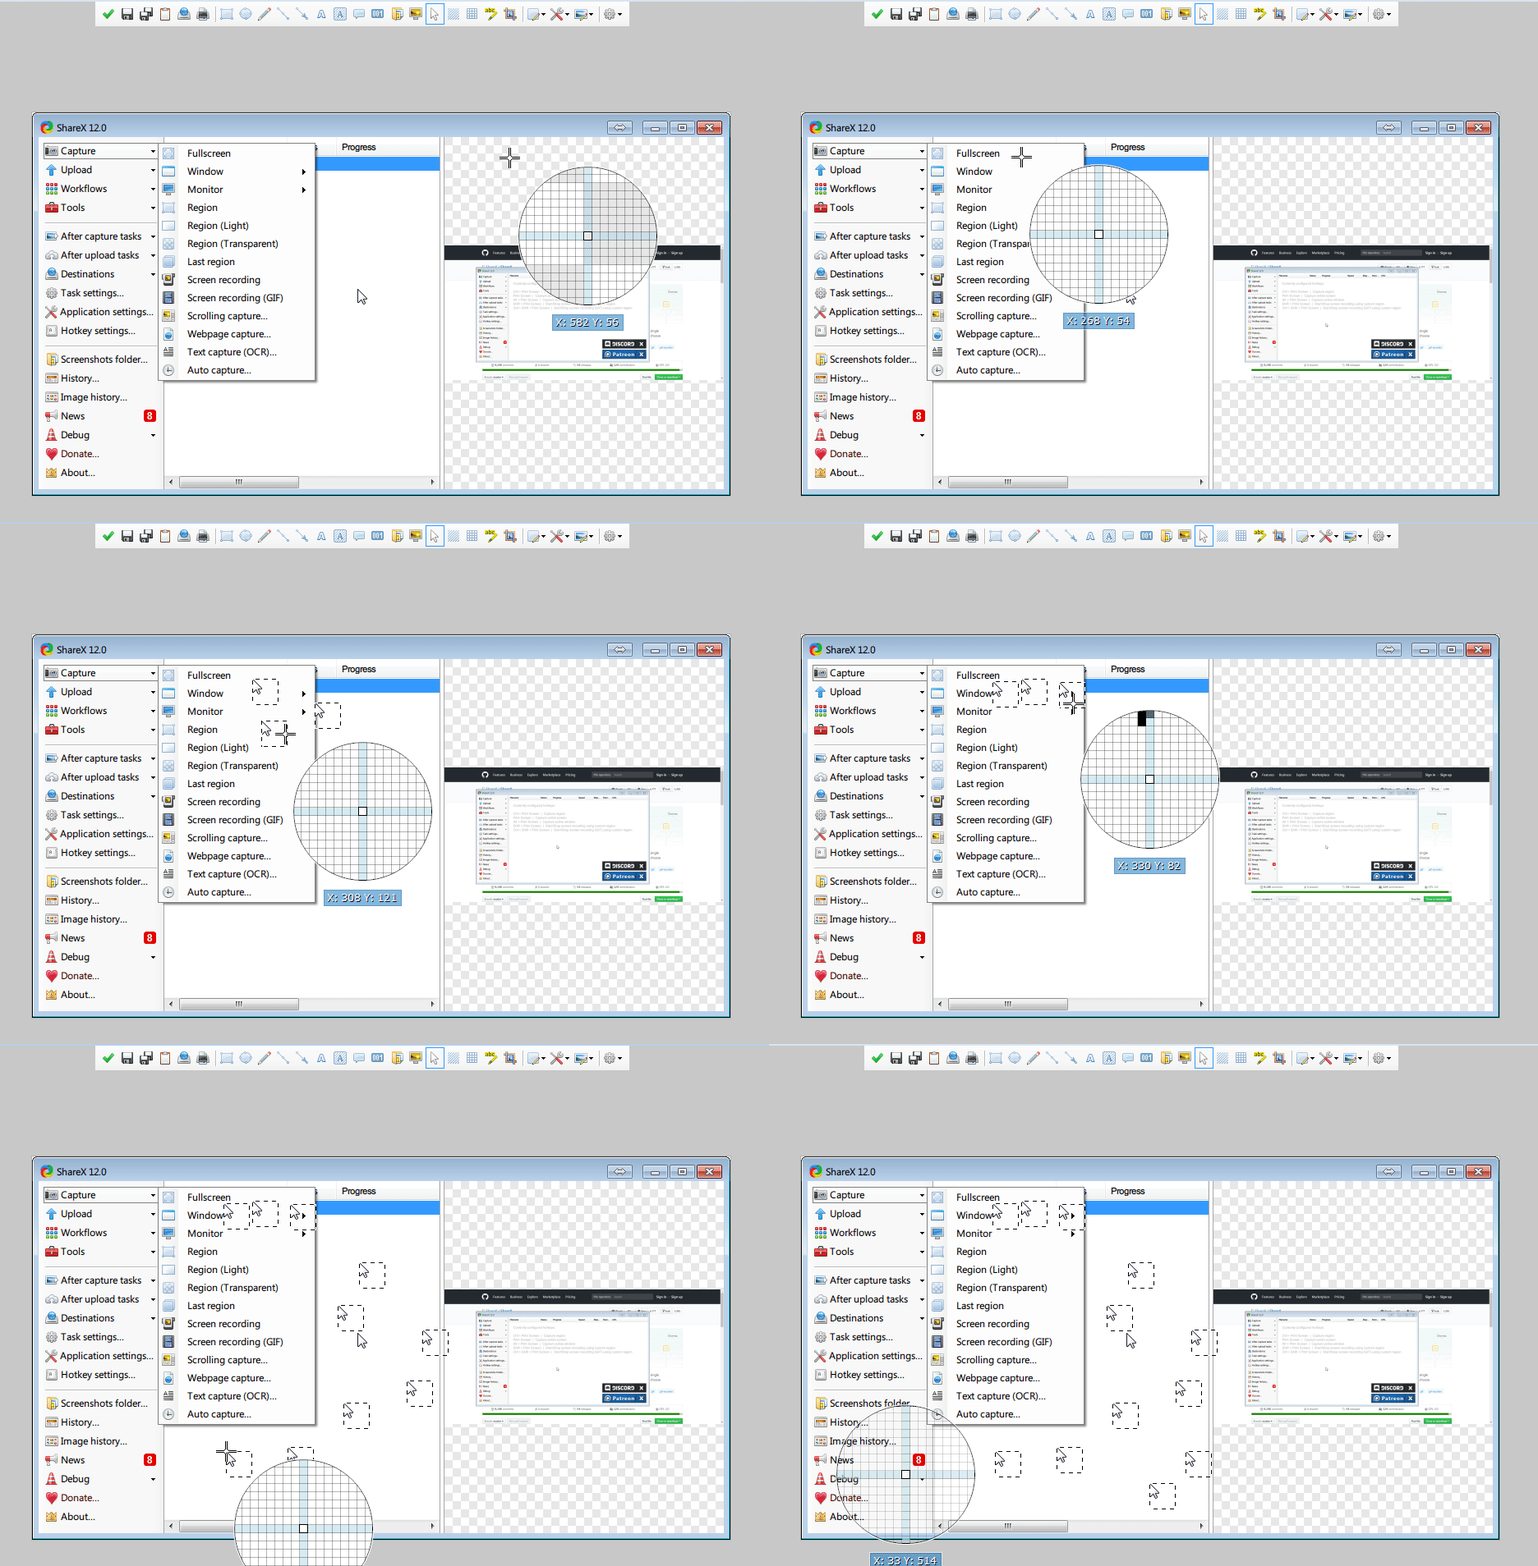
Drawing Cursor enabling user to add mouse cursor in any place. This trick could be used in a tutorial image to tell the reader where to click on the corresponding image.
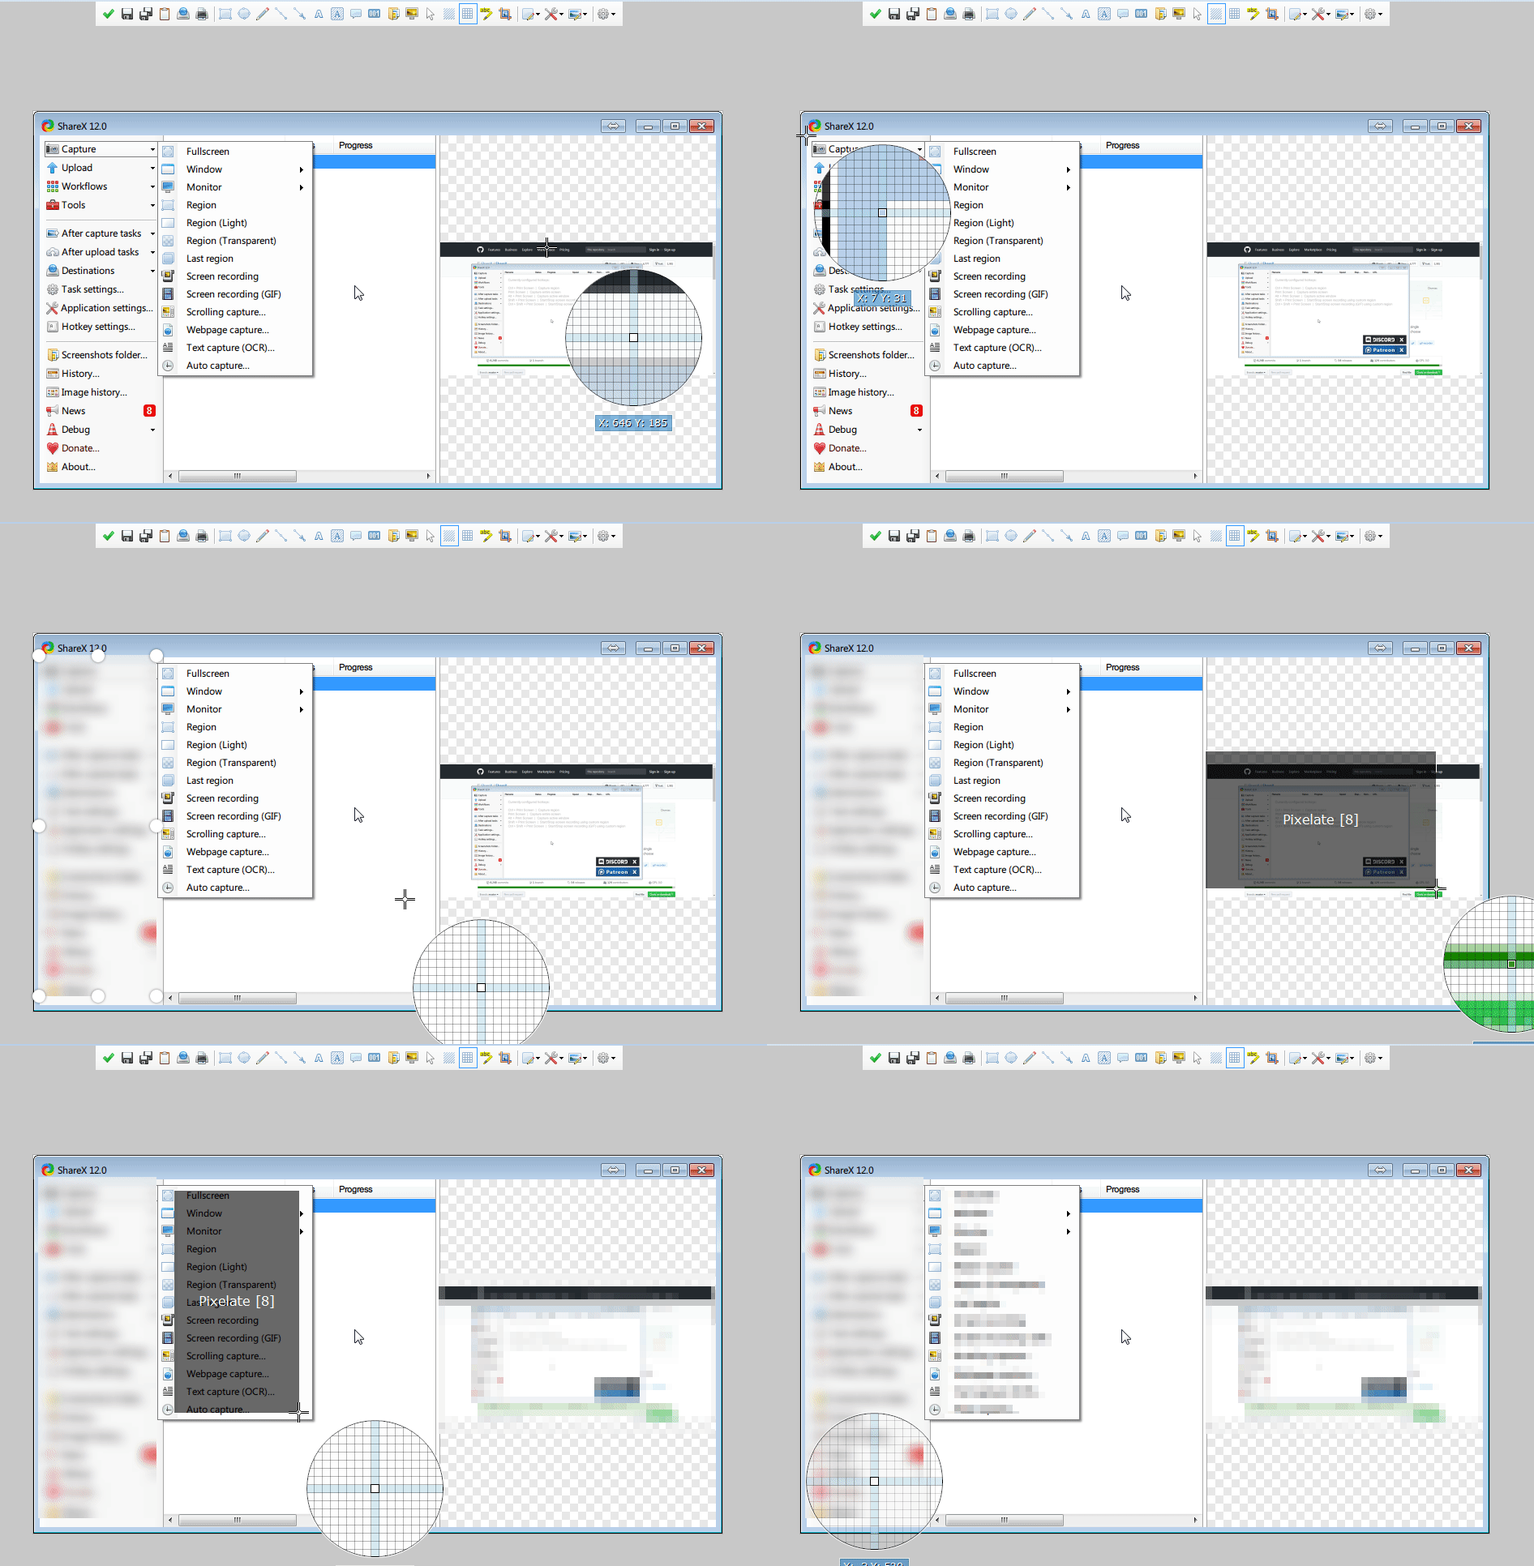
Effect Blur and Effect Pixelate are really useful in hiding sensitive information in an image which could be the car number plate, home address, name of a person, face of a person and contact number etc.
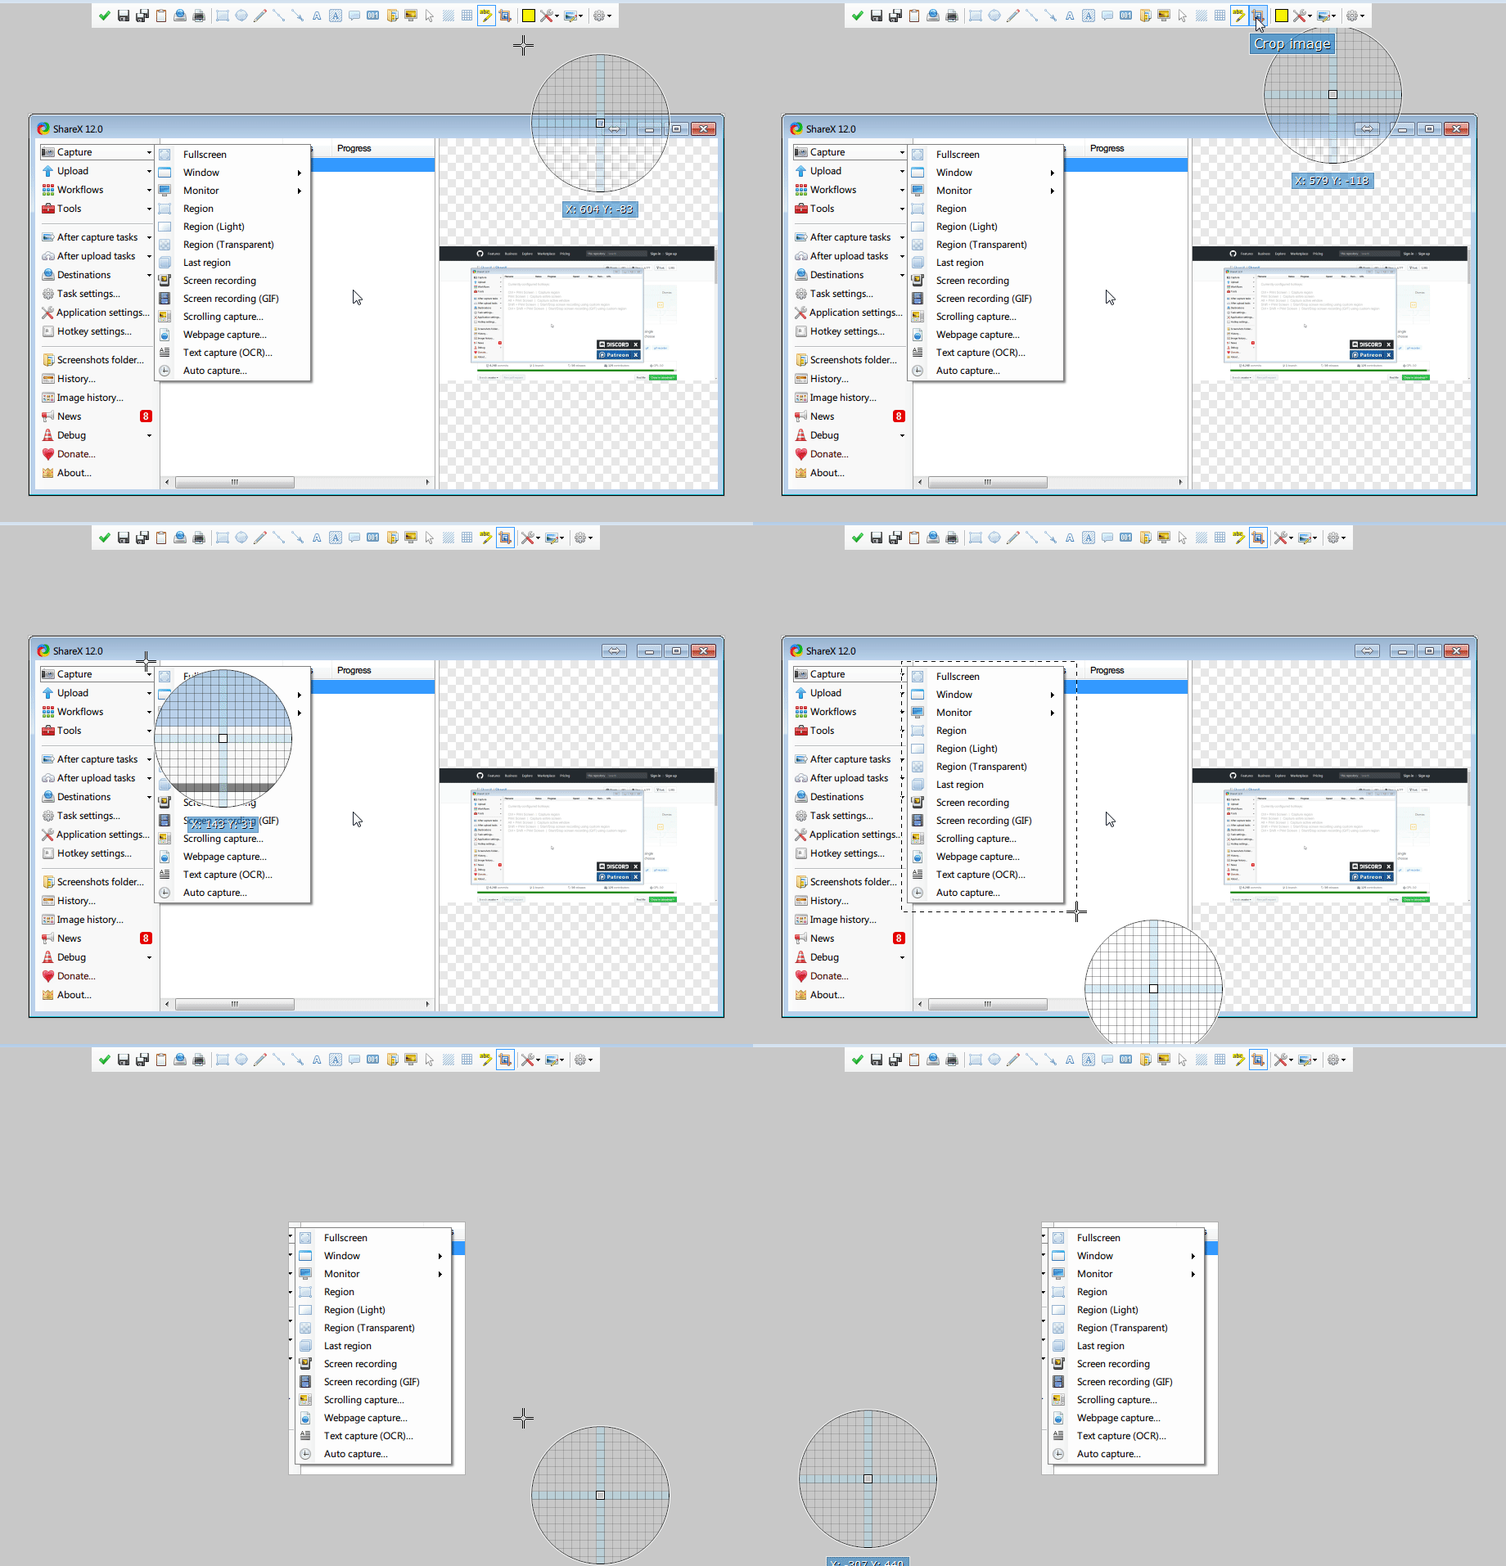
Crop Image is a vital tool in simple image editing tool to get rid with the unwanted portion of the photo or you might just want to crop to better ratio.
Tips: Beware this is a dangerous tool here as the image will be cropped the moment you release the click as you can see in the GIF. And there will be no “Undo” option to go back after the crop which I think this can be the next improvement.
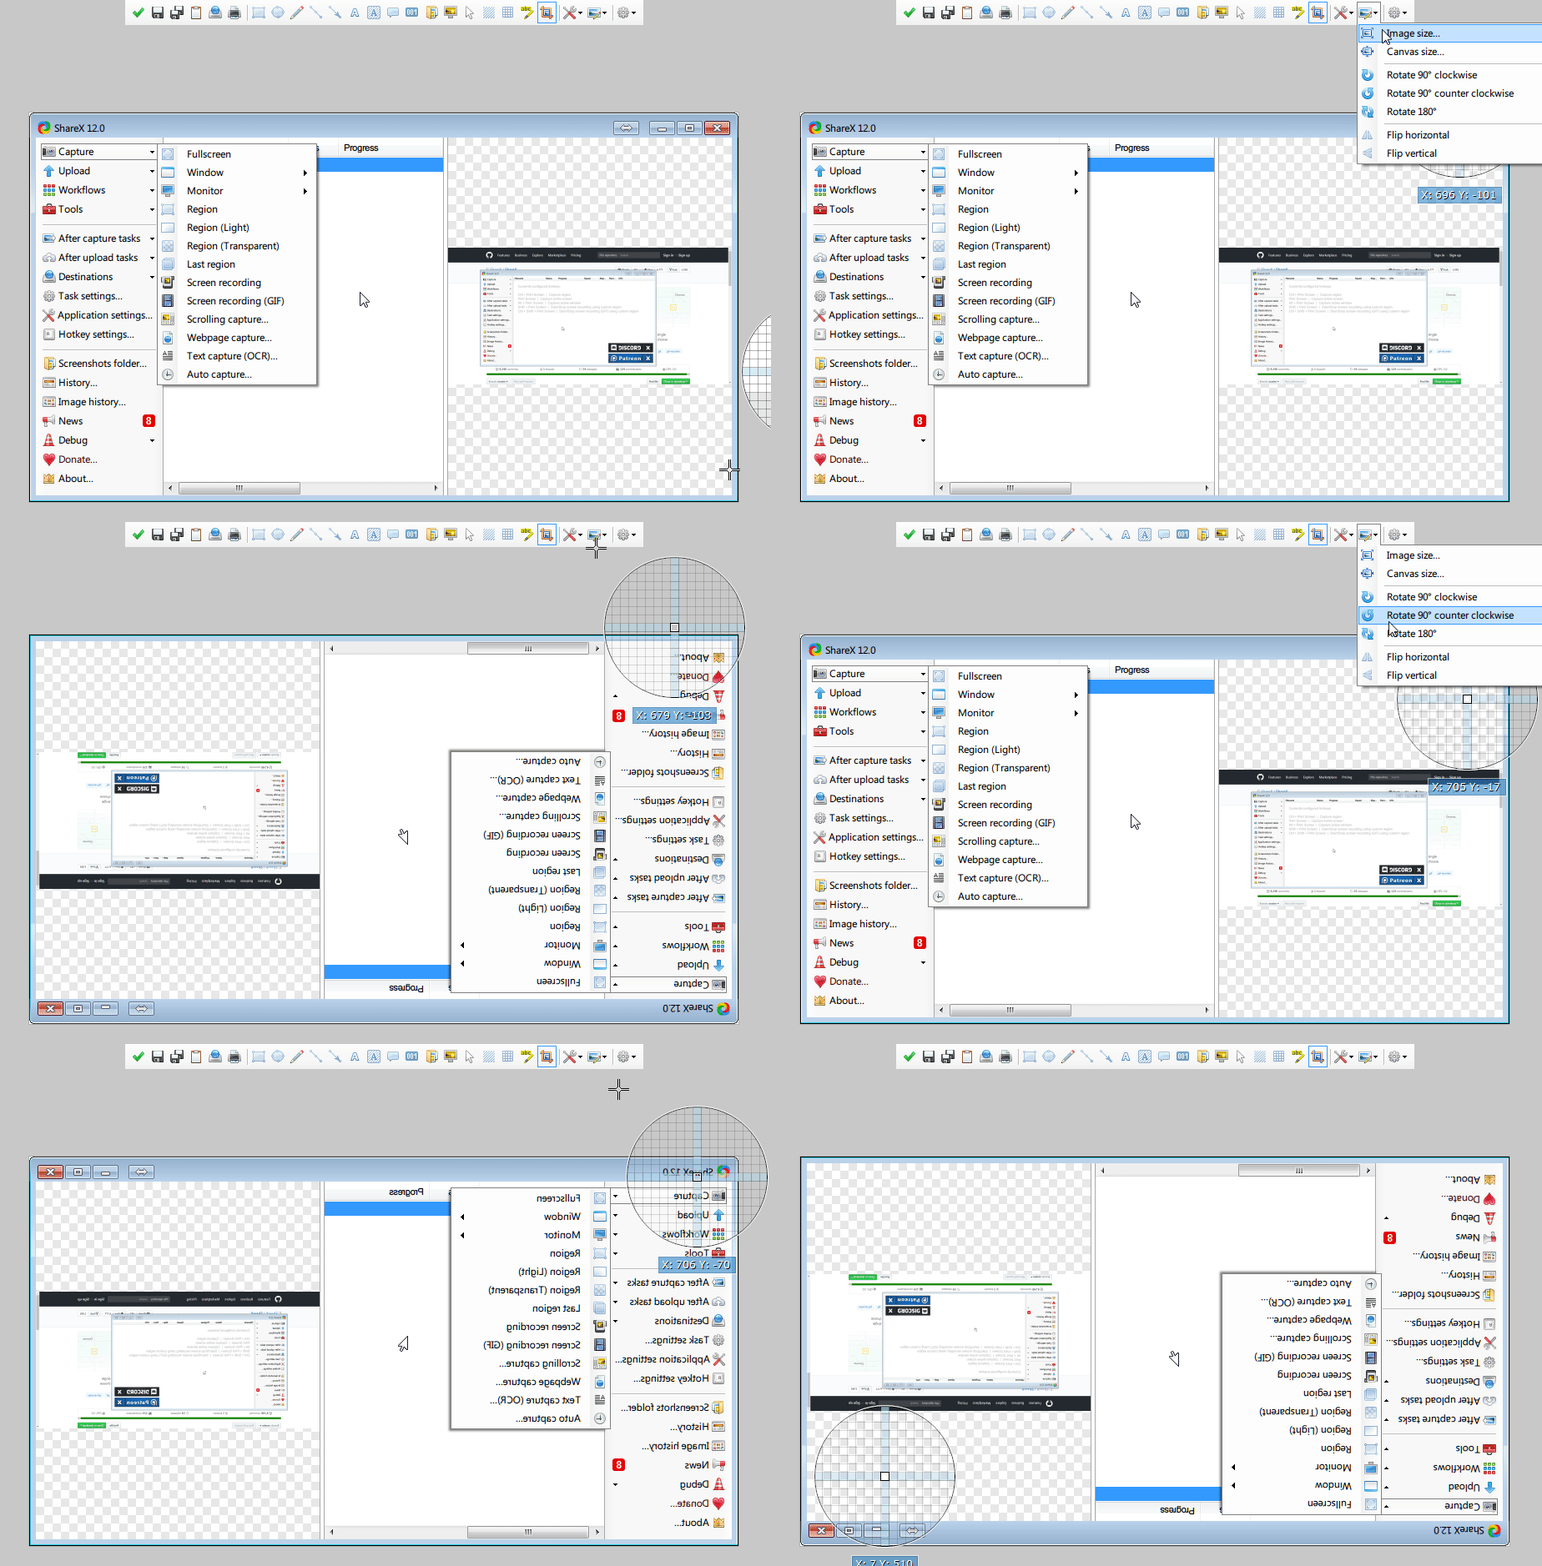
Image allows user to flip and rotate an image. Horizontally and vertically flipping, 90 and 180 degrees rotating. Also, image and canvas size can be altered using this tool too.
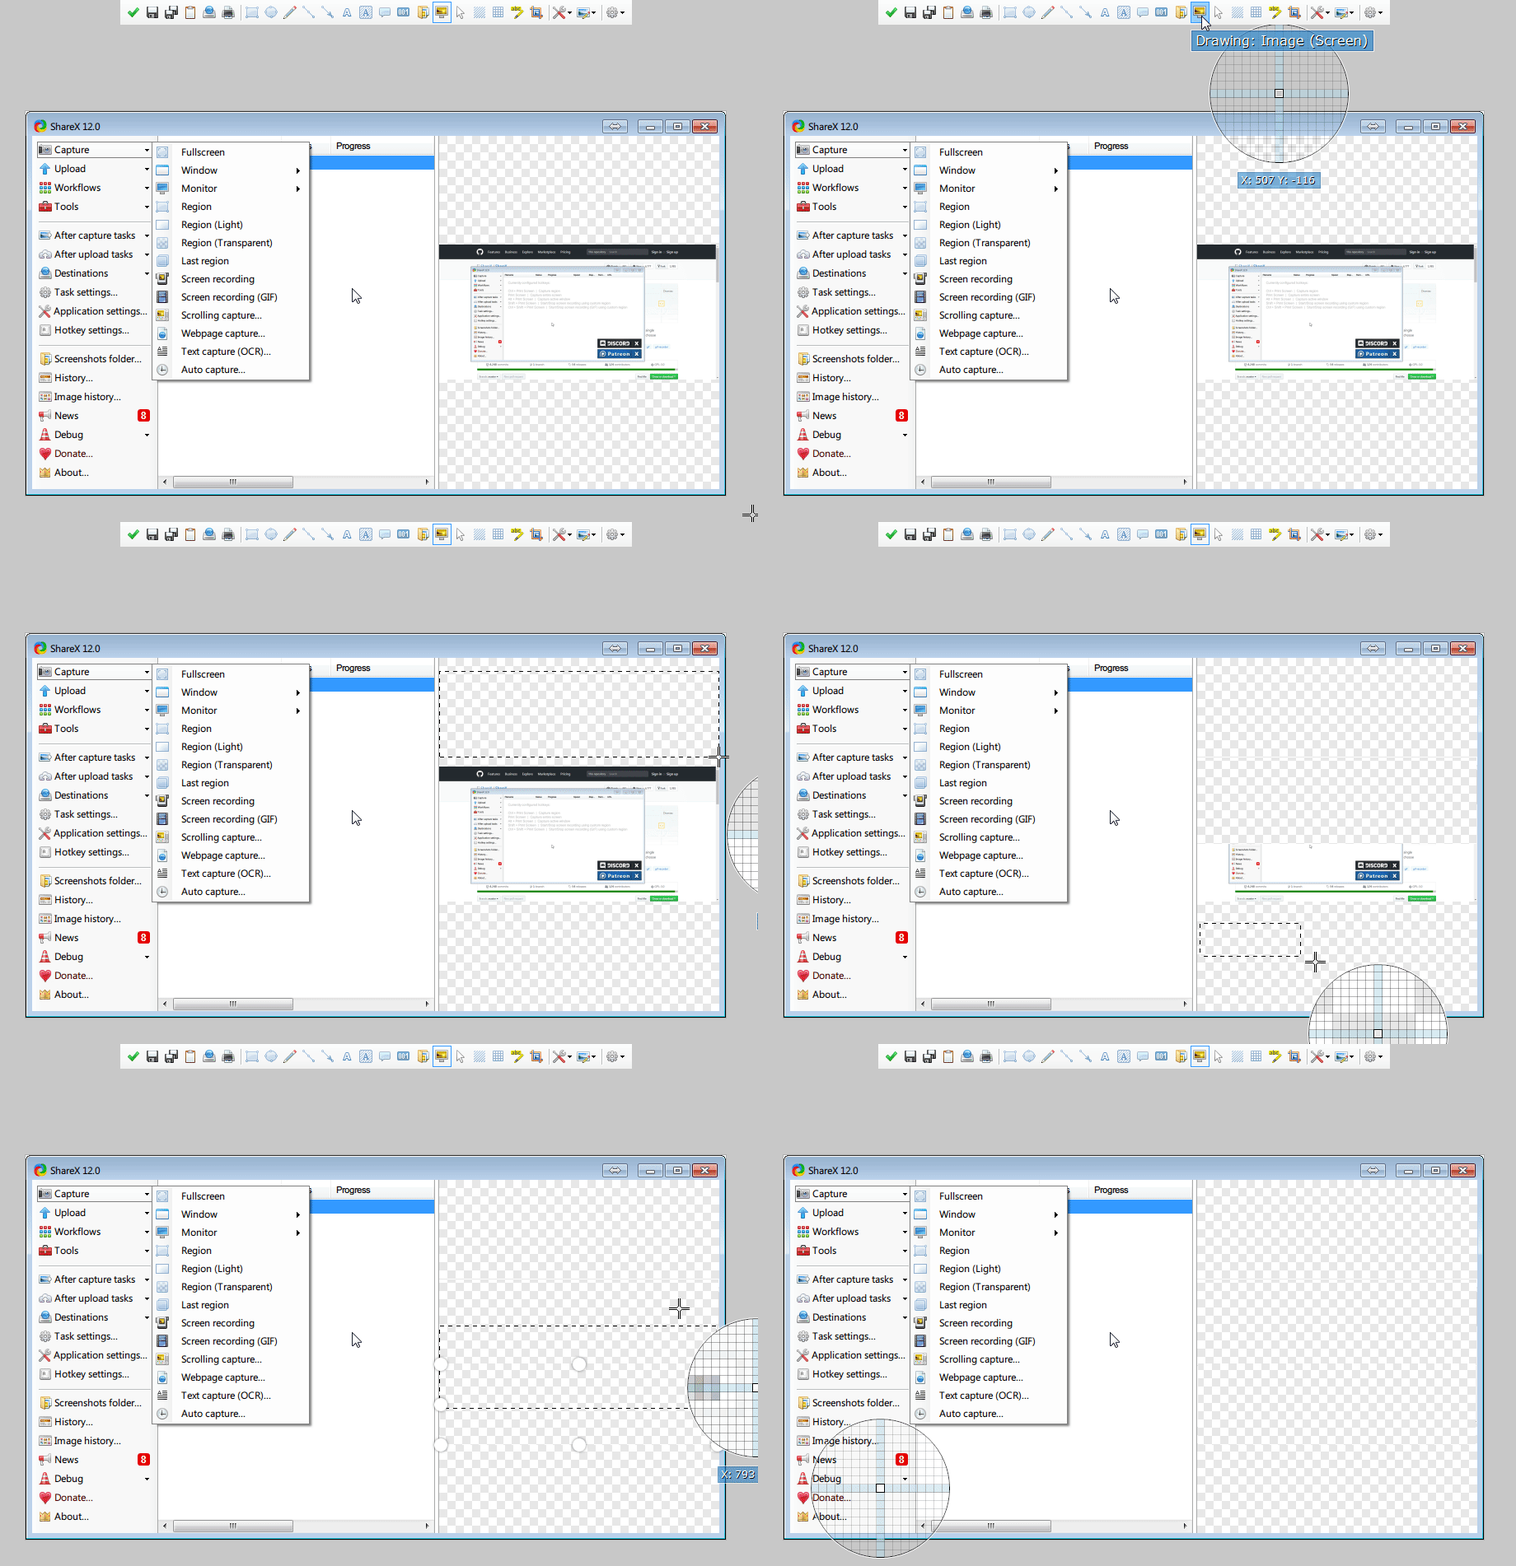
Drawing Image is one of the more advanced features to allow a user to duplicate selected portion and drag it around to cover the other part of a photo. In the GIF, I managed to cover up the image preview with the alpha background. This to me is really convenient as I won’t need to access the Gimp or Photoshop to achieve the same effect.
Conclusion
The edit function is a killer feature for me to be a big fan of ShareX. It tremendously simplifies the process of creating a meaningful screenshot in no time.
Posted on Utopian.io - Rewarding Open Source Contributors
This page is synchronized from the post: ‘Start edit screenshot with ShareX powerful editing tool ‘